What It’s Really Like to Hike the Three Peaks Trail in the Grebaje Valley

A complete guide to hiking the Three Peaks Loop (Volušnica, Talijanka, Popadija) in Montenegro’s Accursed Mountains, including difficulty, route, and top tips to stay safe.

This post may contain affiliate links, which means we might earn a small commission on anything purchased through these links at no extra cost to you. Learn more on our disclaimer page.
If there’s one hike that’s convinced us Montenegro deserves to be mentioned alongside the European greats like the Alps and the Dolomites, it’s the Three Peaks Trail in Prokletije National Park. Climbing across dramatic ridgelines with jaw-dropping views of snowy peaks and panoramas into Montenegro, Albania, and Kosovo, it’s easily one of the most rewarding day hikes we’ve ever done. But it’s also the hardest.
Despite its incredible scenery, there’s surprisingly little practical information online about hiking the Three Peaks Trail, especially if you’re trying to plan it independently. But the main issue we found was that many descriptions of the hike’s difficulty were misleading. What is often described as a straightforward day hike turned out to be far more demanding than we’d expected – we got lost, covered more distance than planned, and took significantly longer than the suggested times.
This is the guide we wish we’d read before setting off. We want to give you an honest account of what it’s really like to hike the Three Peaks Trail, based on our experience rather than trying to make it sound easier than it is. We’re not professional hikers, nor are we interested in pretending every trail is “easy if you’re reasonably fit”. As hiking in Montenegro becomes more popular with international visitors, more people are discovering Prokletije without having extensive mountain hiking experience, and we think it’s important they know exactly what to expect.
In this post, we’ll share everything you need to know about visiting the Grebaje Valley and hiking the Three Peaks, including trail information, realistic difficulty, what to pack, where to stay and eat, and what it’s actually like, as well as where we went wrong, how long it really took us, and the practical tips we think are essential.
The Three Peaks hike at a glance

More from Prokletije National Park
What is the Three Peaks hike?
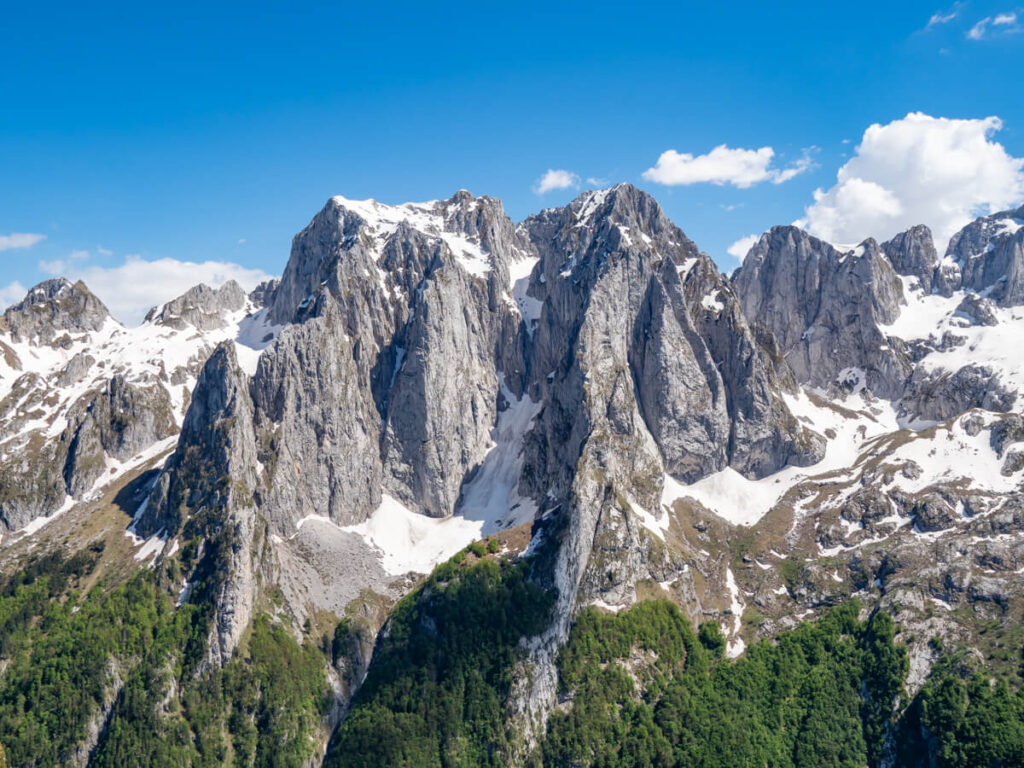
The Three Peaks hike is possibly the most popular and spectacular of all the hikes in Prokletije National Park. The least visited and, without a doubt, the most underrated of Montenegro’s five national parks, Prokletije is Montenegro’s newest national park, established in 2009 to protect 16,630 hectares (166.3 km²) of some of the country’s most rugged mountain scenery. Often translated as the “Accursed Mountains“, Prokletije is a landscape of towering limestone peaks, deep glacial valleys, alpine meadows, ancient forests, and crystal-clear springs.
Starting in Grebaje Valley, the route climbs three panoramic summits – Popadija (2,030 metres), Talijanka (2,057 metres), and Volušnica (1,879 metres) – with almost uninterrupted views across the jagged Karanfili massif and into Albania.
It’s a lollipop loop hike, meaning it has an out-and-back start/end (about an hour through forest) before the loop, which navigates the ridges of the three peaks.
The hiking trail itself goes by many names, including:
Where is the Three Peaks hike?
The Three Peaks hike is located in Prokletije National Park in eastern Montenegro. The trail itself begins in Grebaje Valley, around 4.5 miles (7 km) from a small town called Gusinje.
Although entirely within Montenegro, much of the hike follows the international border with Albania, with several viewpoints looking directly across into the Albanian Alps.
The main gateway towns are Gusinje and Plav, with most visitors staying in either town or the nearby Grebaje Valley or Ropojana Valley to access the Three Peaks trailheads.
Despite being one of Montenegro’s few national parks, Prokletije still receives far fewer visitors than destinations like Durmitor, Biogradska Gora, Lovćen, or Lake Skadar, making it feel noticeably quieter during the hiking season.

Three Peaks Trailheads
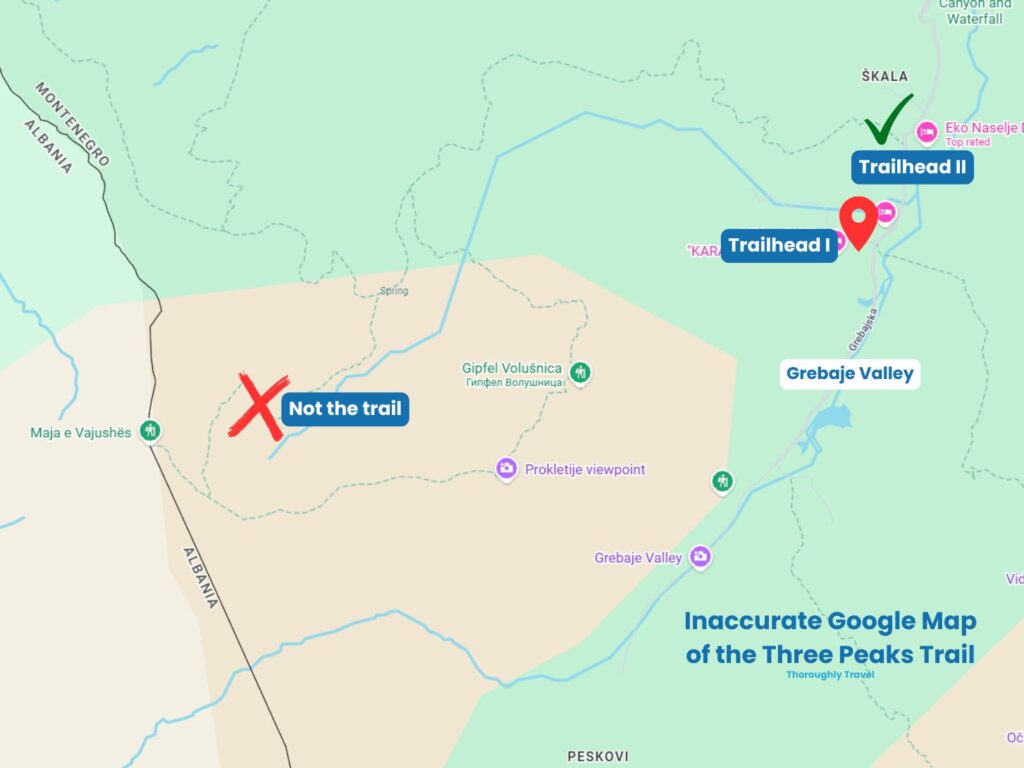
There are two trailheads for the Three Peaks hike, and we cover the pros and cons of each in more detail later in this post. The standard trailhead is at the main Grebaje Valley parking area, where most hikers leave their vehicles on a grassy lot before following the clearly marked trail into the forest.
There’s also an alternative start point before you reach the main car park. There’s a small parking area on the right, and the trail climbs uphill from behind Eco Lux Prokletije. It doesn’t really matter which you take, as they join up less than half a mile into the hike.
One thing we learned on this hike is to never trust Google Maps. It looks like the hiking trail is marked on the Map layer, but the section between the entrance to the meadow and Popadija is not actually the Three Peaks loop. It’s best to follow accurate hiking maps like on AllTrails, Wikiloc, or Komoot.
Three Peaks Trail Map
We’ve embedded the official AllTrails map for the Three Peaks below.
Beware that there are alternative trails crossing the valley. It’s very easy to get lost by continuing down the wrong path – something we learned the hard way.
The map embedded below is an alternative route, but NOT the full Three Peaks Loop. It cuts through the valley, skipping the peaks of Popadija and Talijanka. We accidentally followed this route from the fork of the loop, realised we were wrong, and cut back across a path to the start of the ascent to Popadija. It added at least an hour of unnecessary hiking to our journey.
There is also the option to do a simpler out-and-back hike to Volušnica. This is the map embedded below.
How difficult is the Three Peaks hike?
This is the thing we don’t think enough people are talking about and, as Prokletije will undoubtedly boom in popularity over the next few years, it’s probably the most important factor to consider before adding the Three Peaks Trail to your Montenegro itinerary.
Before we tell you how to hike it, we think it’s only fair to tell you whether you actually should.
Almost every guide we read describes the Three Peaks Trail as “challenging”, quickly follows it up with “but the views are worth it”, and moves on. We agree that the views are incredible, but we also think this hike is genuinely HARD. We’d even go as far as saying it’s one of the toughest day hikes we’ve done.
The Three Peaks trail is best described as moderately challenging to challenging, depending on your fitness and mountain experience.
To prepare, we’d already spent some time hiking around Montenegro, including the Ladder of Kotor, which covers around 6.2 miles (10 km) with roughly 940 metres (0.94 km) of elevation gain – not dissimilar statistics to the Three Peaks, but a very different experience. We thought that would be a decent warm-up, but it wasn’t.
When hiking, you only really have your own experience to compare to. For context, the year prior to our Montenegro trip, we hiked around Guatemala, including the challenging Acatenango Volcano hike. While it was hard due to the altitude (almost 2,000 metres higher than the Three Peaks), we found it physically less demanding than this hike. In my opinion, the Three Peaks has steeper inclines and declines, requires more stamina, and doing both the incline and decline in one day is harder than the famous overnight volcano trek.
For days after the Three Peaks, I was slathering my thighs, calves, hips, back, and neck with Ibuprofen gel and Deep Heat just to loosen everything up. That wasn’t because anything had gone wrong – it was simply the physical effort of spending the best part of eight hours climbing and descending steep and challenging mountain terrain.
There are a few reasons why we consider the Three Peaks Trail so demanding:
That’s probably made this hike sound terrifying, and we don’t want to put you off. We wouldn’t recommend it to beginners – I said at the time I wouldn’t even recommend it to my mum, who likes a walk – but if you’re reasonably fit, have some mountain hiking experience, wear proper footwear, and know your limits, it’s an incredibly rewarding day out.
If you’re experienced, you might wonder what the fuss is about, but we think it’s much better for amateurs like ourselves to arrive expecting a serious mountain hike than to be caught out halfway round.

Our experience hiking the Three Peaks
Maybe we were naive, but the Three Peaks hike was our first 2,000+ metre mountain hiking experience – ever! Don’t get us wrong, we’re not newbies (we’ve hiked all over the world, from Costa Rica’s volcanoes to Guatemala’s lakes), but we’ve just never taken that next step (literally) and worked up to full-day hikes in mountain terrain. You honestly don’t need to be a pro to do it, but you do need to know what to expect, so we wanted to document exactly how we found it, step by step.
The hike can be broken down into several sections. Here’s what it looks like with distances, elevation gains and losses, and times:
What it’s like hiking the Three Peaks
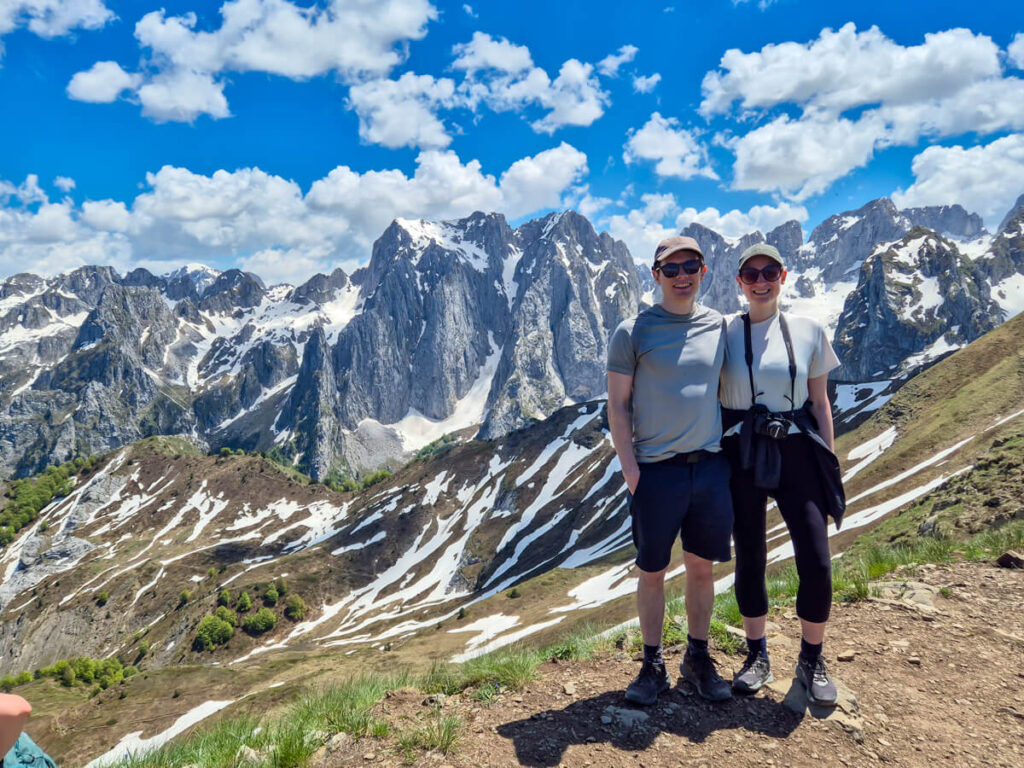
The Three Peaks Trail isn’t just one spectacular viewpoint followed by a long walk back to the car. It’s a full day of constantly changing scenery, challenging climbs, and moments where you’ll wonder whether you’re really in Montenegro or somewhere like the Dolomites or the Alps.
We found every section of the hike felt completely different. One minute you’re climbing through shady forest, the next you’re scrambling up rocky ridges, before suddenly finding yourself walking along the Montenegro-Albania border with views that stretch for miles in every direction.
Below, we’ve walked through exactly how we experienced the Three Peaks Trail, with timings, from leaving the Grebaje Valley trailhead to collapsing back at the car hours later.
Arriving in the Grebaje Valley
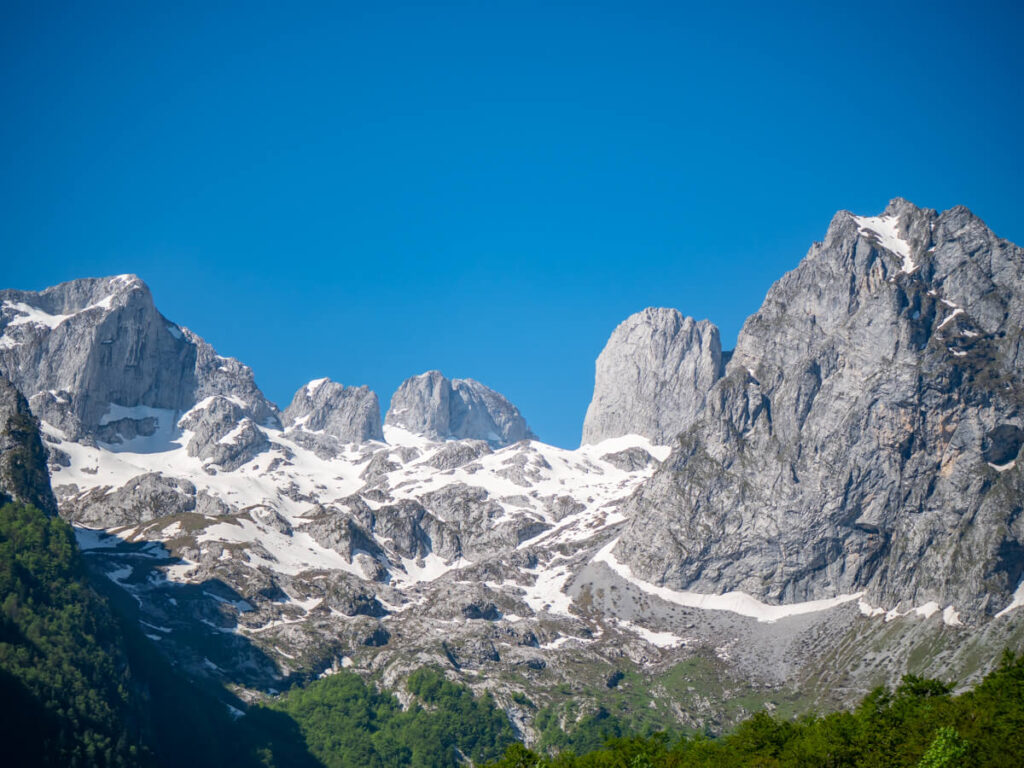
If you’re staying in the Grebaje Valley, you can simply roll out of bed and head to the trailhead. If you’re staying nearby, you’ll need to drive to the valley first. You can follow our directions to Prokletije National Park to reach the Grebaje Valley.
On your way in, you’ll pass the small wooden ticket booth, where you can purchase a pass for the park – €3 per person per day. We’d already bought the annual pass for €13.50 per person in Lovćen National Park, so we just showed it and were on our way. You can also buy it online in advance.
We also found this a good point to ask for some local advice, and the staff advised us on the trail conditions for the day – some snow at the top but not covering the trail.

Generally with hikes, it’s best to arrive at the trailhead as early as possible. Not only does this mean it’s quieter, but you can get a good portion of the hiking done before the heat of the day.
Not being natural morning people, by the time we’d had breakfast in Eko Katun Rosi and driven over from the neighbouring Ropojana Valley, we didn’t park up in the grassy lot until around 9:45 AM. It wasn’t too busy, being late May and early in the season, but we would recommend arriving no later than 10:00 AM – you still have a full day ahead of you.

Finding the trailhead
As we mentioned above, there are two trailheads at the start of the Three Peaks hike. The one that leads from the main parking area is signposted for Volušnica and marked by a (completely faded and now useless) sign, a green bench, and a green bin. You simply enter the forest and follow the trail uphill.
By the time we’d got our poles out, suncreamed up, and set off, it was around 10:00 AM.
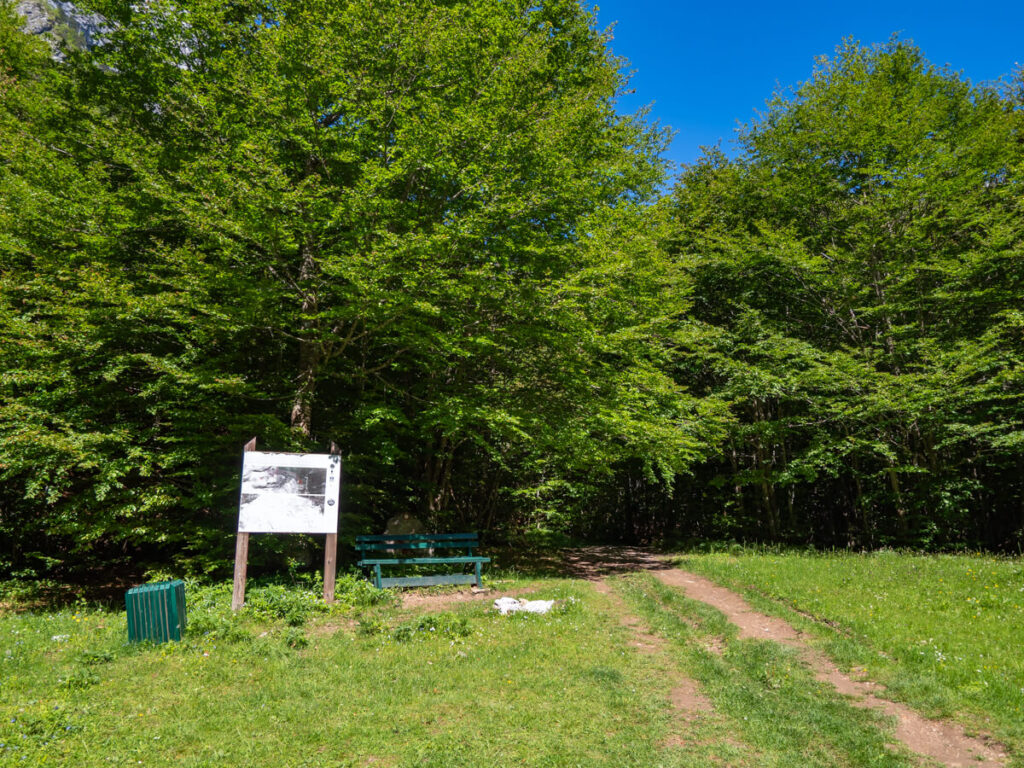
If you choose the alternative trailhead, which leaves from earlier in the village, you’ll head up the hill behind the wooden cabins that belong to Eco Lux Prokletije. From there, you follow the trail uphill towards the forest.
There’s honestly not much difference between the trails, and after about 10 minutes (0.4 miles / 0.7 km), they merge onto one main trail anyway.
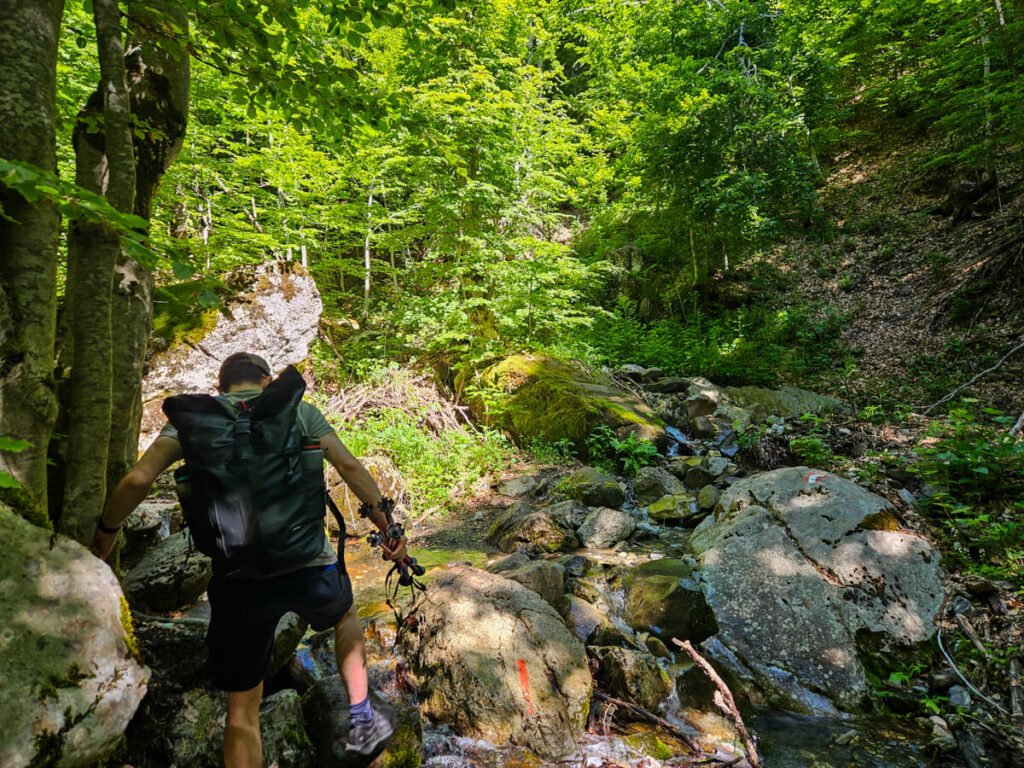
We followed Trailhead I from the parking lot on our way up, but came back down Trailhead II later to compare them. We’d say Trailhead I is steeper but slightly shorter, while the alternative Trailhead II is slightly longer but gentler, following a series of switchbacks. The only thing to note is that on Trailhead I, we crossed a stream to join the main trail – it probably dries up in summer, but could be trickier to pass outside peak hiking season.

Climbing through the forest
The ascent through the forest is very pretty (if not a little boring). The leaf-strewn forest path is pretty obvious with painted waymarkers at intervals, so you know you’re going the right way. The advantage of this first section is that it’s nice and shaded.
It doesn’t really matter which trailhead you choose, because after about 10-15 minutes, you’ll end up in the shaded forest that makes up part 1 of the hike.
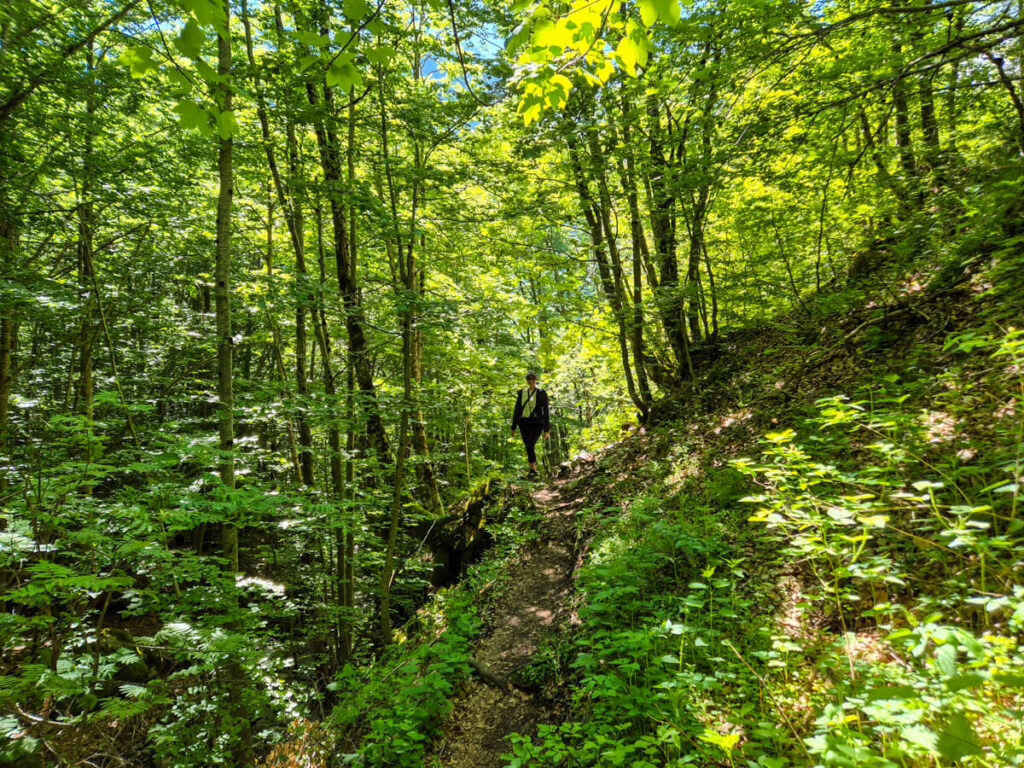


Interestingly, we’d say the forest path is steeper than the Ladder of Kotor hike, so hiking poles are helpful. It ranges from flat sections to 30-40% grade in its steepest sections.
There’s a small section about 30 minutes in where there’s a steep drop on the left into a little valley, so watch your step.
The forest makes up the stick of the lollipop and was surprisingly steep. It’s worth taking your time and stopping to catch your breath if you need to.
Don’t get lost
The trail is marked, but not very consistently. You’ll see the Knafelc waymark (or Knafelc blaze) – traditional Balkan waymarking consisting of a white circle surrounded by a red ring. We also saw Wegmarkierung, Austrian Alps-style waymarking of two red lines with a white line in the middle.
Waymarkers have been spray-painted on rocks and trees – keep an eye out for them, as they’re sometimes easy to miss.


There are several points where it feels like the trail splits in two with no waymarkers. We got confused a few times. But found that these little paths generally always rejoin into the one main route, so it doesn’t matter which you take.
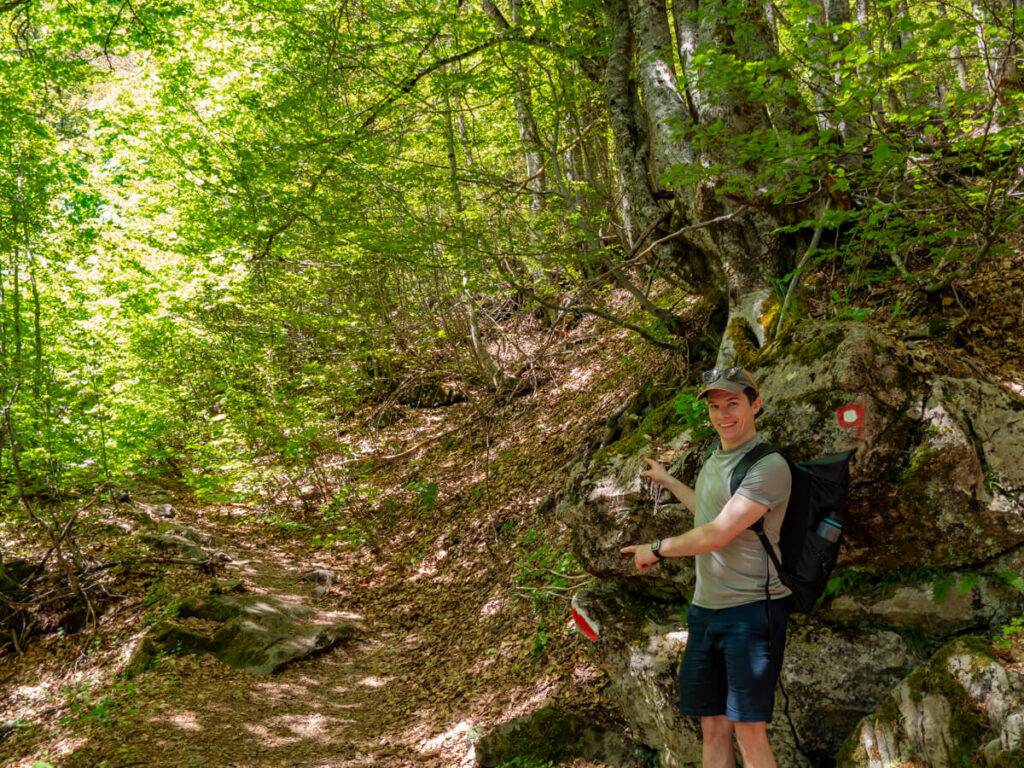
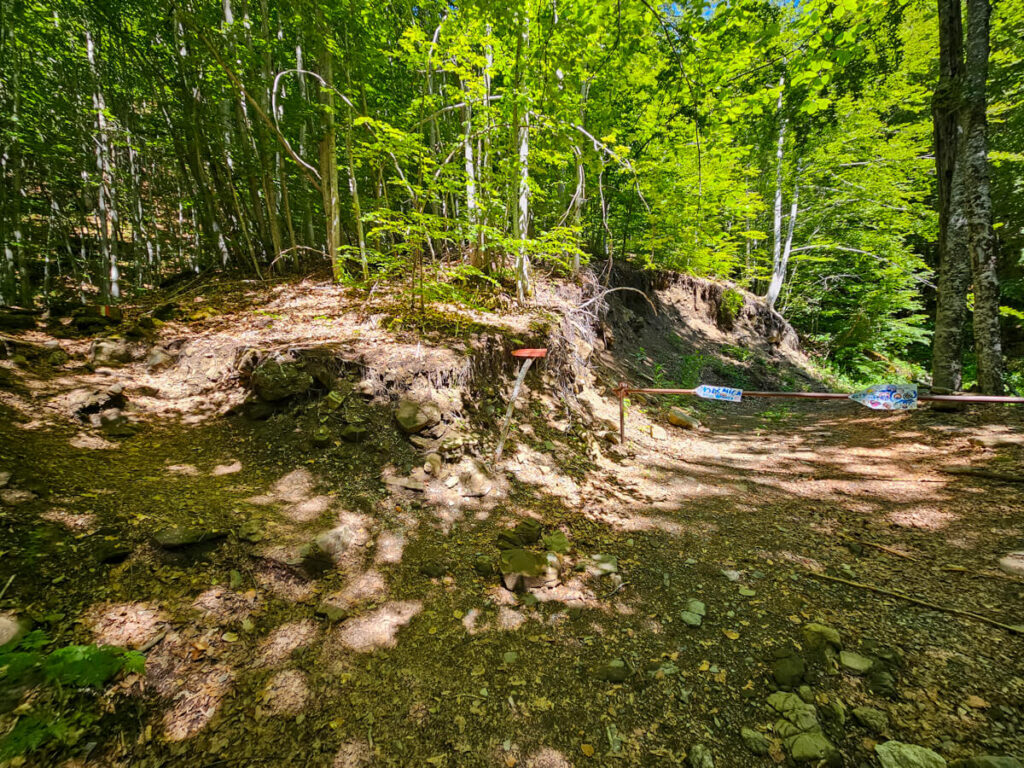
The most confusing part was reaching the rock with two painted waymarkers (pictured below). We’d been going nearly an hour and knew we must be coming up to the fork in the path that splits in two and starts the loop. It looked like there was a steep path to the right, and we were unsure if it was the route to Popadija – it’s not! Keep going left of the rock through the forest – you’re only about 5 minutes from the meadow and the actual fork.
You’ll immediately be met by the river and a lovely flat section upstream. Then it gets a little hilly again, and you’ll see several spray-painted trees with names for various hiking routes. Find the one that says Volušnica and follow that straight on through this clearing.
There’s a split in the forest just before you exit the forest. Again, it doesn’t matter which you take – the right path is a gentler switchback up the hill, the left path is more direct but steeper. They join together just before you pop out into the meadow.


Arriving at the meadow
Arriving at the meadow was such a great feeling. Not only did it mean the forest ascent was over, but it opens out into the most stunning views of the valley. If you don’t want to do the full hike, just going out to the meadow and back would be worth it.
Here the path obviously splits in two – the start of the loop. We reached it after about an hour and a quarter, with (many) stops for photos.
We stopped to reapply suncream and fill up our filter bottles from the stream. Then it’s time for the all-important decision – right or left?


Right or left?
Whether you hike the Three Peaks clockwise or anticlockwise is one of the biggest decisions you’ll make. There’s no universally agreed “best” direction. Each option has its pros and cons, changing where you’ll tackle the steepest climbs, scrambles, and descents, so it ultimately comes down to your confidence, fitness, and personal preference.
Ultimately, the main difference in direction is:
Most hikers go anticlockwise, which means you pass fewer people. Going clockwise means you’ll have to step aside more often as you’ll pass more people.
Go anticlockwise (right) if:
Go clockwise (left) if:
Factoring in that I find descents harder than ascents and Dan has occassional knee pain, we decided to get the hard bit out of the way and save our knees and ankles some effort by going anticlockwise (right).
From here on out, we’ll be describing the loop anticlockwise. If you’re really keen to do the loop the other way, you can reverse this section’s advice.

Starting the loop
After hiking, stopping for pictures, snacks, and suncream, we set off on the loop at around 11.25 AM.
The meadow in late May was perfect: sunny but not too hot, the ground wasn’t wet, the snow was aesthetic but not hindering the route, and spring flowers were dotted across the valley.
The trail is very obvious and heads straight towards the mountains with a forest on your right side.
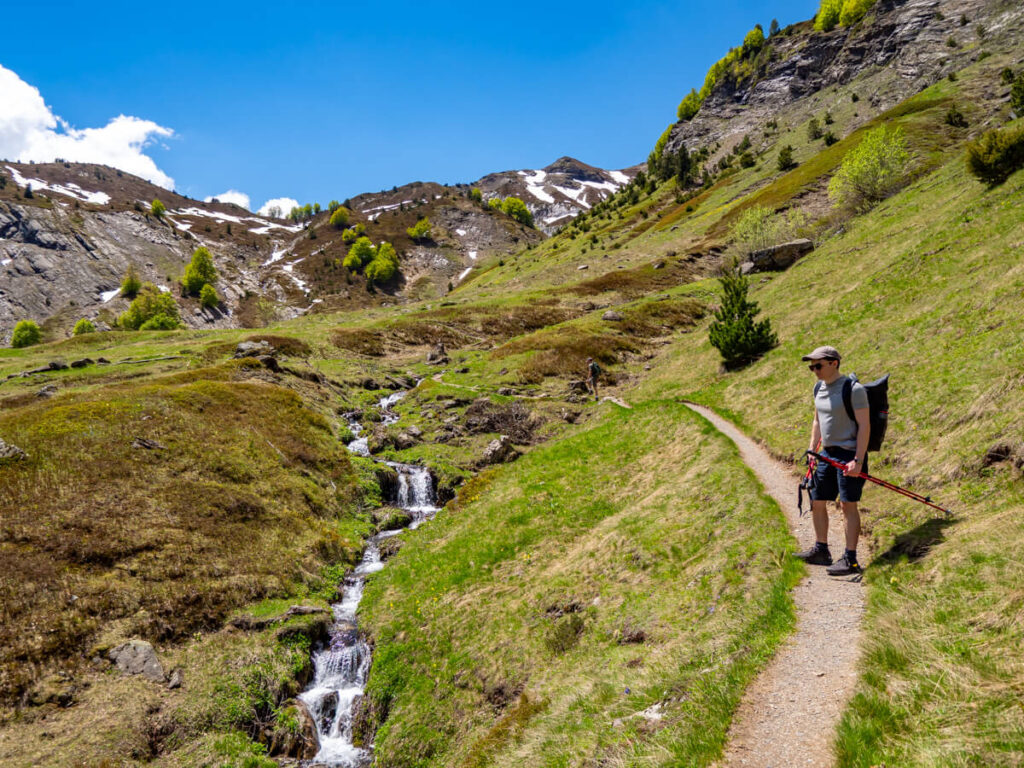
It was at this point we messed up. We got excited by the meadow’s waterfalls and how gorgeous the views were and just kept following the path. Stupidly, we forgot to keep looking out for the trail markers.
There were hikers on the path ahead of us, and it seemed to be heading in the correct general direction towards the snowy peaks, so we just kept going. It was here that we learned an important lesson about continuously checking the hiking map, being suspicious when you stop seeing trail markers as frequently, and not just blindly following behind other hikers.


Our accidental detour
As soon as you lose the forest on your right, you need to turn right up the hill. This is the official Three Peaks loop trail that will take you to Popadija. It turns back on itself in a series of switchbacks.
From there, it goes via the Ćafa mountain pass to the ascent up Popadija.
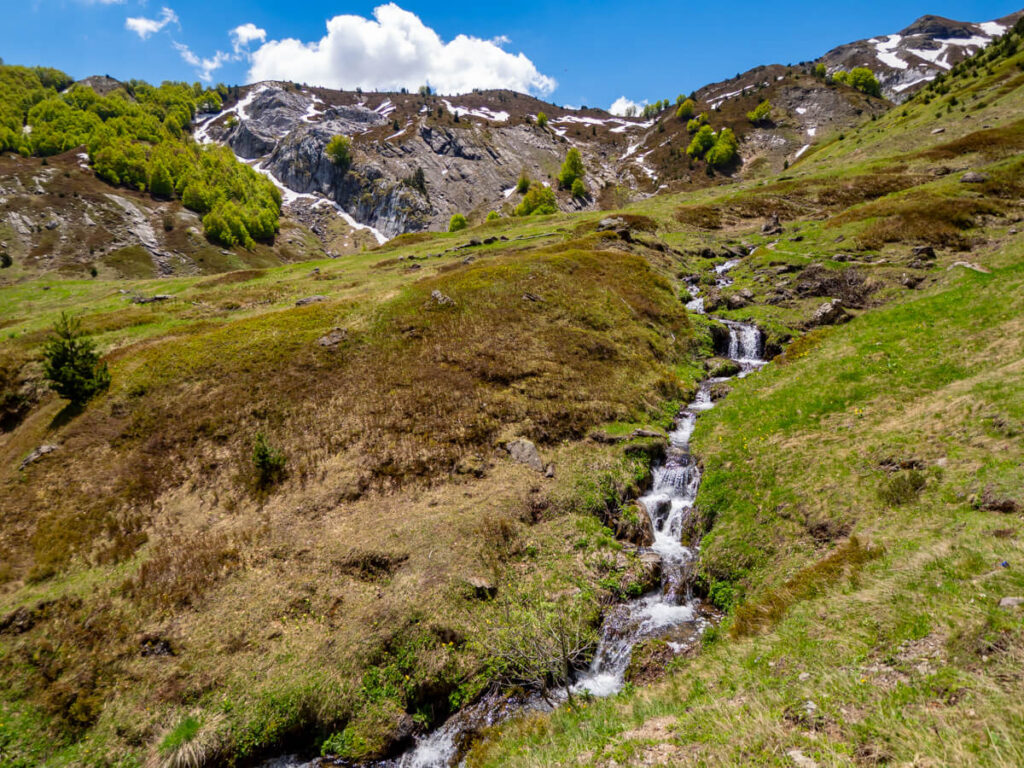
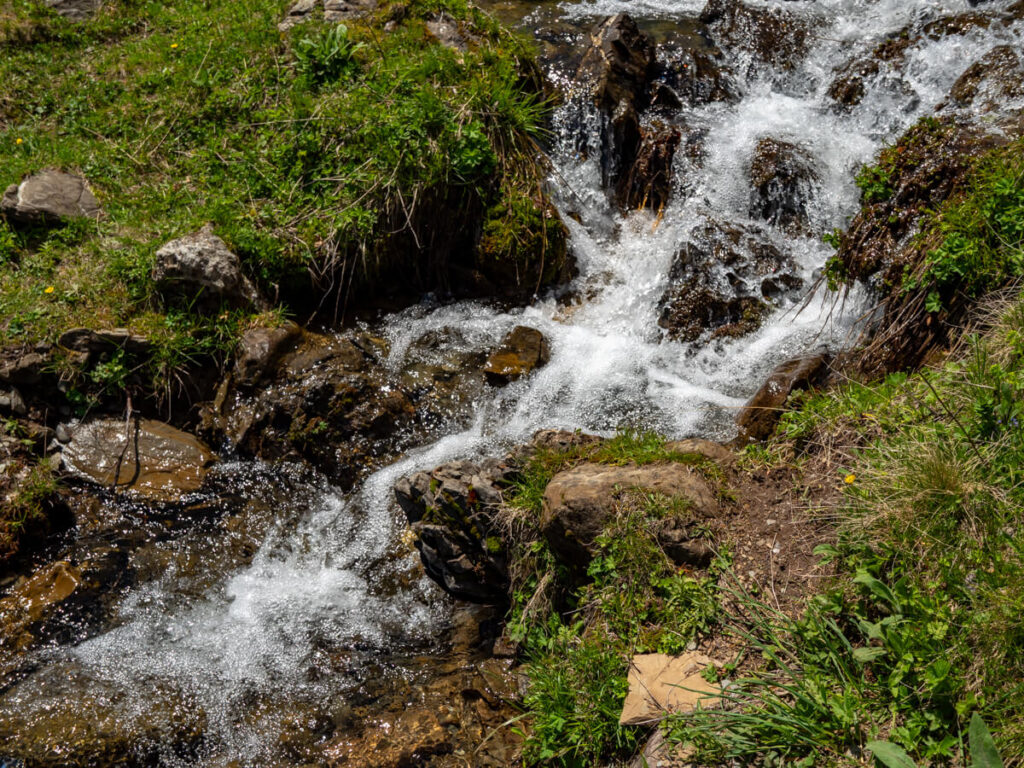
The confusing part is that there are also alternate trails throughout the valley. In all our excitement, we just kept heading straight along the path deeper into the valley. We crossed a little stream and kept going to a second larger waterfall. Crossing this one, we started to question whether we were still on the right path (we were not).
We did, however, get some seriously epic views over the snowy peaks and the valley.

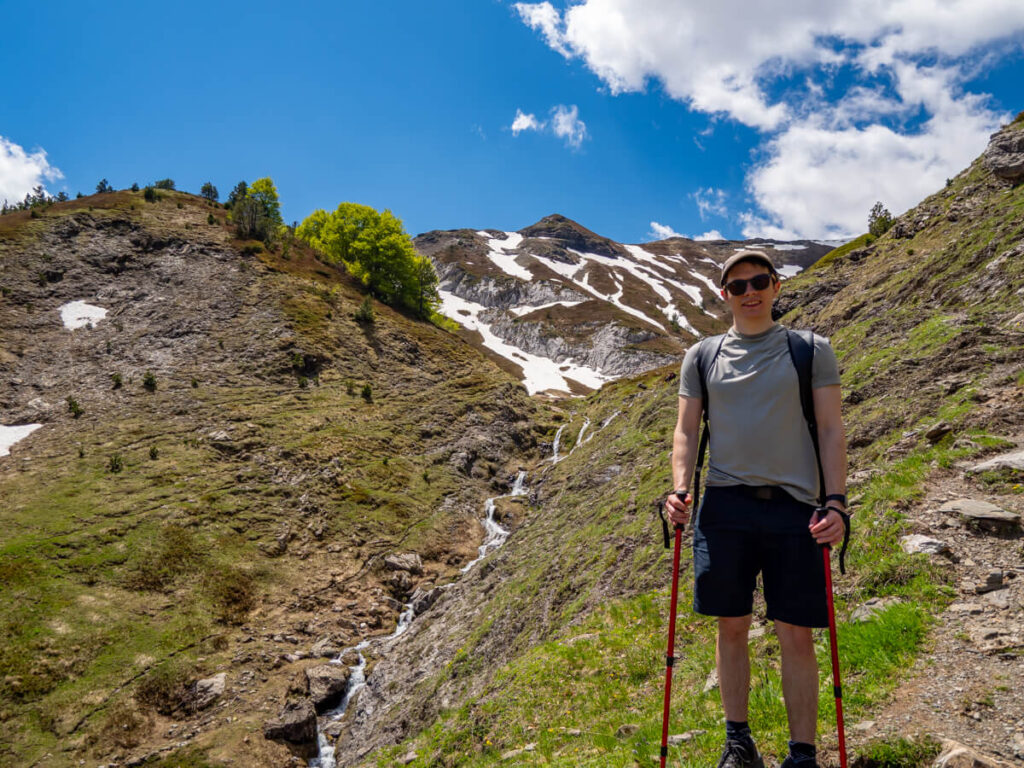


Looking back at the valley later on, we could see where we’d gone wrong. The red line on the picture below indicates the main Three Peaks trail, while we took the detour indicated by the blue line. We missed the right-hand turning for the ascent towards Popadija from the meadow, crossed waterfalls we didn’t need to, and ended up circuiting through the valley itself, which led us over snow banks we wouldn’t have needed to cross had we stuck to the trail.
If we’d continued on that path, we’d have ended up at the ridge after Talijanka, missing two of the three peaks. To correct, we followed a path back through the valley towards the ascent to Popadija.

In the valley, we had to cross some patches of snow heading to the steep ridge. This was our first experience hiking across snow fields, and footprints indicated to us others had done the same before us.

The valley was covered in little purple wildflowers, which was beautiful, and made us even more pleased to have visited at the end of spring.
Because we went a longer route, we probably lost about an hour and added on an extra mile or so of unnecessary hiking.
Epic views though! Little did we know, it was going to get even better.
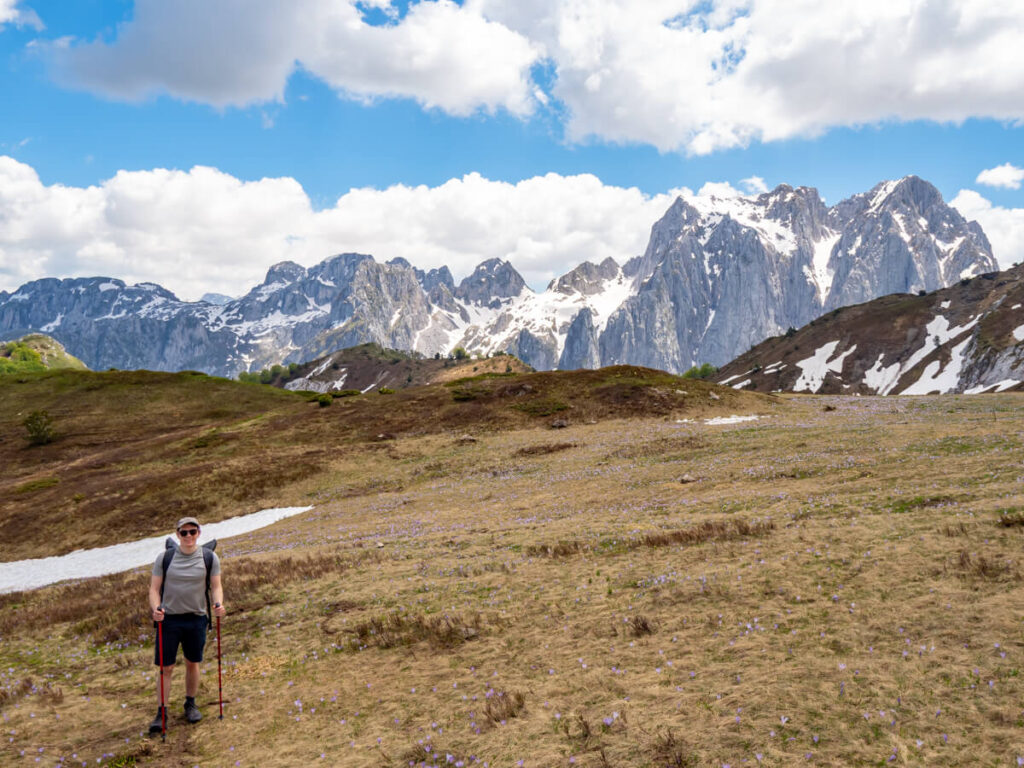
We managed to course-correct and get back to the main trail heading to the ascent up Popadija. We could see where it was because people were climbing along the ridge.
Don’t make our mistake – check your hiking map religiously, and if you lose the trail markers, you’re likely going the wrong way!

Scaling Popadija
Back on track, we rejoined the main trail at the Ćafa mountain pass and found the waymarkers again. Then it was time for the ascent to Popadija, the first peak.
Man, it’s steep!

The grade here exceeds 40% at its steepest part.
It’s really important to go slowly and follow the trail markers. This was the scariest part of any hike we’ve ever done, and at points we had our poles in our bags and were scrambling up on our hands and knees.

Just before the peak, you’ll see a sign covered in stickers that reads “upozorenje granicna linija”, which means “border line warning”, indicating you’re right on the border with Albania. And then you pop out on top of the ridge and see what all the effort was for.


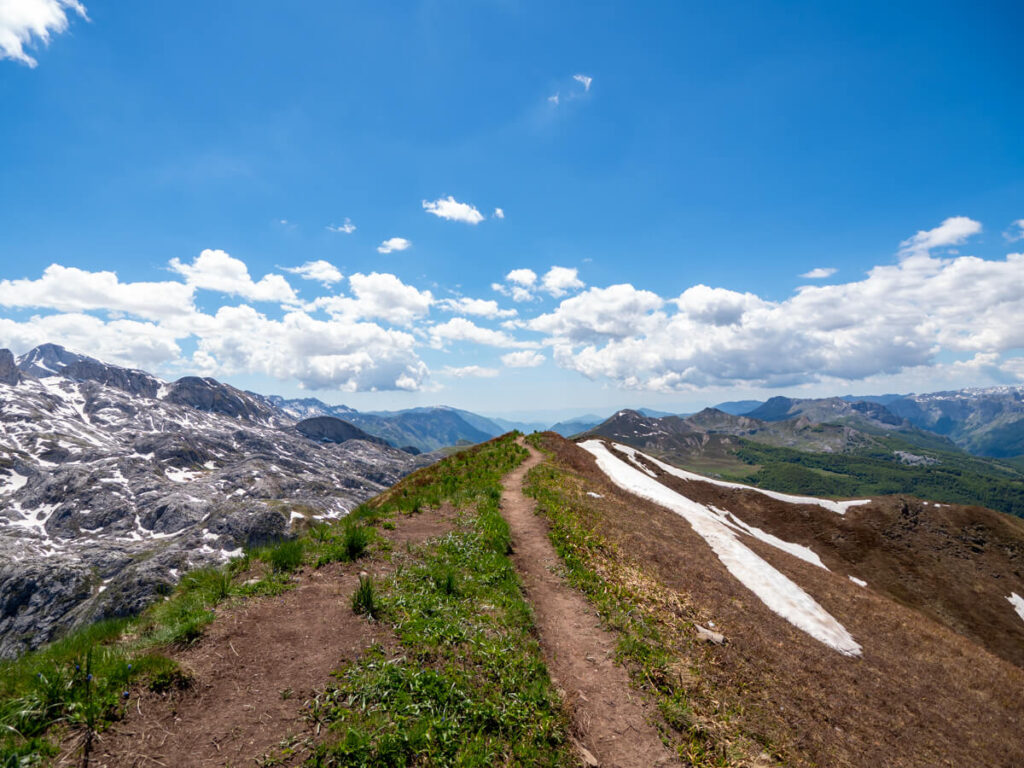
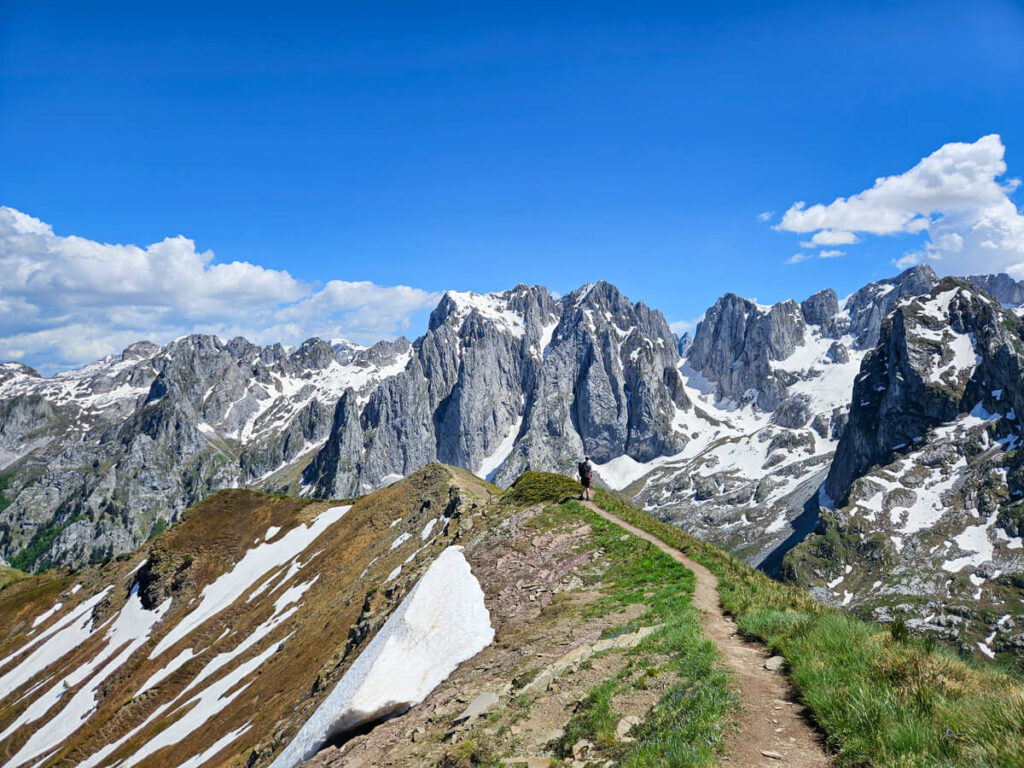
It was at this point that we started to realise how absolutely epic the scenery is in this part of the world. The views are just beyond incredible! Jagged limestone peaks streaked with late-season snow rising above the deep valley on one side and the green rolling hills of Albania on the other.
We started the climb at around 12:30 PM, and it took about half an hour to get to the sign on the top of Popadija, at around 1:00 PM. We’d have arrived around 12:00 PM if it wasn’t for our detour.
Popadija is the perfect place to have your picnic lunch, with a flat grassy section on top of the peak by the path. We sat at the top for about half an hour eating, hydrating, and simply taking in the views.

The ridge to Talijanka
We set off again around 1.30 PM, following the narrow trail along the ridge in the direction of the second peak, Talijanka. Again, it was easy to see where we were going thanks to other hikers further up the trail.


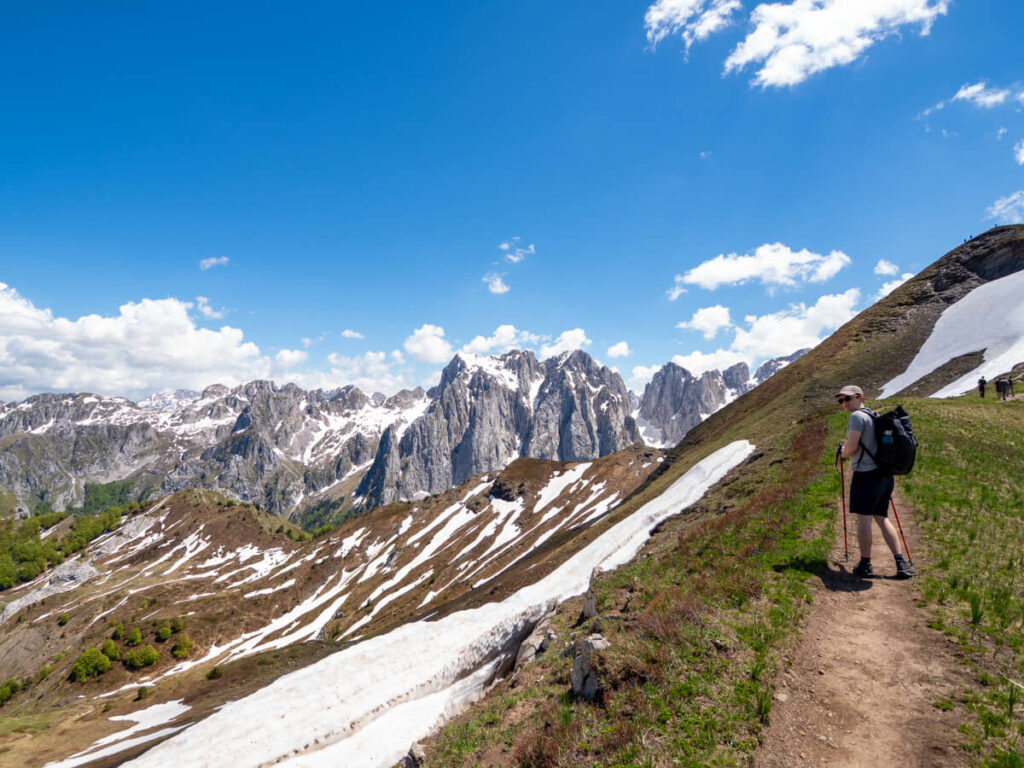
This section isn’t too challenging – you just need to watch where you put your feet. Some parts have a steep drop-off on either side, so you wouldn’t want to trip. I was very glad for my hiking poles at this point.
The ascent to Talijanka is about a 30% grade, so not as bad as Popadija, but still a sustained climb.
We reached Talijanka by around 2:00 PM. The ascent up the peak is steep, but nothing compared to the one up Popadija. And as we popped up over the ridge, I physically gasped – the views got even better!

The mountains themselves were carved by ancient glaciers, leaving behind dramatic cirques and steep rock faces.
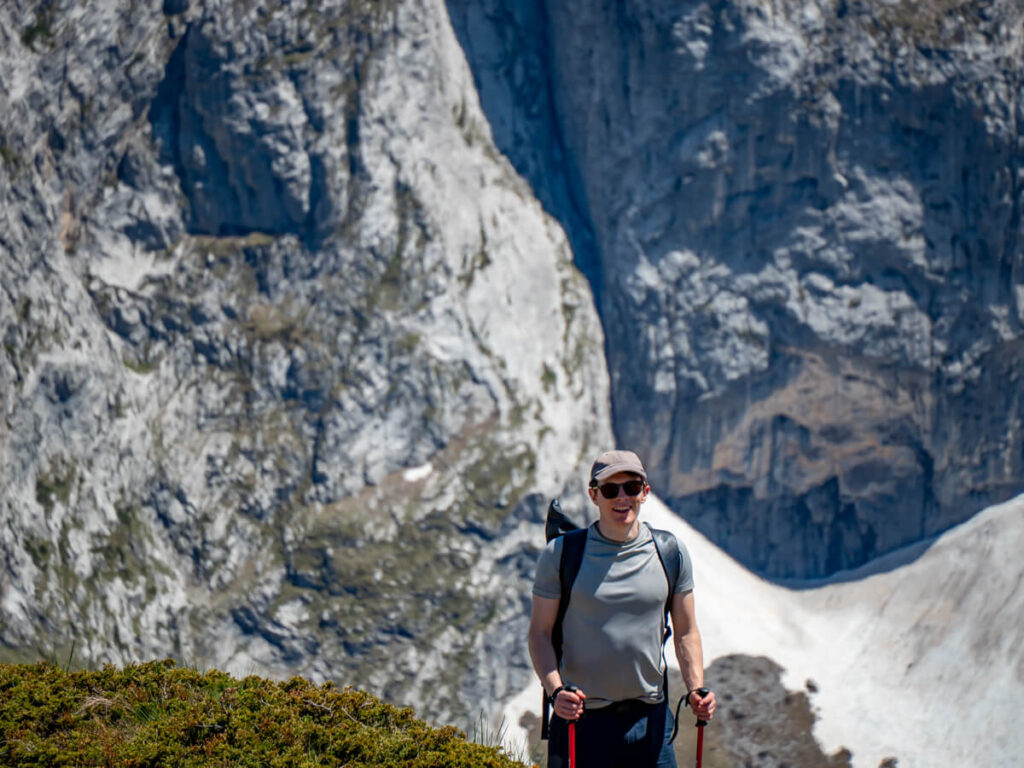

Epic views from Talijanka
Talijanka without a doubt has the best views in the whole of Prokletije National Park. The trail leads straight ahead towards the Karanfili massif with epic valley views on both sides. You really start to appreciate the height of the cliffs, too, as you get an insight into how far below the valley floor is.

There’s a little detour here to the right, which you can follow out and back to a viewpoint, for more epic views of the mountains.
Spend a bit of time getting some photos here, but more importantly, be sure to take it in with your own eyes!

Circumnavigating the valley
When it’s time to set off again, you’ll leave Popadije and Talijanka behind and set off along the ridge that circumnavigates the valley.
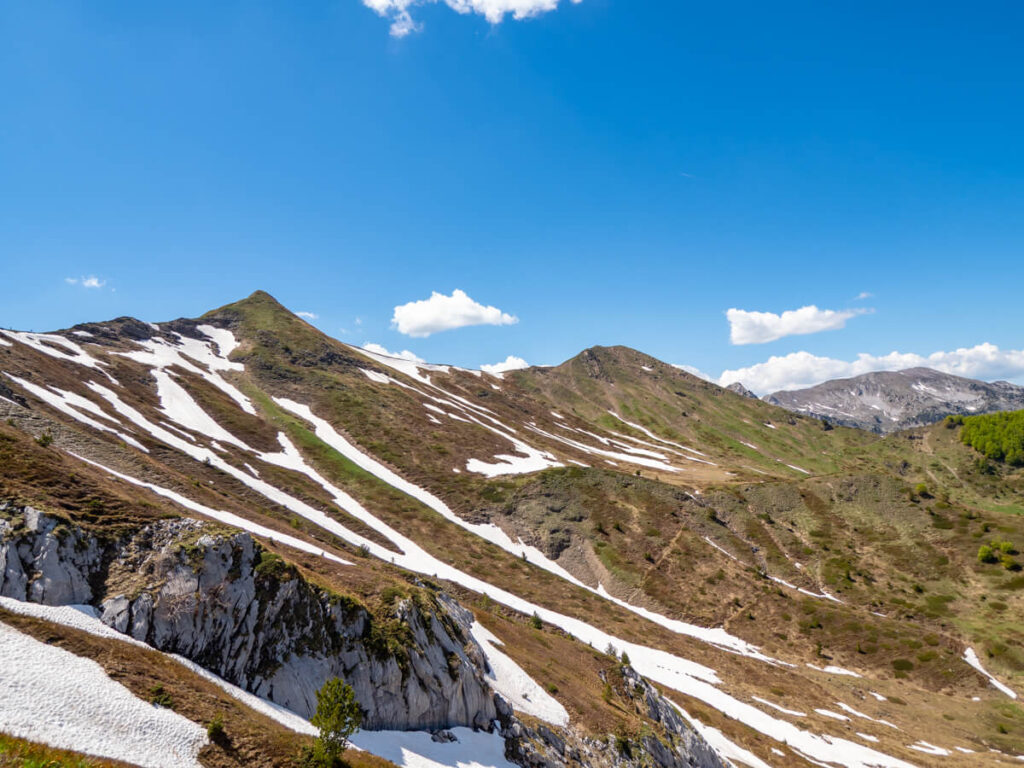
As you look back, you can see just how steep the peaks you’ve already traversed are.

The path is reasonably well-marked with painted waymarkers on rocks at intervals.
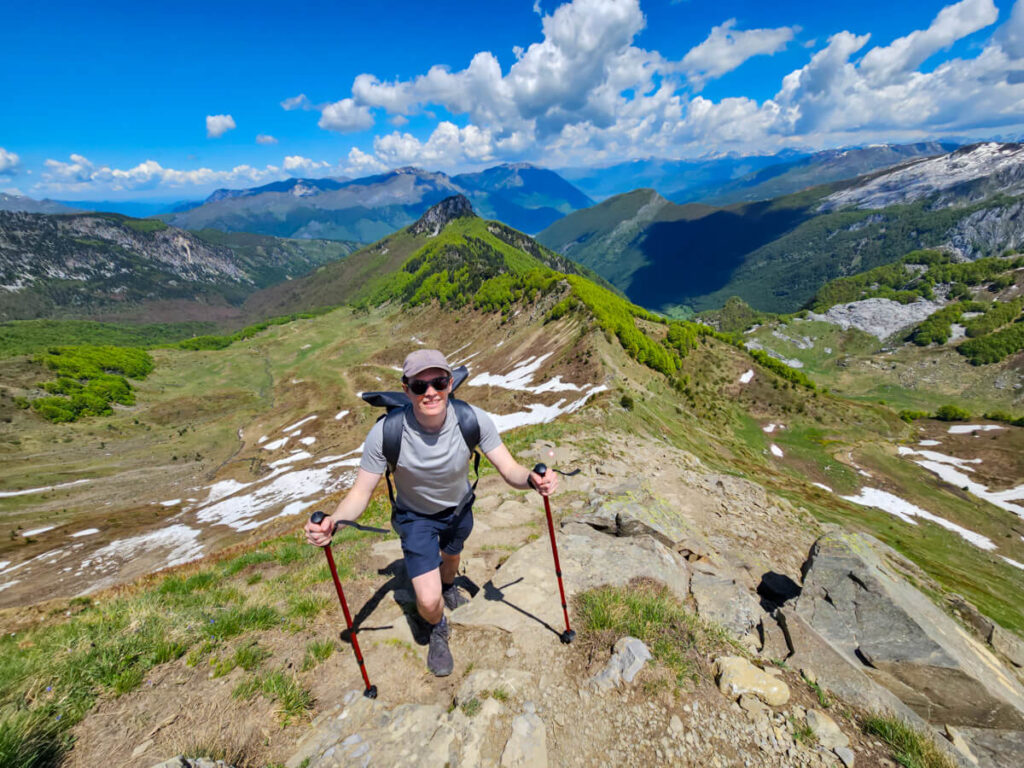
As you make your way along, you’ll start to see back into the valley on your left, with views of the mountains on your right visible from a couple of viewpoints.


Scaling Volušnica
When you start to approach Volušnica, you can look back and see the whole loop via Popadija and Talijanka that you’ve done so far.

You’ll also start to be able to see down into the meadow on your left, where views open up to reveal the waterfalls and streams that run through the valley (and that we crossed a few hours earlier).
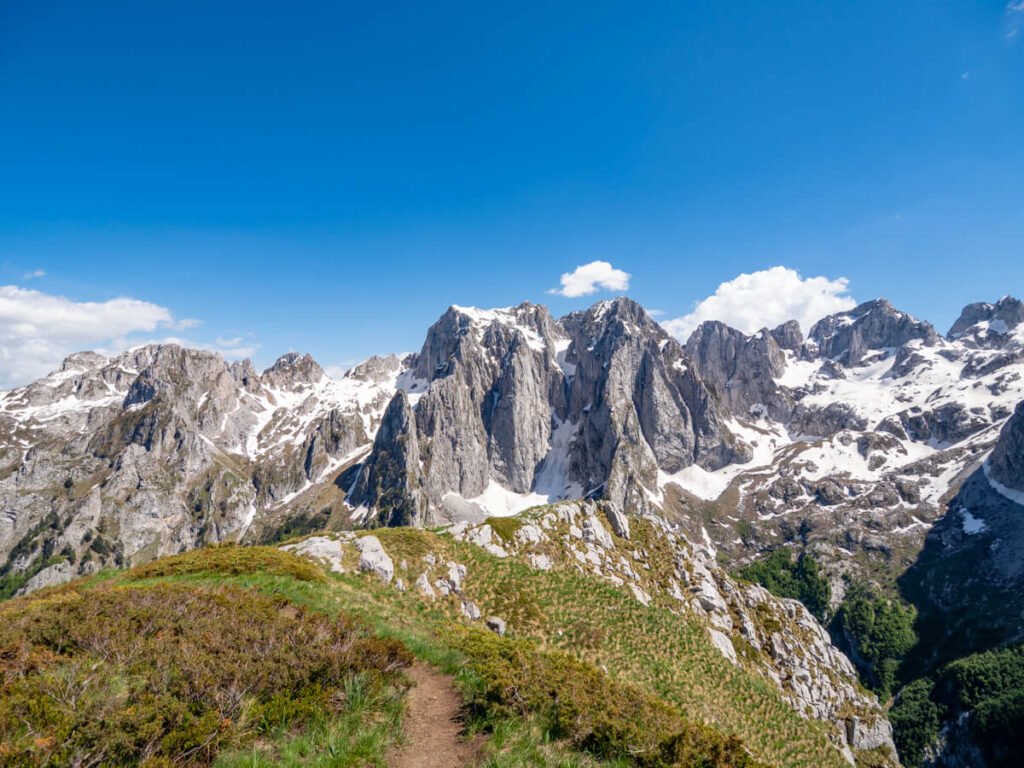

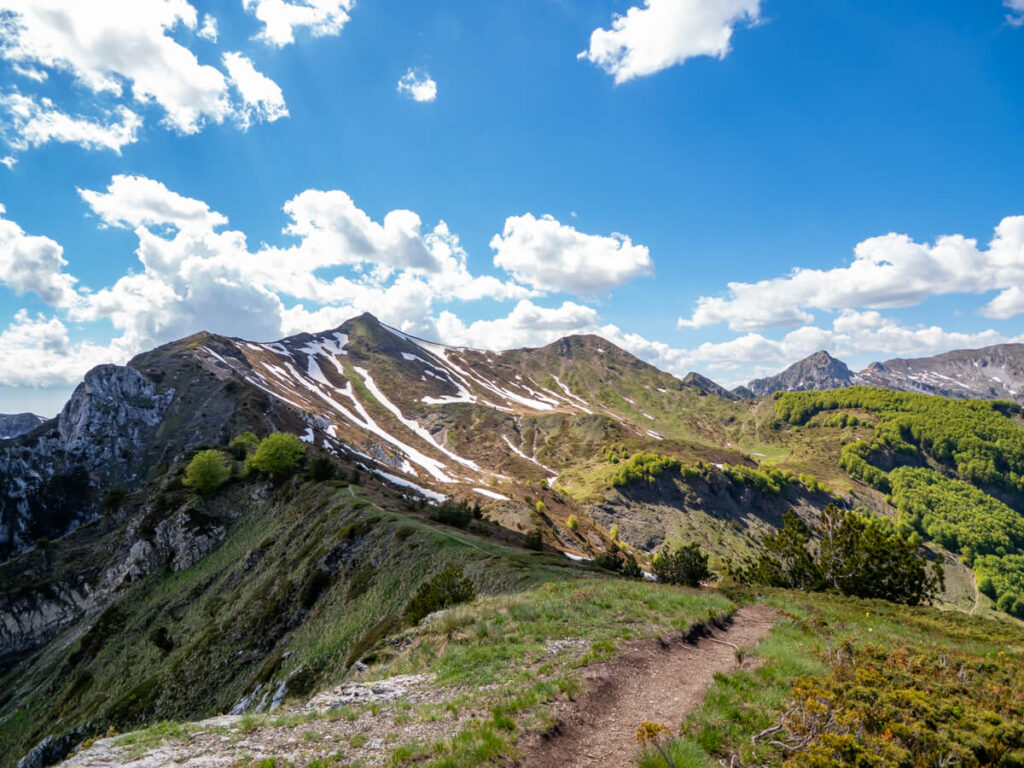

As you look out across the valley on your right, you can see right across to the Kissing Cats rock arch, tucked beneath the towering limestone cliffs. Climbing to it is one of the popular hikes in Prokletije National Park, but more challenging than the Three Peaks.

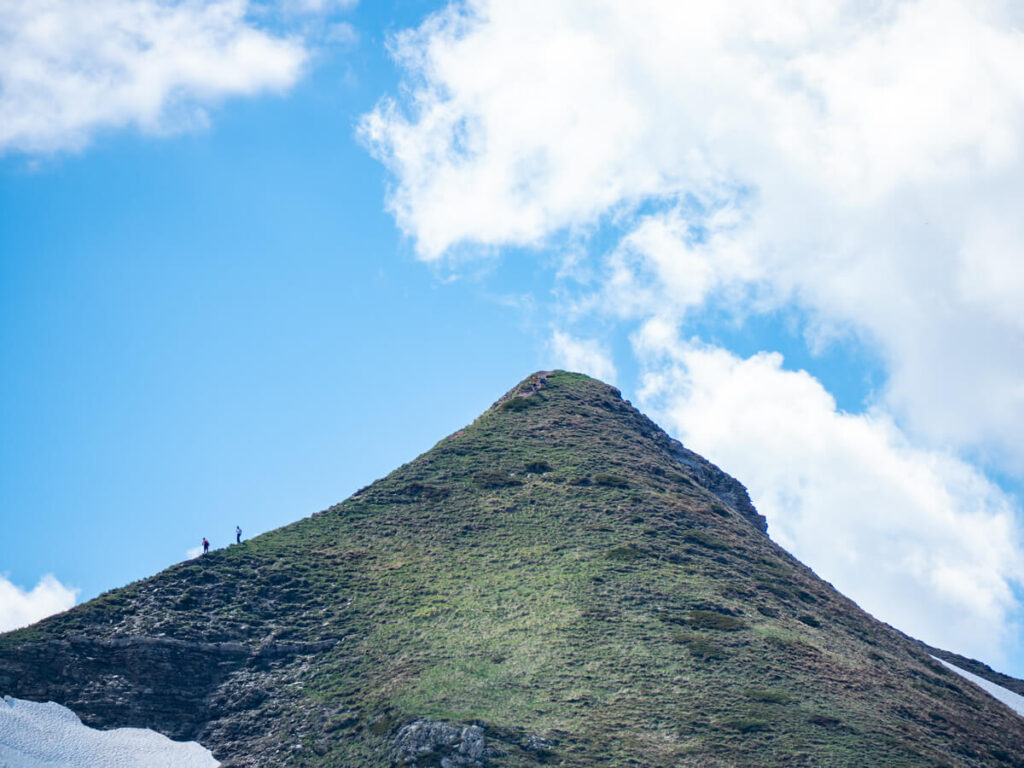
Eventually, you’ll be able to see Volušnica, the broad grassy summit that marks the final peak of the hike. Sitting proudly above Grebaje Valley, it gives you uninterrupted views in every direction.


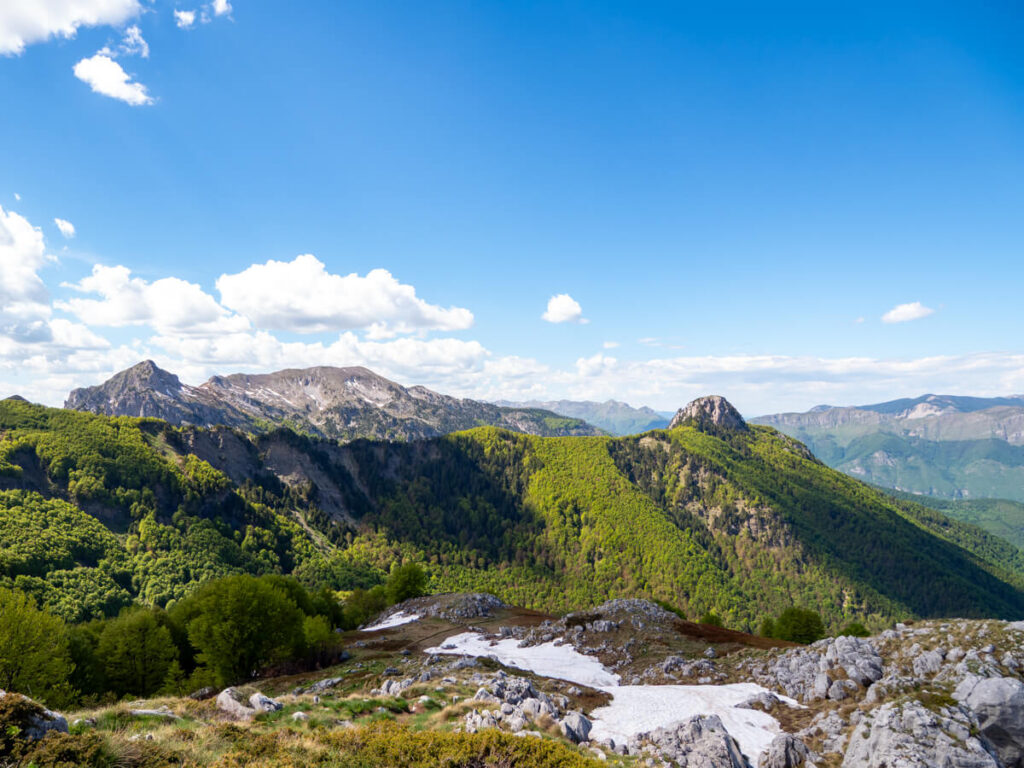

The top of Volušnica
As you approach Volušnica, the landscape starts to change. The sharp limestone peaks give way to softer alpine meadows.
The ascent is the “gentlest” of the three, no more than a 20% grade.

We traversed our way up the third peak of the hike at around 3:00 PM. It took about half an hour, with part of the route going through a small forest.
Once at the top, you’ll be met with a rocky viewpoint with views into the Grebaje Valley 1,879 metres below.

Volušnica boasts 360-degree views. You can see down into the Grebaje Valley on one side and back into the meadow on the other. If you look back, you’ll see the Karanfili peaks and on a clear day, you can see all the way over to Plav Lake and the town of the same name.


Descending into the meadow
When it’s finally time to descend back to the meadow, you can take the route downhill. This was the only part that still had a little snow on the path – we think because the trail goes through a narrow gorge-like section that gets less sun. Be careful – Dan slipped on the snow (although it was more funny than serious).
The descent involves a little scramble down rocks, which was a bit hard on the knees. I stole one of Dan’s knee braces, which helped with a bit of pain (which I’ve never had before). Be careful of your footing and protect your ankles too.
We were back in the meadow at about 4:00 PM. It’s a good idea to refill your filter bottles from the stream before heading into the forest.

Descending through the forest
Descending back through the forest was the worst part of the Three Peaks hike. We felt so elated to have achieved the loop and navigated the ridges, taking in the insane views, but we were still so far away from the car.
We told ourselves it would be ok because it would be much faster to go downhill than up – but it wasn’t. It was pretty much a solid hour of downhill that was absolutely relentless on the legs, knees, and ankles.
Dan did the ‘going fast like skiing then stopping for a breather’ technique, while I went at a more controlled pace down the slopes. Neither was better – we were both aching by the bottom.
I was very grateful for my hiking poles at this point, as they helped me keep my balance on the downhill. By the end, our legs were shaking like jelly!
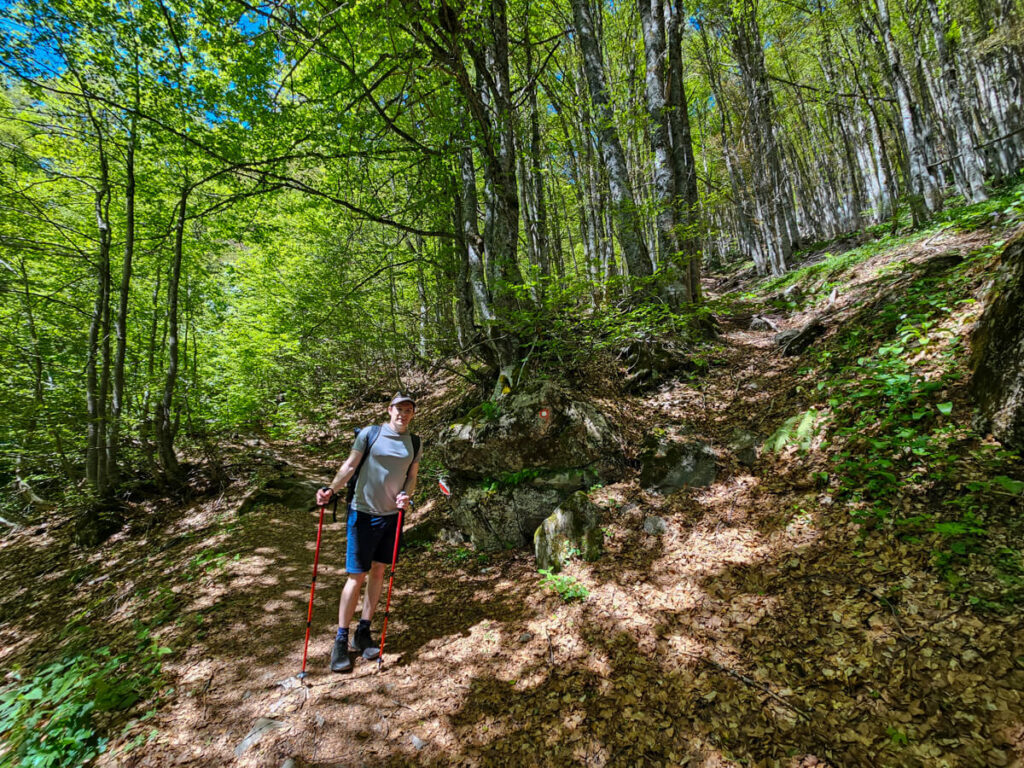
Arriving back at the trailhead
Eventually, we popped back out into the Grebaje Valley, and we couldn’t have been happier. As I mentioned earlier, we took the alternative trailhead down, so we popped out further down the village. We figured the flat walk through the valley would be easier than crossing back over the stream and the slightly steeper trail we’d originally come up.
We eventually made it back to our car at around 5:00 PM, and we’ve never been more grateful to see our ride after a hike. All in all, the Three Peaks took us 7 hours, with lots of stops for photos, a picnic lunch, and an hour-long accidental detour.

Is the Three Peaks worth it?
So was it worth it? Absolutely.
We don’t want to make it sound really difficult and put you off, and we also don’t want to undersell the effort. The Three Peaks trail genuinely deserves its reputation as one of Montenegro’s best hikes, and the views are some of the most spectacular we’ve seen anywhere in the world.
We’re not expert hikers, nor are we people who spend every weekend tackling long mountain routes. Given the choice on a day off, you’ll usually find us snorkelling somewhere rather than chasing summit views. So the fact that we still finished this hike thinking “wow, that was worth it” says a lot.
That being said, we think the challenge is part of what makes it special. Standing on those ridges, looking across the jagged peaks, deep valleys, and endless mountain landscape, knowing you’ve climbed there on your own two feet, makes the views feel even more rewarding.
I will also say that we don’t think it’s the right hike for everyone. It’s not easy, short, or very accessible. We wouldn’t recommend it to people who are afraid of heights, families without mountain hiking experience, or newbie hikers.
Our only hope is that, as Prokletije becomes more popular, people don’t just add the Three Peaks Trail to their itinerary because they’ve seen a pretty photo online. It’s still important to arrive prepared, understand what you’re taking on, and give yourself enough time to actually enjoy it.
Like any hike, this is just our experience. We hike fairly regularly, but we’re certainly not mountain athletes, and everyone finds different terrain challenging. You might fly up the climbs and practically run down the descents, or be completely the opposite. Hopefully, though, walking you through the route will help you decide whether it’s the right hike for you and what to expect if you do take it on.

Is hiking the Three Peaks safe?
The Three Peaks Trail is generally safe for experienced hikers who come prepared, but it’s important to understand that safe doesn’t mean easy. This is a proper mountain hike with steep climbs, exposed ridges, loose limestone, and sections where a mistake could have serious consequences.
The biggest risks aren’t technical climbing or dangerous wildlife – they’re things like underestimating the terrain, getting caught out by changing weather, losing the trail, or pushing yourself when you’re already exhausted.
The trail itself is not a via ferrata and doesn’t require ropes or specialist climbing equipment in normal summer conditions, but there are exposed sections where you’ll want to focus on your footing. Some parts involve steep drops on either side, so anyone uncomfortable with heights may find certain sections intimidating.
There are some parts with steep drop-offs where I thought: “If you fall, you’re screwed!”. I later Googled injuries in the park, and people have died hiking in this region – it’s one of the most dangerous parts of the Peaks of the Balkans trail.
A few things we think make the hike safer:
Three Peaks Hike vs Bobotov Kuk
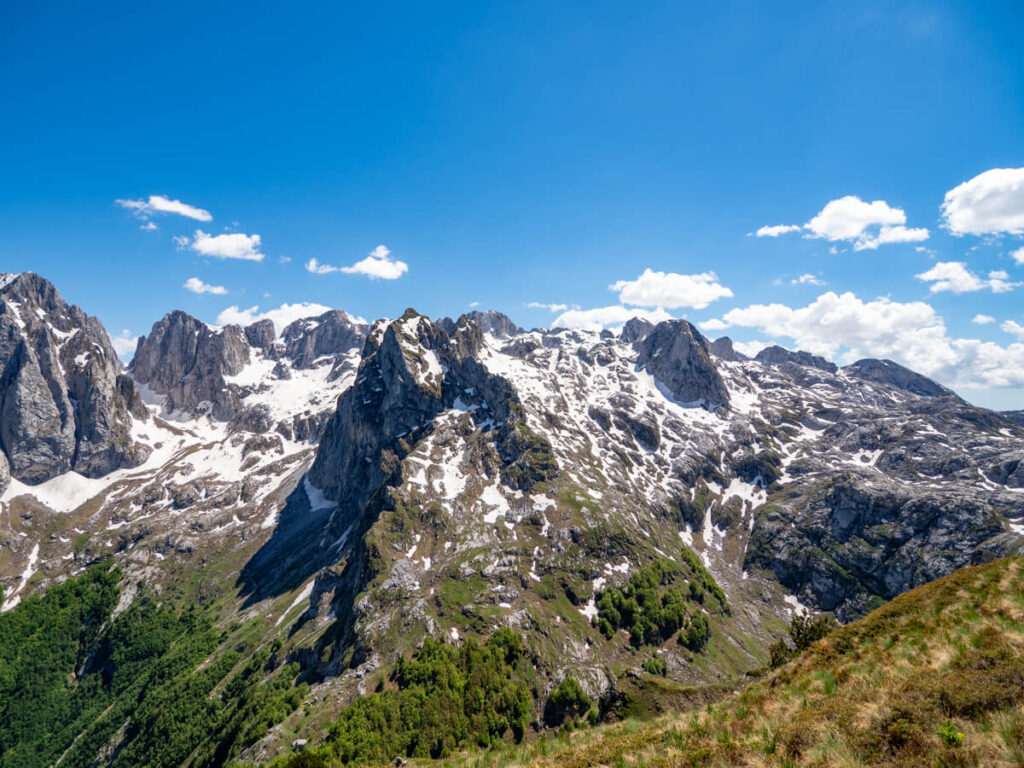
We planned our whole Montenegro trip around two big mountain hikes: the Three Peaks and Bobotov Kuk. We mistakenly started in Prokletije for the Three Peaks, believing it is easier than Bobotov Kuk. But that wasn’t our experience (which is why our improved Montenegro itinerary suggests you travel the country clockwise instead).
That said, comparing the two hikes isn’t as straightforward as saying one is harder than the other. They challenge you in completely different ways, and what you find difficult will probably come down to your own hiking experience and what type of terrain you enjoy. I’m a clumsy girly, so I struggle most with descents and have to take my time on scrambles.
Being unable to summit Bobotov Kuk itself, we personally found the main portion of the hike to Zeleni Vir Lake moderate. But we found the Three Peaks more challenging for a number of reasons:
So which hike is harder? Honestly, we don’t think there’s a universal answer. The nature of each hike is quite different, so they are actually hard to compare like-for-like.
If you struggle with long climbs, repeated elevation changes, and exposed ridges, you may find the Three Peaks tougher. But you can make it a little easier by only going out and back to Volušnica.
If you struggle with scrambling, heights, and technical summit sections, Bobotov Kuk may feel more intimidating. But you can avoid the really hard bit by not summiting.
Tips for hiking the Three Peaks Loop
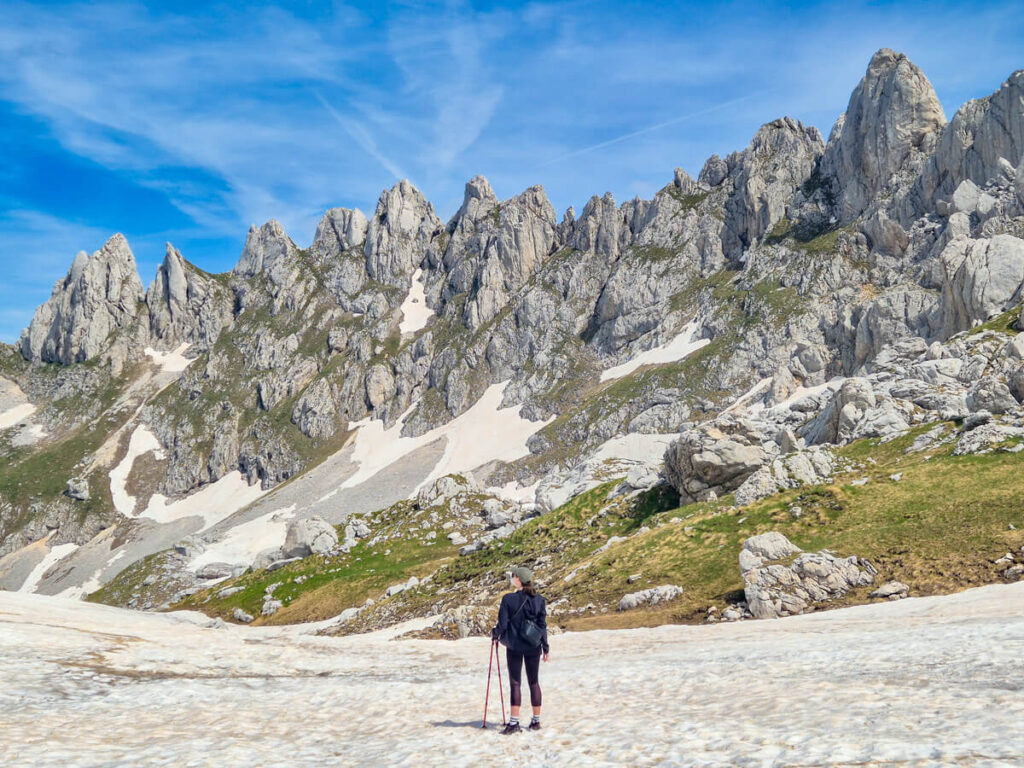
After completing the Three Peaks Trail ourselves, these are the things we think will make the biggest difference to your experience:
What to pack for the Three Peaks hike
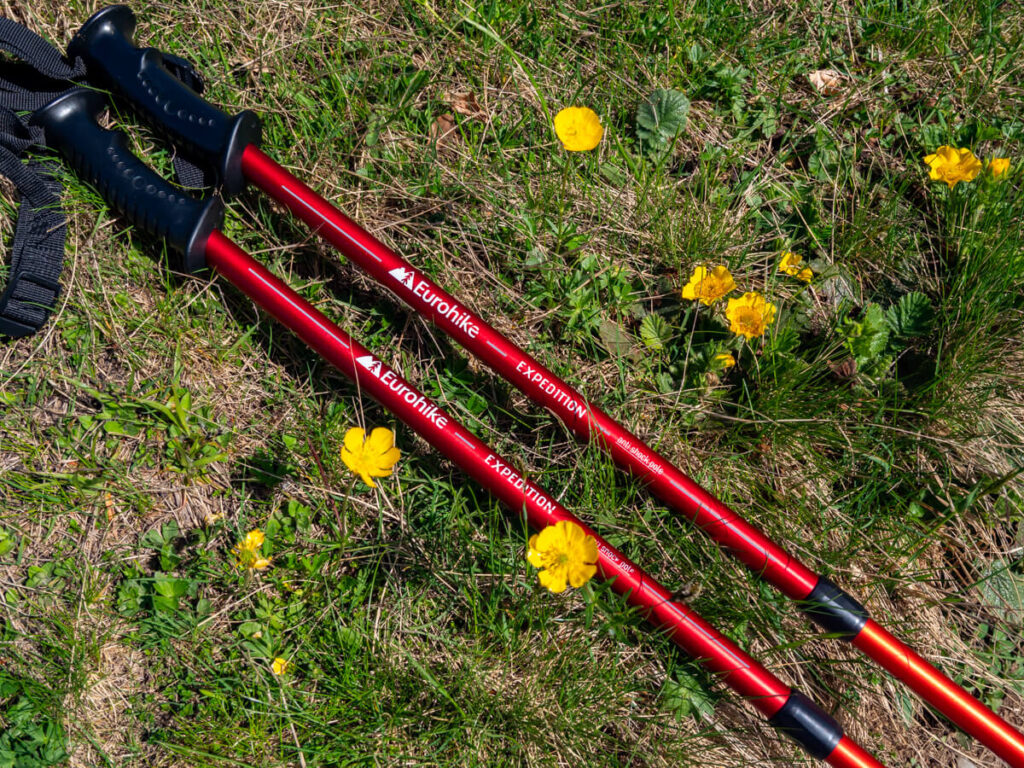
It’s best to be prepared for your Three Peaks hike. Don’t forget to pack your:
Leave your drone in your accommodation, as it’s illegal to fly in the national park (be aware that you need to apply for a permit before importing it into Montenegro anyway).
Practical information for the Three Peaks hike
Before setting off, it’s worth knowing that the Three Peaks Trail is a remote mountain hike rather than a typical tourist attraction. Facilities are limited once you leave Grebaje Valley, so you’ll need to arrive prepared.
Food
There are a handful of restaurants and katuns around Grebaje Valley where you can eat before or after your hike, but don’t expect cafés and shops – you’ll need to go to nearby Gunsinje for that.
Pack enough food and snacks for the entire hike, especially as most people spend 7-9 hours on the route. High-energy snacks like nuts, fruit, sandwiches, and protein bars are ideal for keeping your energy levels up.
If you have dietary requirements, plan ahead. Traditional mountain food is often based around bread, yoghurt, meat, and dairy, although we found our katun was able to provide vegetarian-friendly options.

Water
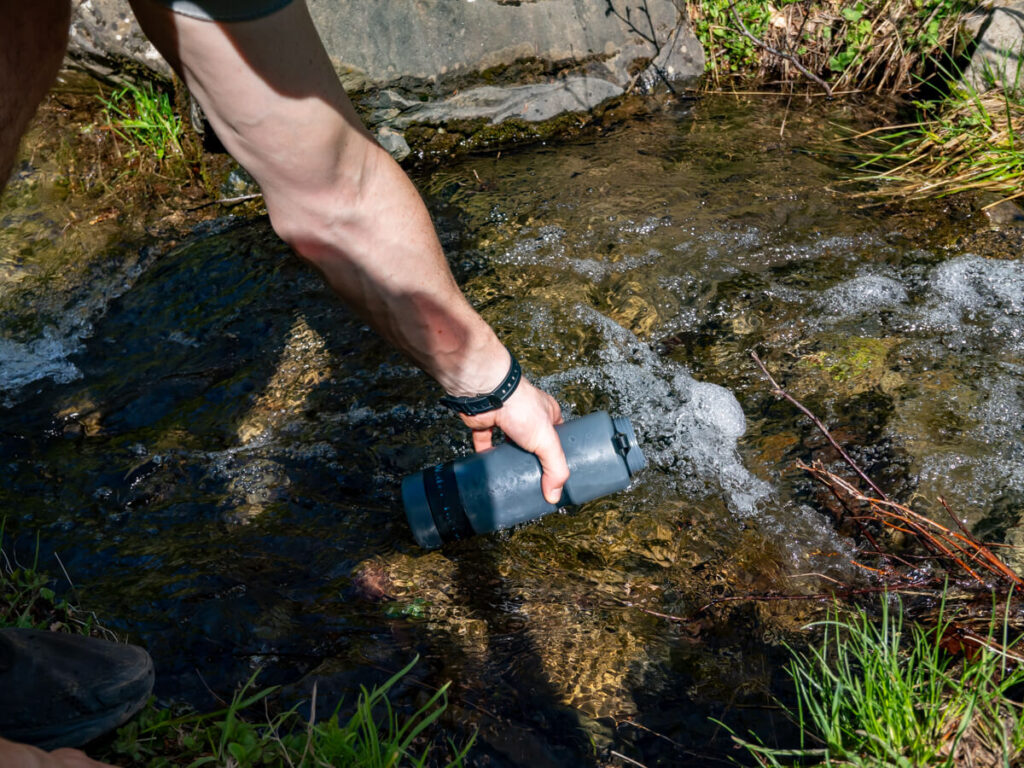
Bring enough water to last the whole hike. There are some springs and streams in Prokletije, but they aren’t always easy to find, aren’t guaranteed to be flowing (especially in summer), and should be treated before drinking (we use our filter water bottles to stay safe).
We went through about 3 litres of water each: we had four 750 ml bottles with us, and we stopped to fill up twice – once when we reached the meadow before the loop and once again after we got back after the loop.

Facilities
Facilities are very limited once you leave the Grebaje Valley trailhead.
Before starting, use the toilets at your accommodation, restaurant, or the valley facilities if available. There are no toilets along the Three Peaks route, so you’ll need to follow responsible wild camping and hiking practices.
Mobile signal can also be unreliable, particularly in valleys and higher mountain sections, so download anything you need before setting off.

Rules
The Three Peaks Trail sits inside Prokletije National Park, so you should follow the park’s rules:

What else is there to do in the Grebaje Valley?
Although the Three Peaks Trail is the main reason many people visit, there are other fun things to do in the Grebaje Valley.
The valley itself is one of the most beautiful places in Montenegro, with towering limestone peaks, traditional mountain huts, and peaceful walks that let you experience the landscape at a slower pace.
There are several other hikes in Prokletije National Park that are accessed from the valley to peaks like Trojan, Vezirova Brada, and Karanfili Ljuljaševića.
You could also drive over to the neighbouring Ropojana Valley for short flat walks to waterfalls and springs. Or explore the nearby towns of Gusinje, Vusanje, and Plav.
Where to stay for the Three Peaks hike
Choosing where to stay in Prokletije National Park can make or break your hiking experience. If you’re hiking the Three Peaks Trail, we strongly recommend staying as close to Grebaje Valley as possible. The best options are staying inside the Grebaje Valley, which puts you within walking distance of the trailheads.
However, there are several other options nearby that are an easy 15-30 minute drive to the trailheads. We actually stayed in the nearby Ropojana Valley and were very happy with our cabin in Eko Katun Rosi.
If you’re reliant on public transport, you’ll need to stay in Gusinje or Plav, which have bus connections from Podgorica, and arrange a taxi to and from the Grebaje Valley.
Wherever you choose, we’d highly recommend staying in a locally-owned katun. It’s a traditional mountain shepherd’s settlement where families have been bringing livestock to graze during the summer months for generations. Today, many katuns around Prokletije have been transformed into simple guesthouses, allowing visitors to experience authentic mountain hospitality, homemade food, and comfortable accommodation in wooden cabins.
Three Peaks Hike Guesthouses


Three Peaks Hike FAQs
To give you a further impression of the Three Peaks hike, we’ve answered these frequently asked questions.
What is the 3 Peaks Challenge, Montenegro?
Despite the similar name, Montenegro’s Three Peaks Hike refers to the Volušnica-Popadija-Talijanka loop, not the Peaks of the Balkans multi-day hike. It’s not only confusing because they’re named similarly, but also because the Balkans’ Three Peaks trail does include a small portion of Montenegro’s Three Peaks Loop. Some tour guides also use the term Three Peaks Challenge to refer to Crvena Greda, Prutaš, and Bobotov Kuk in Durmitor National Park.
How to get to the Three Peaks hike, Montenegro?
The easiest way to reach the Three Peaks hike in Montenegro is by hiring a rental car. The trail starts in Grebaje Valley, around 20 minutes’ drive from Gusinje, and there is no public transport to the trailhead. If you’re flying into Montenegro, we’d recommend renting a car when you arrive and driving in Montenegro, as it gives you the flexibility to explore Prokletije National Park and the rest of the country at your own pace.
How long does the Three Peaks hike take?
Most hikers complete the Three Peaks hike in 6-8 hours, depending on fitness, route choice, weather conditions, and how often you stop for breaks and photos. Total walking time is around 5 to 5.5 hours. We spent most of the day on the trail because we were constantly stopping to admire the views (and catch our breath!).
Can beginners hike the Three Peaks?
We wouldn’t recommend the Three Peaks hike for complete beginners. While there are no technical climbing sections, the combination of distance, elevation gain, exposure, and uneven terrain makes it a challenging route, particularly if you have little experience hiking in the mountains.
Which direction should you hike the Three Peaks?
There is no universally accepted best direction for the Three Peaks hike, and hikers are divided on whether to go clockwise or anticlockwise. We chose to hike anticlockwise, tackling the steep ridge to Popadija as an ascent rather than a descent, which we think gives you the best views on the way round.
Do you need a permit for the Three Peaks hike?
No permit is required to complete the standard Three Peaks hike within Montenegro. However, if you plan to continue across the border into Albania or Kosovo as part of the Peaks of the Balkans Trail, you’ll need to arrange the appropriate cross-border permit in advance.

Read next:
Visiting Prokletije National Park: Montenegro’s Accursed Alps
10 Best Hikes in Prokletije National Park From Easy to Expert
Where to Stay for Prokletije National Park: Best Valleys, Towns & Katuns
Grebaje Valley Travel Guide & Best Things to Do
