What It’s Really Like Hiking Bobotov Kuk: Montenegro’s ‘Highest’ Mountain

A complete guide to the Bobotov Kuk hike in Durmitor National Park, including difficulty, routes, trailheads, parking, and top tips to stay safe.
This post may contain affiliate links, which means we might earn a small commission on anything purchased through these links at no extra cost to you. Learn more on our disclaimer page.
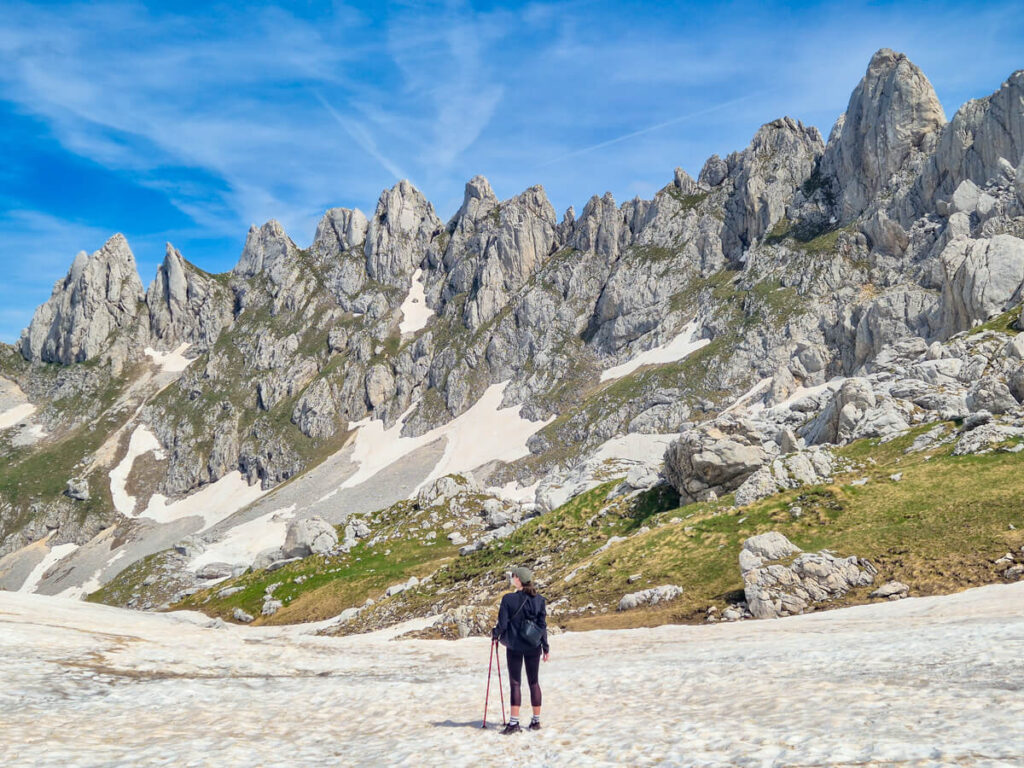
Bobotov Kuk is one of Montenegro’s most famous peaks, sitting proudly at 2,523 meters (8,278 ft) above sea level, making it the highest summit in the Durmitor massif. The hike takes you deep into the national park, past glacial lakes, dramatic limestone peaks, and high alpine landscapes, before a final ascent to the summit, where you’re rewarded with sweeping views across northern Montenegro.
But while Bobotov Kuk is often presented as one of the best things to do in Durmitor National Park, it’s not a walk you should underestimate. The route is long, steep, and exposed in places, with rocky terrain and a challenging final section that requires a decent level of fitness and a head for heights. Weather can also change quickly at this altitude, making conditions very different from what you might expect when setting off in Žabljak.
With the right preparation, sensible route choice, and enough time, the Bobotov Kuk hike is an achievable challenge for confident hikers – and one of the best ways to experience the scale of Durmitor away from its more touristy attractions.
Despite not going to plan, this was our favourite day of our entire 5-week Montenegro road trip, and we’re super excited to share it. Discover everything you need to know about hiking Bobotov Kuk, including the different routes, trailhead locations, parking situations, distances, elevation gain, difficulty, what the trails are actually like, when to go, what to pack, and our tips for reaching the summit safely, in this guide.
The Bobotov Kuk hike at a glance
More from Durmitor National Park
What is Bobotov Kuk?
Technically, Bobotov Kuk is the highest mountain completely in Montenegro. But it is beaten for the official title of Montenegro’s highest mountain by three peaks in Prokletije National Park: Zla Kolata (2,535 metres), Dobra Kolata (2,528 metres), and Rosni Vrh (2,524 metres), all of which straddle the border with Albania.
The summit sits within a spectacular limestone landscape shaped by glaciers and karst erosion, with jagged peaks, deep valleys and glacial lakes. On a clear day, the views from the top stretch across much of northern Montenegro.
The Bobotov Kuk hike itself refers to the trail (although there are multiple) that leads to the top of the peak. It’s widely considered one of the best hikes in Montenegro – and having done it ourselves, we’d agree. This was the most fun we had on a hike in our whole 5-week Montenegro trip.

Where is Bobotov Kuk?
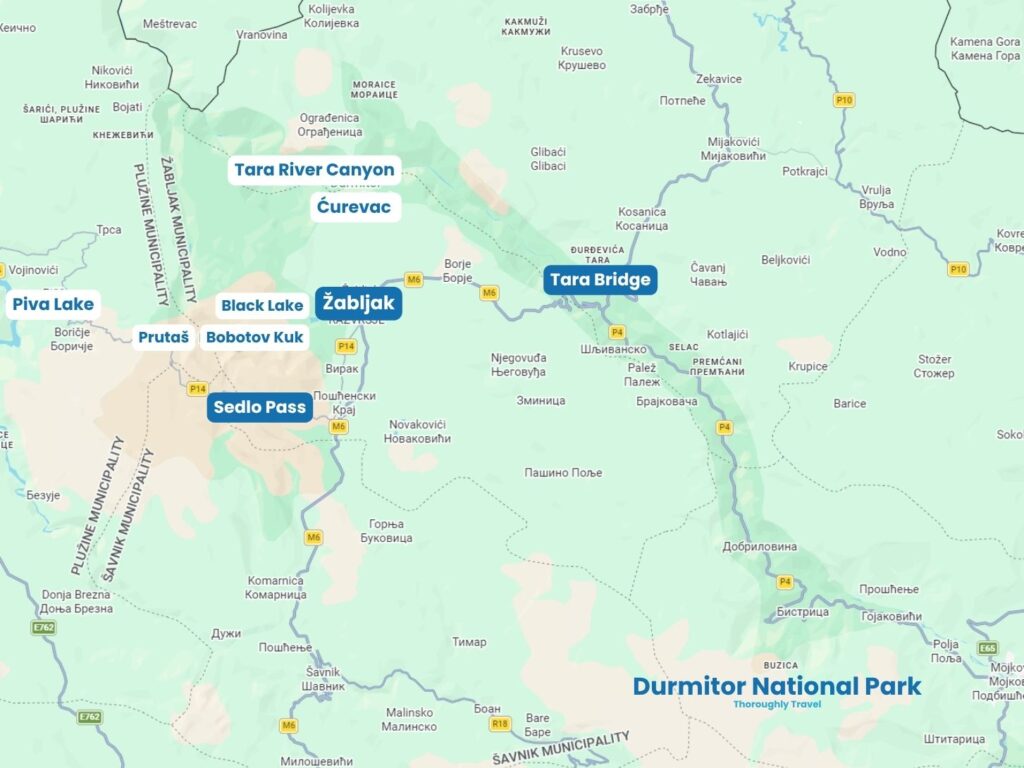
Bobotov Kuk sits in the heart of Durmitor National Park, a UNESCO World Heritage site and one of Montenegro’s 5 national parks. It lies roughly 7.5 miles (12 km) from Žabljak as the crow flies.
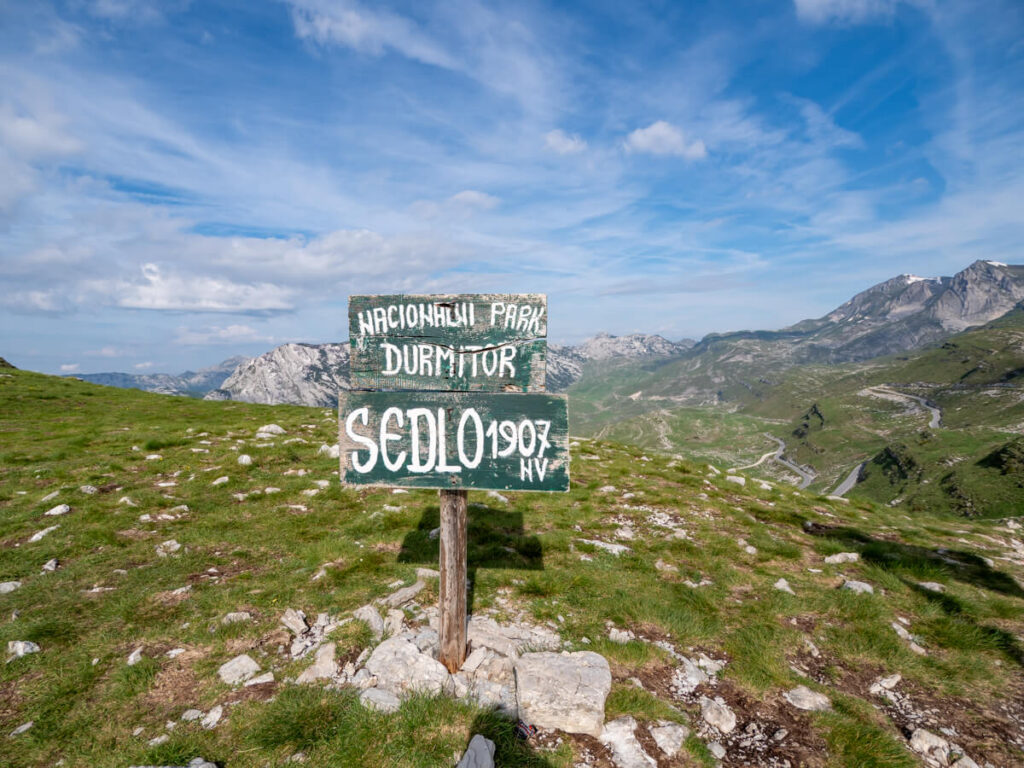
There are several ways to reach the summit, with the most popular hiking route starting from Sedlo Pass, which sits at 1,907 metres (6,257 ft) above sea level.
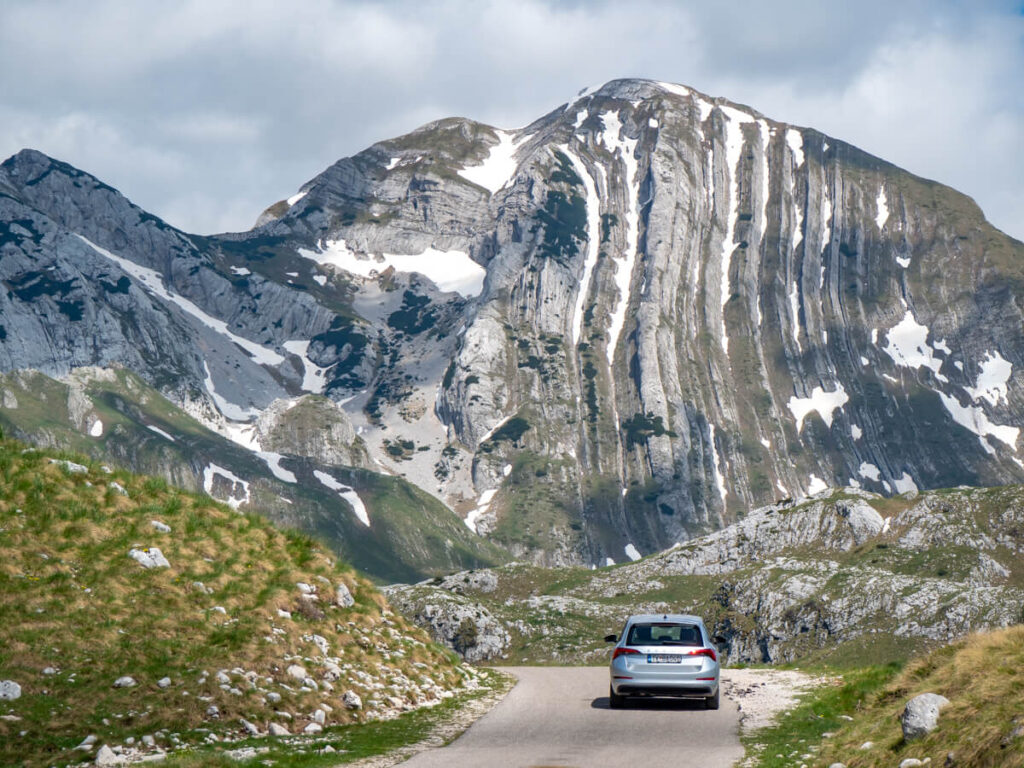
The summit is surrounded by some of the most dramatic scenery in the national park, including Škrčko Lake, Zeleni Vir Lake, and the towering limestone peaks of the Durmitor mountain range. The route from Sedlo Pass also takes you along one of the most spectacular sections of the Durmitor Ring Road.
Is hiking Bobotov Kuk difficult?
There’s no doubt about it, the Bobotov Kuk trail is a genuinely challenging mountain hike, and it’s therefore not one we’d recommend as your first serious alpine hike. We think it’s important to address difficulty early on because it’s really important to be prepared for this hike.
We planned our entire Montenegro trip around the idea of climbing Bobotov Kuk. The problem was that we didn’t really know what to expect from hiking in Montenegro. We weren’t sure whether we had the experience or skills to take on a mountain like this, and stories about the challenging final ascent had us seriously questioning whether we should attempt it at all.
Then we remembered that we’d climbed Acatenango Volcano the year before and, while that certainly didn’t make us experienced mountaineers, it reminded us that we’re capable of doing hard things. So we decided to give Bobotov Kuk a shot.
For context, we worked up to the Bobotov Kuk hike with several other moderate-to-challenging trails around the country, including the Ladder of Kotor and the Three Peaks hike in Prokletije National Park. But besides these, we’re not expert hikers and don’t have any extensive mountaineering experience.
And bravado aside, there are some really conflicting reports about just how hard Bobotov Kuk is. You’ll find people describing it as a straightforward hike and others warning that the final ascent is borderline mountaineering. The reality is somewhere in between, and a big reason for the confusion is that the difficulty changes dramatically throughout the hike.
The entire route is generally classified as Difficult, but that label doesn’t really tell you what you’re getting yourself into. We’d break the hike down roughly like this:
We’ve broken down the trail further with more information later in this post, but these stats give you a good idea of difficulty:
Essentially, it’s a sustained mountain hike, with much of the elevation gain coming during the final ascent, so you’ll need enough stamina to keep moving for several hours while still having the concentration for steep, narrow and exposed sections when you’re already tired. Yeah, it’s difficult.
Exactly how hard you’ll find the Bobotov Kuk hike will depend heavily on your experience, fitness, the weather conditions, and how comfortable you are with exposed mountain terrain. But can an ordinary fit hiker climb Bobotov Kuk? We think yes, in good conditions and with adequate preparation. You don’t need to be an experienced mountaineer to attempt it, but you do need to be comfortable hiking for several hours, gaining significant elevation, scrambling over rock, and dealing with exposed terrain.
This is the guide we wish we’d had before attempting the Bobotov Kuk hike, where we break down exactly what to expect, how difficult we found each section, what preparation you’ll need, and whether we think it’s achievable for ordinary hikers.
Travel insurance can save you $$$ if things go wrong
Don’t forget to buy travel insurance! From lost luggage to emergency medical care abroad, travel insurance gives you peace of mind so you can solely focus on the adventure. It might not be exciting, but you’ll be very glad you have it if something goes wrong. A few of our favourite companies are:
Find out more: 6 Best Travel Insurance Companies for Every Kind of Trip
How to get to Bobotov Kuk
The easiest way to get to the Bobotov Kuk hiking routes is to rent a car, as the main trailheads are high in the Durmitor mountains and public transport options are extremely limited. While it is possible to follow an incredibly long route from Žabljak on foot, it’s much easier and more practical to drive to one of the trailheads.
There are no public buses to the trailheads, but a couple of accommodations offer shuttle options. Hostel Hikers Den has a one-way shuttle bus to the Bobotov Kuk trailhead at 9:00 AM each day. It costs €5 per person, but be aware that there’s no return option, so you’ll need to arrange a taxi to pick you up or hitchhike.
Hitchhiking is possible on the road towards Sedlo Pass, although we wouldn’t rely on getting a lift at a specific time, particularly if you’re planning a long hike and want to start early. It’s more common to get a lift there by taxi or shuttle and then hitchhike back to Žabljak. But again, it’s unreliable, especially out of the peak summer months.
Another option is to arrange a taxi from Žabljak, which costs around €15-20 one way, depending on the driver, season, and exact drop-off point. If you want to be sure you have a ride back, arrange a return taxi with the same driver in advance, agreeing on a pickup time and location before you start the hike.
Bobotov Kuk Trails and Trailheads
There are several trails to hike to Bobotov Kuk, although they aren’t equal in terms of distance or difficulty. Your choice of trailhead will make a significant difference to the overall length and elevation gain of your hike, so it’s worth deciding where you want to start and end before setting off.
Bobotov Kuk Trail Map
Below we’ve embedded the trail map we followed and recommend for the Bobotov Kuk hike from Sedlo Pass. But we’ve also detailed alternative trails and trailheads, with links to the maps and parking areas, too.
Bobotov Kuk Trailhead I – Sedlo Pass
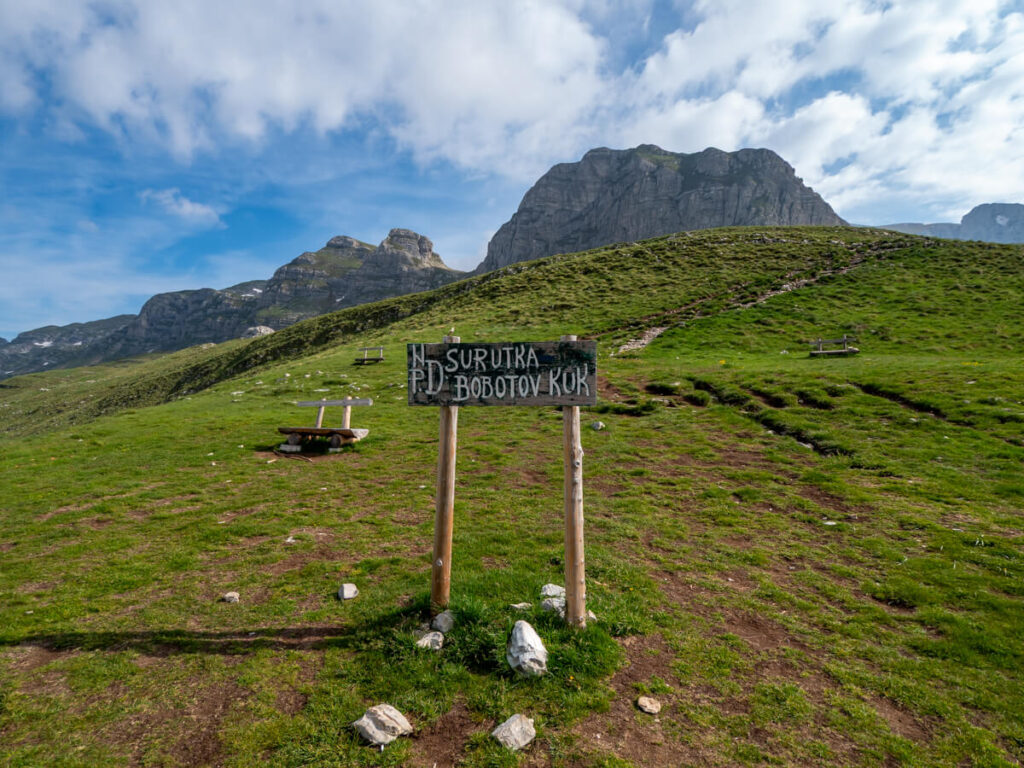
The most popular trailhead for the Bobotov Kuk hike starts in Sedlo Pass. This is the trailhead we’d recommend for most hikers, and the one we chose. At around 1,907 metres (6,257 ft), you’re already high in the mountains, meaning you avoid a substantial amount of the elevation gain involved in starting lower down.
This trail climbs into the mountains at Uvita Greda Peak, before heading through valleys and meadows to Zeleni Vir Lake. From there, it climbs steeply to Velika Previja Pass, before the final summit climb.
The trailhead is reached via the spectacular Durmitor Ring Road, and there is free parking beside the road near the start of the hiking route. It’s roughly a 20-minute drive from Žabljak. Beware, it’s a pretty narrow road, so we’d recommend reading our guide to driving in Montenegro to know what to expect.
Bobotov Kuk Trailhead II – Dobri Do
There’s a second, slightly less popular trailhead for the Bobotov Kuk hike about 2 miles (3.4 km) west along the road from the Sedlo Pass parking area. Theoretically, this route is slightly shorter than the Sedlo Pass route with less total elevation gain.
This trail starts from the Dobri Do Valley and meets up with the trail from Sedlo Pass just west of Zeleni Vir Lake, before taking the same path to the summit.
The Dobri Do trailhead can be combined with the Sedlo Pass trailhead to turn the Bobotov Kuk hike into a loop – set off from one trailhead for the summit, then return via the second. To complete the circuit though, you will need to walk 2 miles (3.4 km) along the main road between the two trailheads.
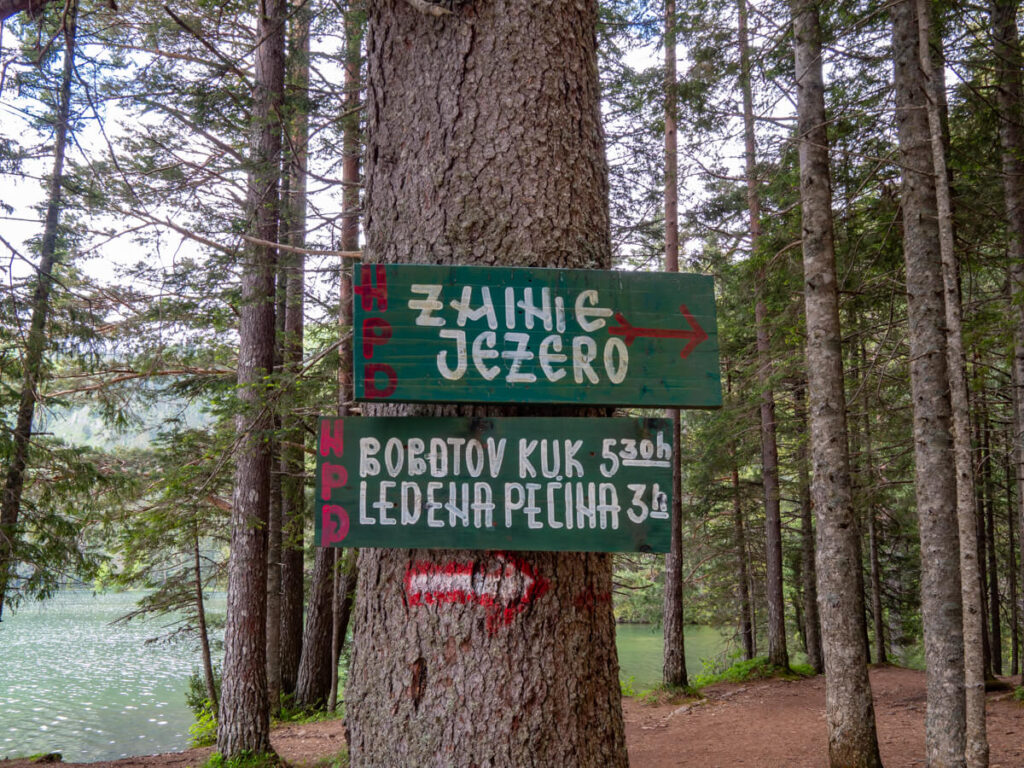
Bobotov Kuk Trailhead III – Black Lake
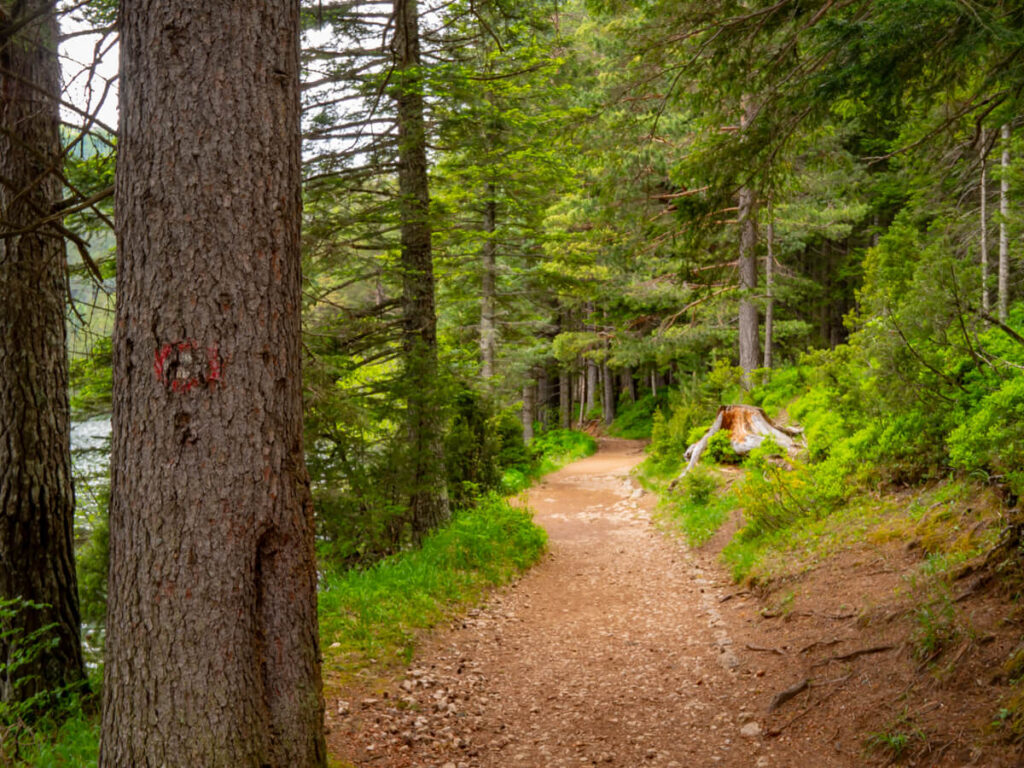
Another option is to start from the Black Lake, near Žabljak. The trail for Bobotov Kuk from the Black Lake can be found on the first part of the Black Lake Loop, or picked up west of the Campground at Ivan Do.
Some people without transport hike to Bobotov Kuk from Žabljak. This is the same route as from the Black Lake, but covering the extra distance from the town to the lake, too.
We wouldn’t personally recommend this route because:
These trails can take up to 12 hours, so we’d recommend making them a one-way hike and arranging transport or accommodation at the far end, or starting very early and preparing for a long day.
Bobotov Kuk Alternative Trails
A vast network of trails criss-cross throughout Durmitor National Park and Bobotov Kuk can also be reached from several other areas, including:
Bobotov Kuk Parking
There is a small parking area at the Sedlo Pass trailhead, but don’t expect a large formal car park. It’s rough and gravelly – don’t drive too far in if you have a low-slung car. Space is limited to around 25 cars, and it can become busy during the peak summer season, particularly on weekends, so get there early (before 9:00 AM). There’s also some limited roadside parking space on the bend and a little down the road.
There’s even less space at the Dobri Do trailhead. There’s very limited roadside parking here for about 10 cars.
If you’re starting from the Black Lake, there are two parking areas: Car Park I or Car Park II – both are a ~10-minute walk to the start of the Black Lake Loop Trail. They are incredibly busy during summer, so arrive early, and charge €3 an hour or €24 for a day.
Bobotov Kuk Fee
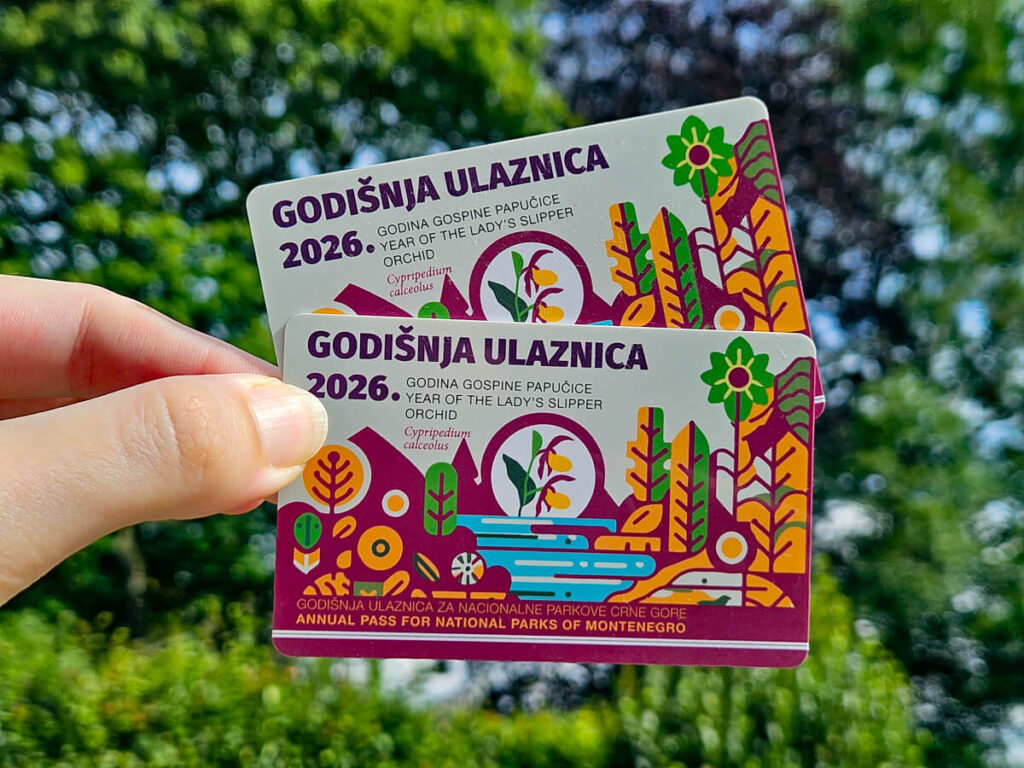
Bobotov Kuk is located within Durmitor National Park, so you’ll need to pay the national park entrance fee
It’s €5 per person per day, but we’d highly recommend getting the annual pass for €13.50 if you plan to visit the other national parks too. You can also buy it online in advance.
Bring cash in case the card terminal isn’t working. Then keep your ticket with you if you’re planning to spend the day exploring, as you may encounter checks elsewhere in the park.
During our visit on a weekday in early June, there was no one around checking tickets when we arrived at around 8:00 AM, and we didn’t see anyone when we left at around 2:00 PM either.
There is no separate fee specifically for climbing Bobotov Kuk.
Our experience hiking Bobotov Kuk
As we’ve mentioned, there are various start and end points, with options to extend the hike, but we did the classic out-and-back hike from Trailhead I, which is the most popular way to climb Bobotov Kuk.
This is our account of what it was like to hike the Sedlo Pass-Bobotov Kuk trail on a weekday in early June as novice hikers with a little mountain experience.
The hike can be broken down into several sections:
Allow 3-4 hours for the ascent (4.5 hours if you’re slow or want to stop for lunch) and 3-4 hours for the descent. In total, we’d recommend 7-9 hours for the hike. While you could probably do it in 6 hours or less if you’re a pro, it’s worth taking your time, enjoying the seriously epic views, and lingering in the scenic spots.
It’s also worth noting that the trail can get busy, especially the narrow and steep sections from Zeleni Vir Lake to Velika Previja Pass and up to the summit. Bottlenecks can form, and there are often queues of people waiting to use the steel cables, especially in summer. This can add more time to your total.

What it’s like hiking Bobotov Kuk
Our Bobotov Kuk hike started in the Sedlo Pass, which sits at an altitude of 1,907 meters (6,256 feet). The drive in is absolutely beautiful, but we’d driven the Durmitor Ring a few days before, so we were on a mission not to stop on the way.
When we arrived at the parking area at around 8:00 AM, there were a handful of cars already there and a couple of campervans that looked like they’d spent the night. It’s the same parking area for the trail up Sedlena Greda, a peak that sits just over the road.
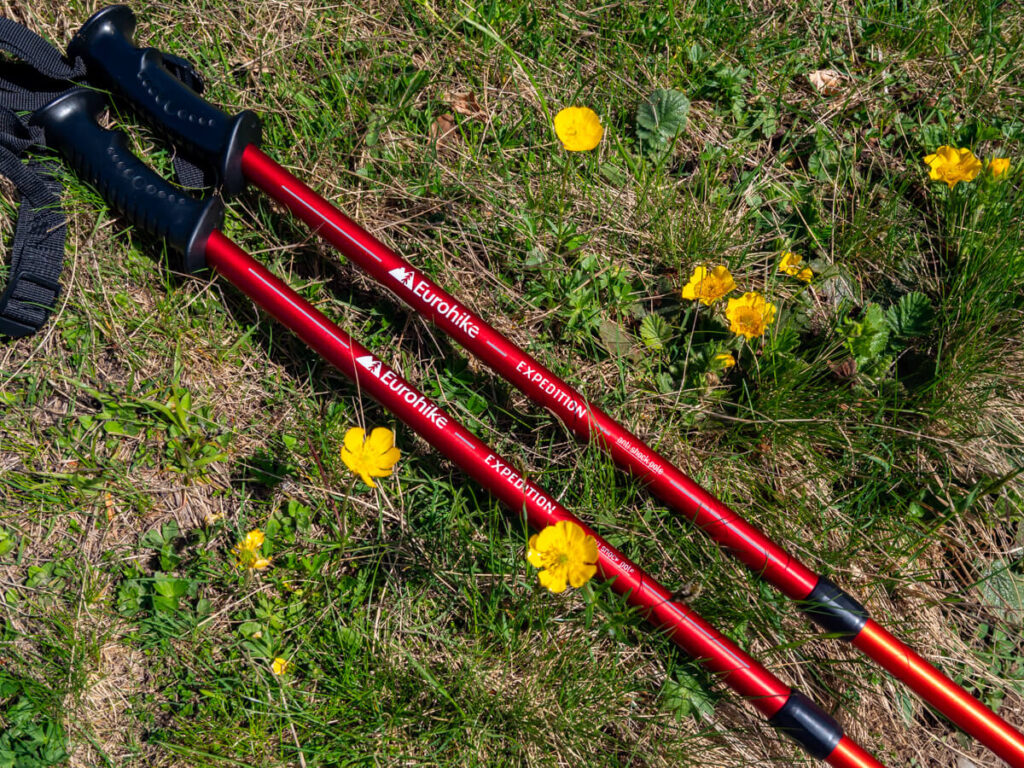
We’d checked the weather forecast, which predicted clear weather, but it was hella windy. We spent a bit of time layering up, packing our bags with an extra jumper, snacks, water, knee and ankle braces, and getting our poles to the right height.
After dilly-dallying as long as possible, realising the wind wasn’t about to die down any time soon, and questioning whether we should do the hike today at all, we decided to brave it. We were already anxious that early June was still too early in the season for the hike due to snow, so we really set our expectations low and decided just to see how far we could safely get before turning around.
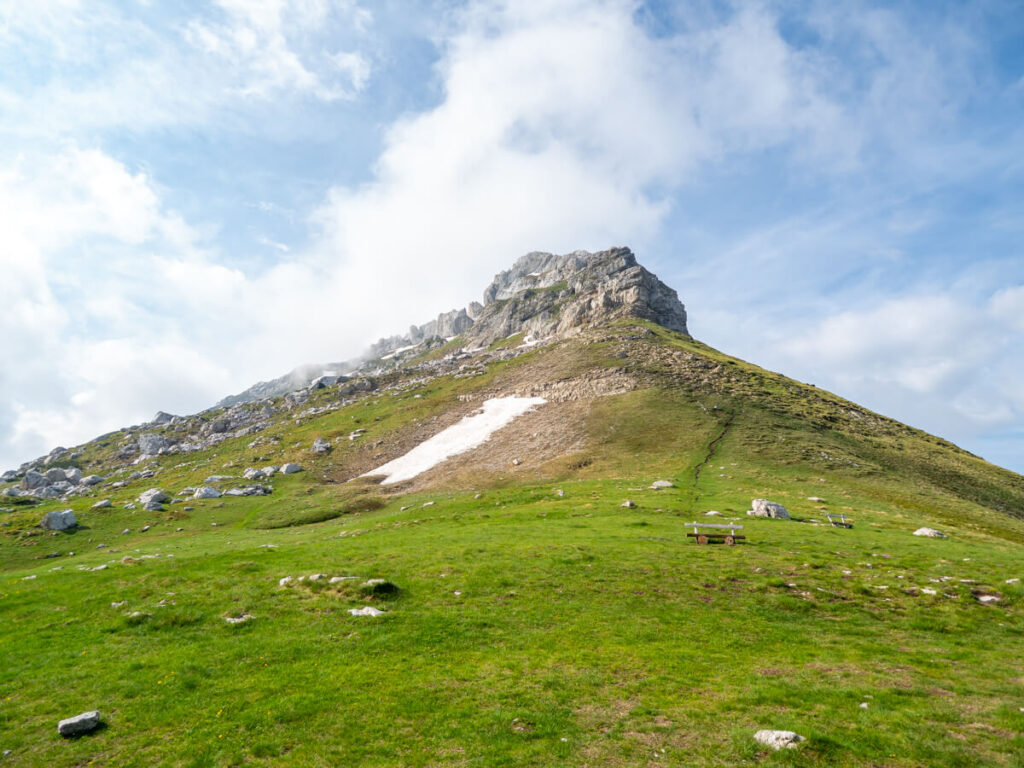
The trailhead to the first scramble
We set off at around 8:30 AM. If your intention is to summit, we’d recommend setting off no later than 9:00 AM to give you enough time.
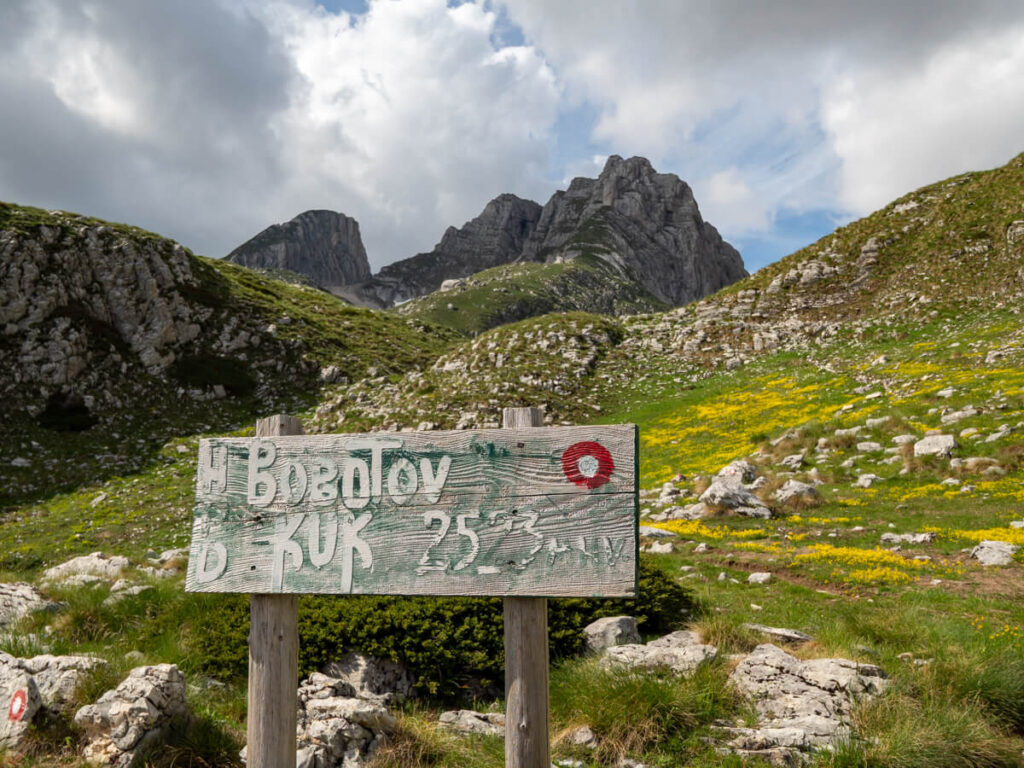
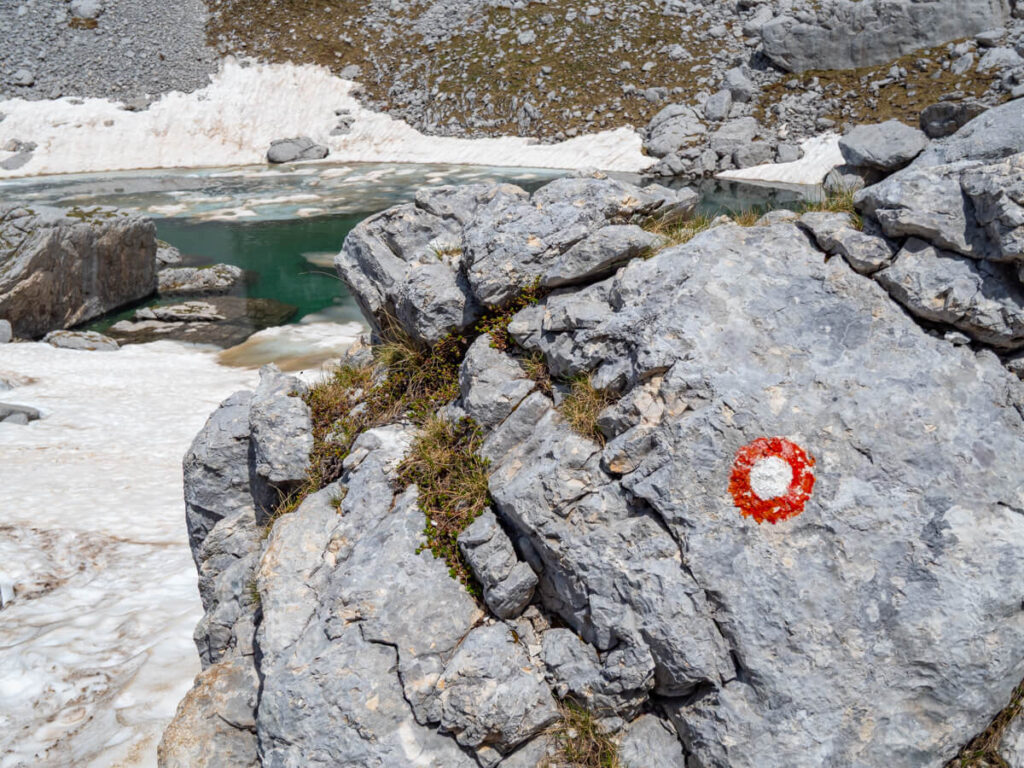
The trail is really well signposted – there are the classic red-and-white waymarks painted at frequent intervals on rocks and boulders along the trail.
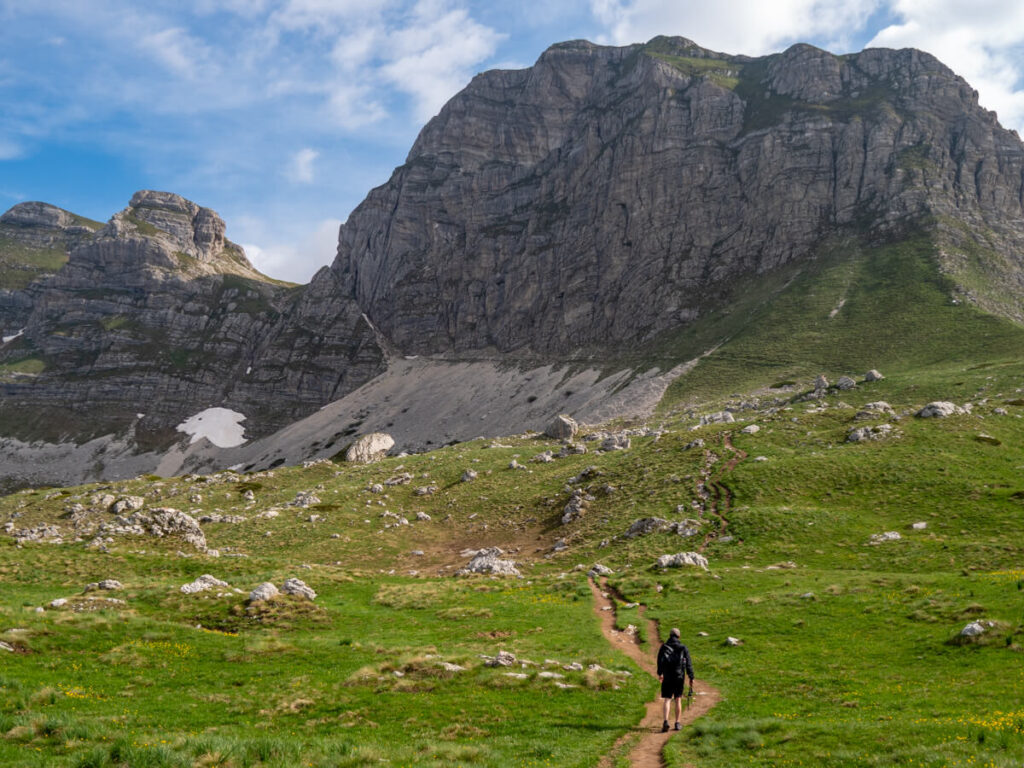
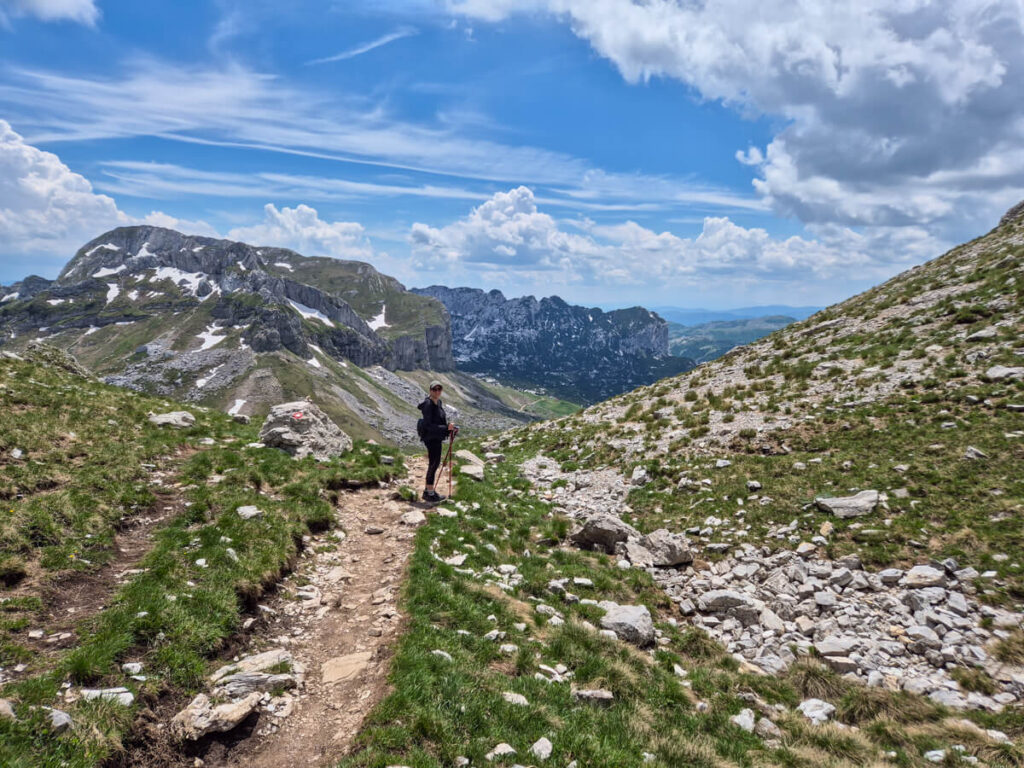
The first half a mile (0.8 km) is a fairly gentle climb on a dirt path up a gentle grassy hill that’s pretty obvious. Luckily, it sits in a pretty protected meadow, so we couldn’t really feel the wind.

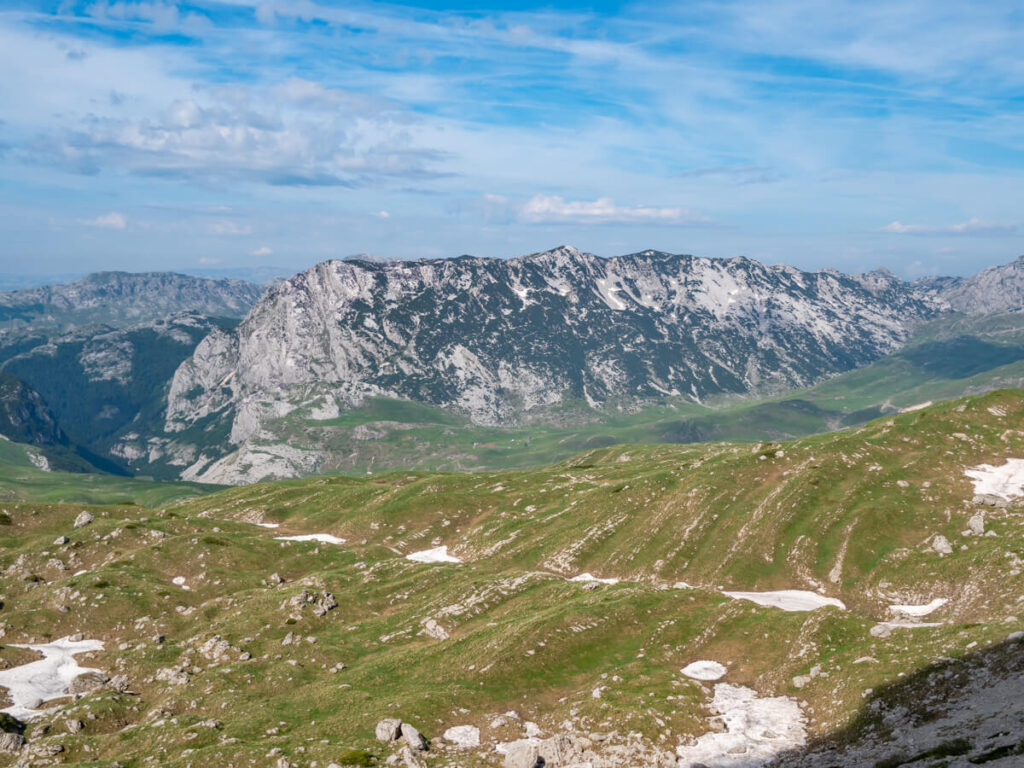
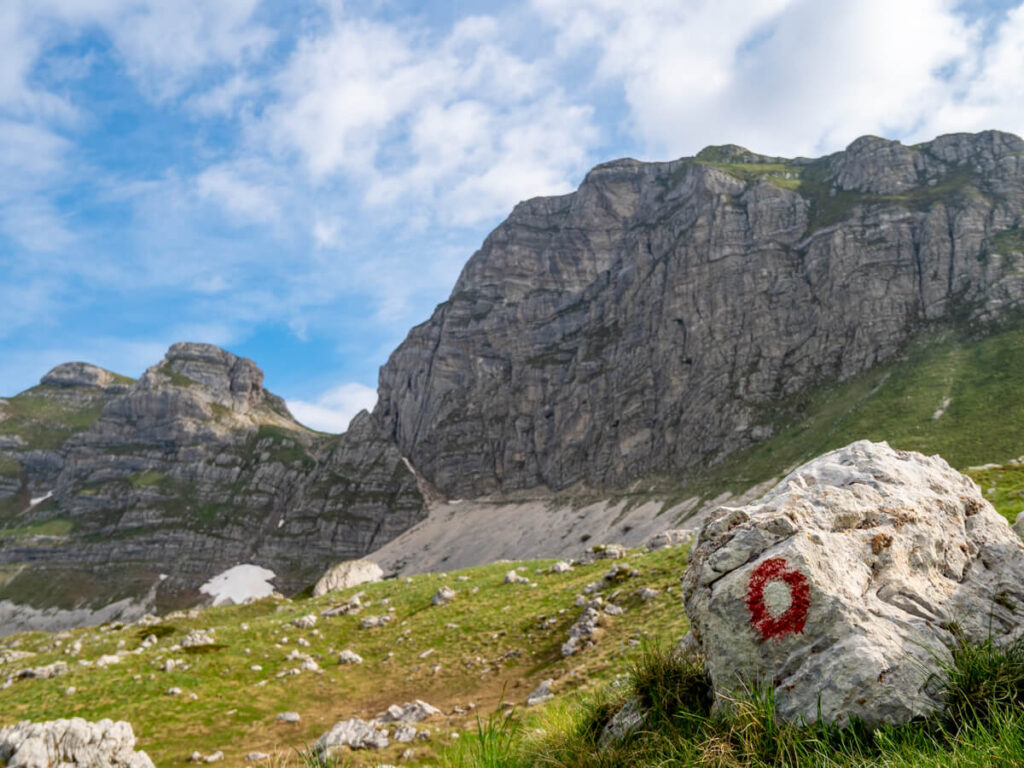
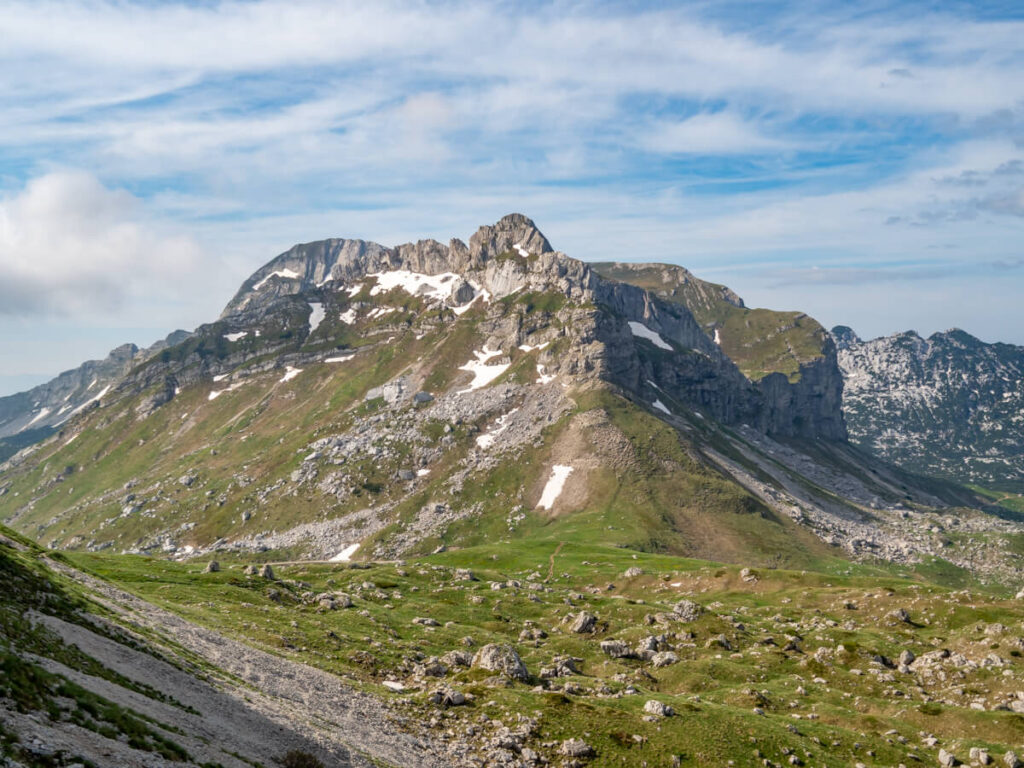
On this beginning section, you’ll climb just over 100 metres (330 ft) of elevation on around 15-30% grade.
After about 20 minutes of walking (depending on how many times you stop to admire the view you’re gradually climbing above), the path narrows and begins to hug the rockface on the right, with a large slope of scree on the left.
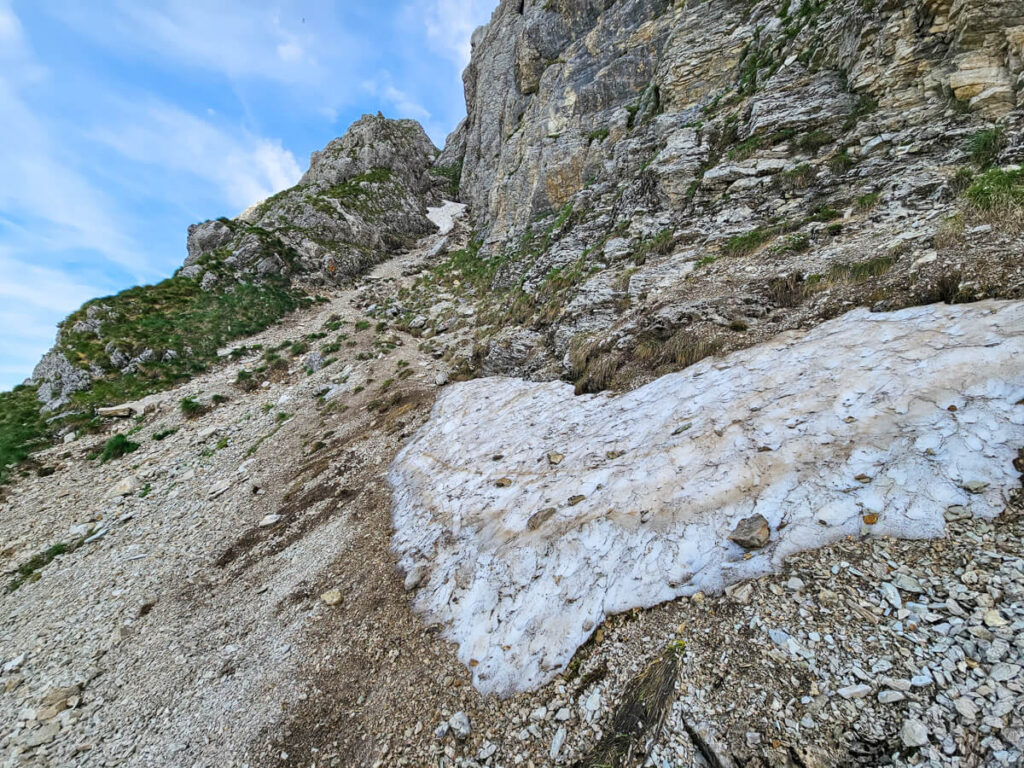
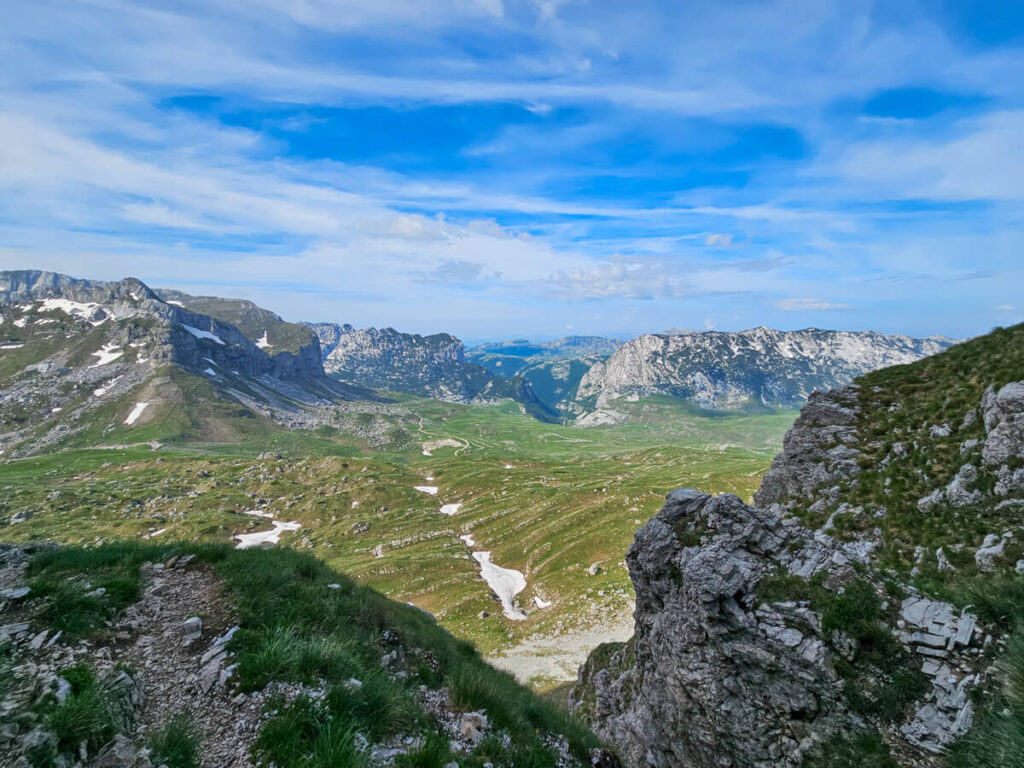
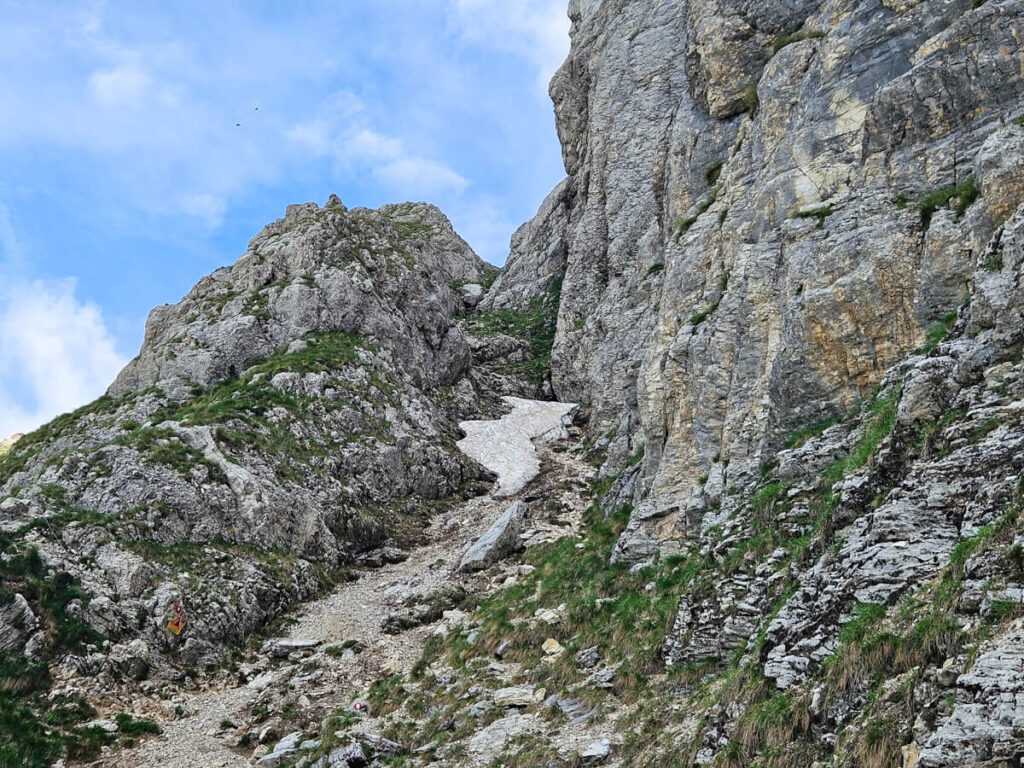
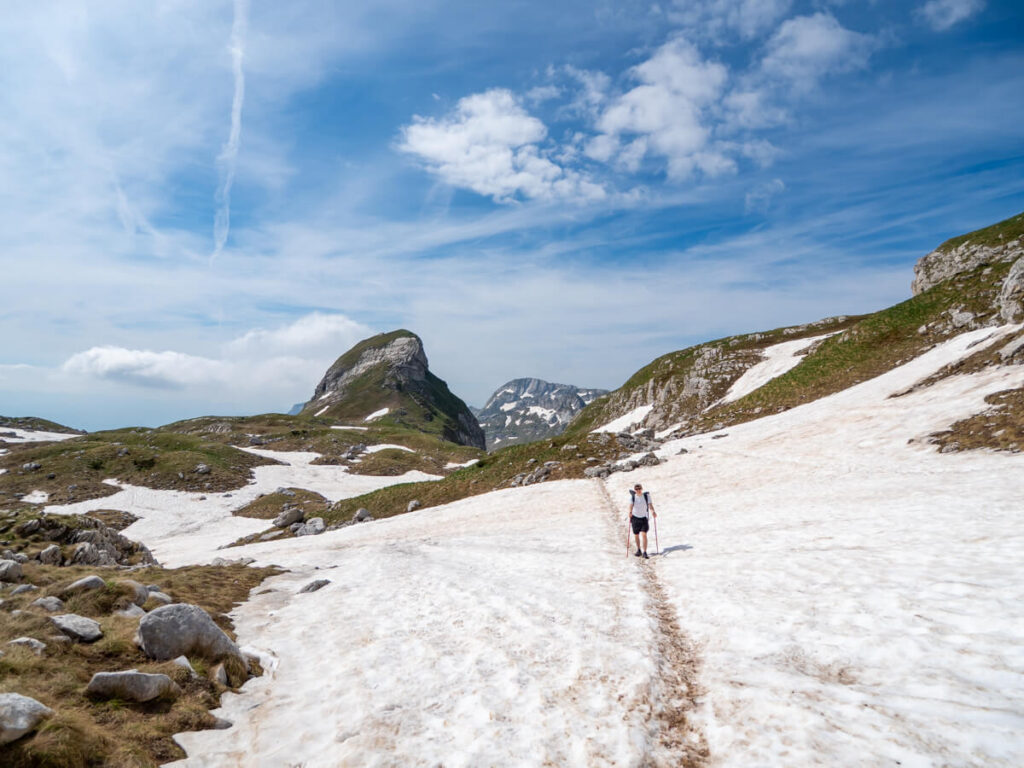
There was a tiny amount of snow still lingering on the path during our visit, which we carefully skirted around.
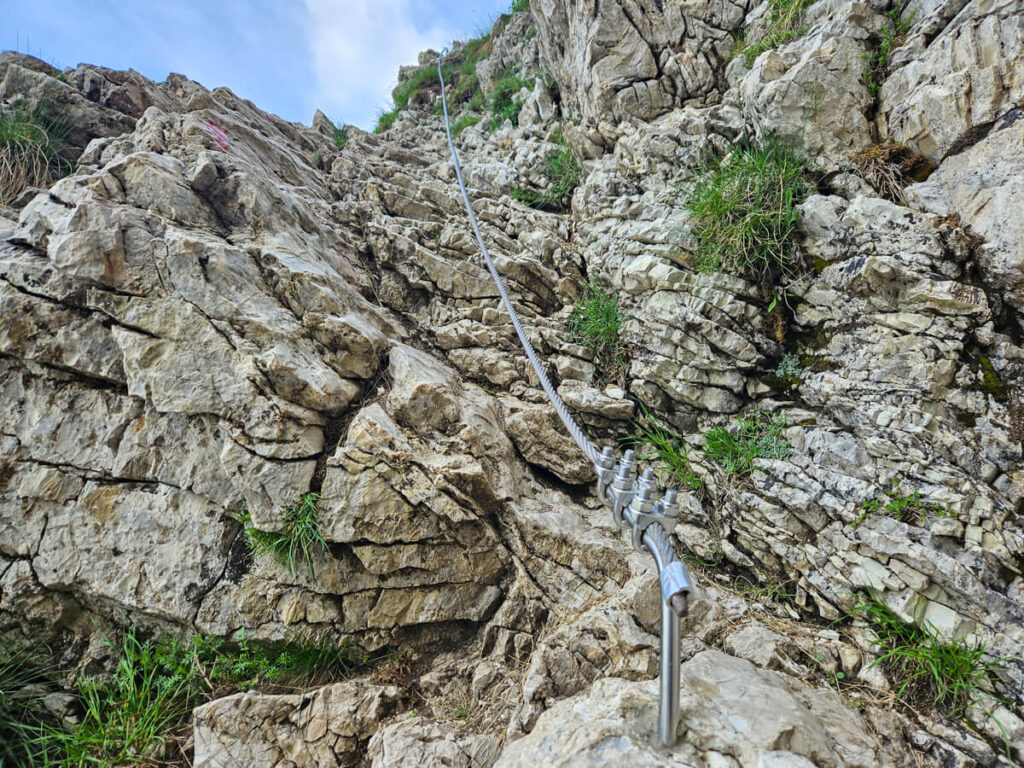
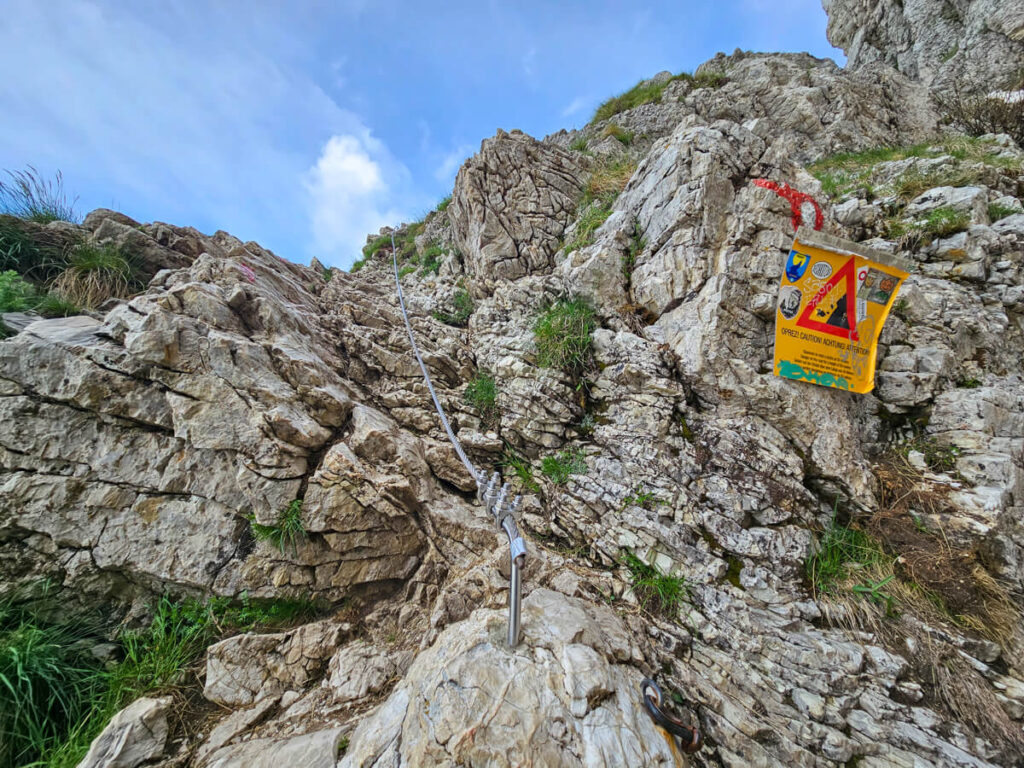
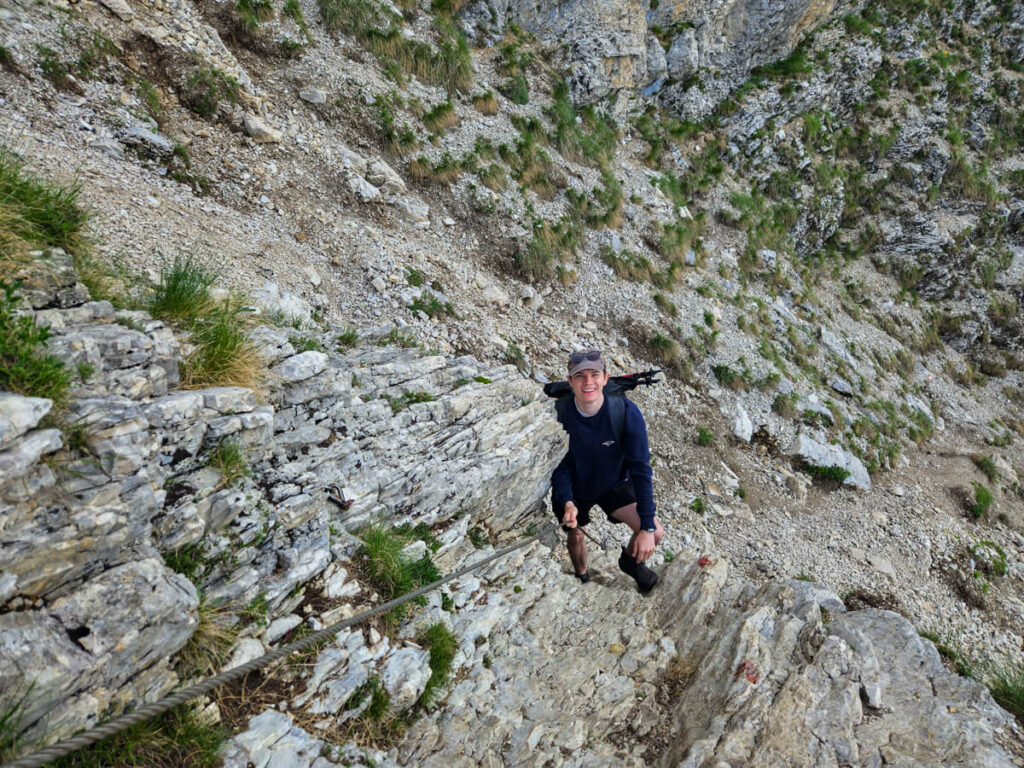
Then you hit the first roped scramble section. It’s marked with a yellow warning sign, and the metal cable is pretty obviously attached to the rockface that you need to scale.
The first scramble
We reached this scramble section around 9:00 AM. It’s not super technical, and most confident hikers won’t have a problem with it. It’s a good test for how well you’ll deal with the summit ascent later in the hike too.
If you’re afraid of heights, not the fittest, or not confident in your ability to get up, turn around now.
This section with the cable is about 50 metres long. The first couple of metres are a grade of nearly 50% (a vertical climb up the narrow rockface), before it flattens out a bit into a narrow ledge with a sheer drop on the left-hand side. You can hold the cable on the right like a handrail and walk pretty normally but carefully.
Use the steel rope to aid you. It’s important to go slowly and steadily, maintaining three points of contact and one hand on the rope at all times.
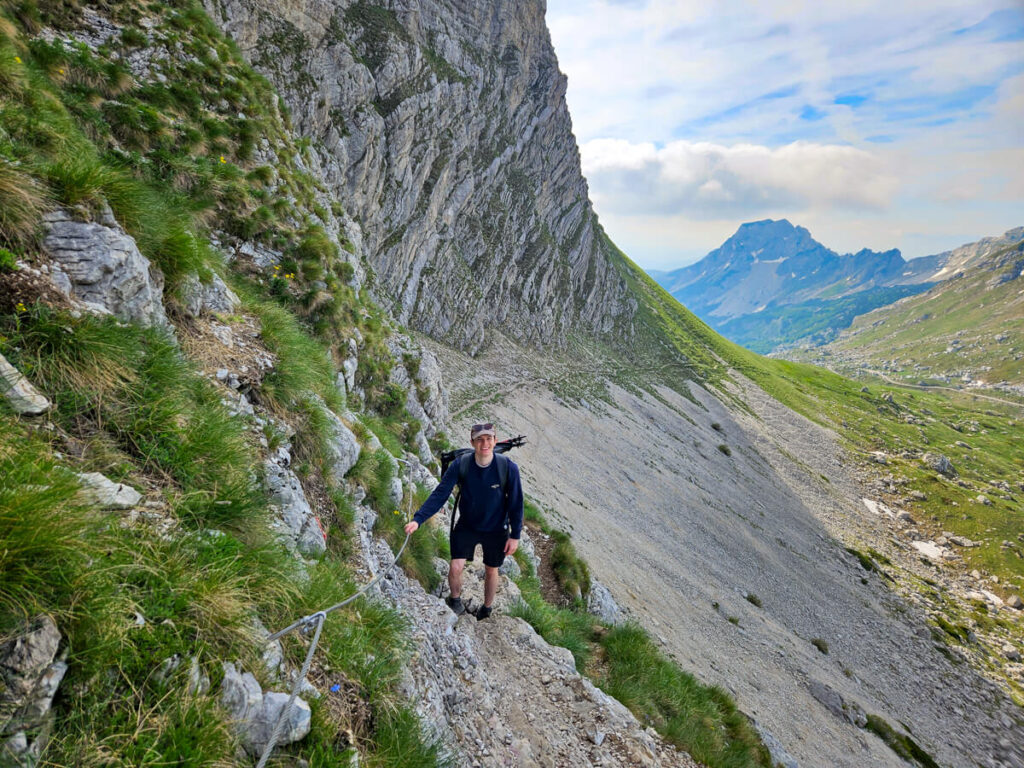
Thankfully, this part was protected from the wind by the cliff behind us. But we can imagine it feels pretty exposed when conditions are different.
After about 5-10 minutes, the cable ends, and you have a steep but no longer death-defying trail to follow uphill into the mountains.
When you reach the top, find a safe place to stop and look behind you. There are stunning wide views of the Sedlo Pass and Todorov Do Valley stretching out below.

The top of the scramble to the ridge
Having put the scramble and uphill climb behind us, we popped out into a small valley. We stopped here to catch our breath and admire the view behind us.
Then, around 9:15 AM, we set off into the mountains. It’s a much easier uphill climb from here.
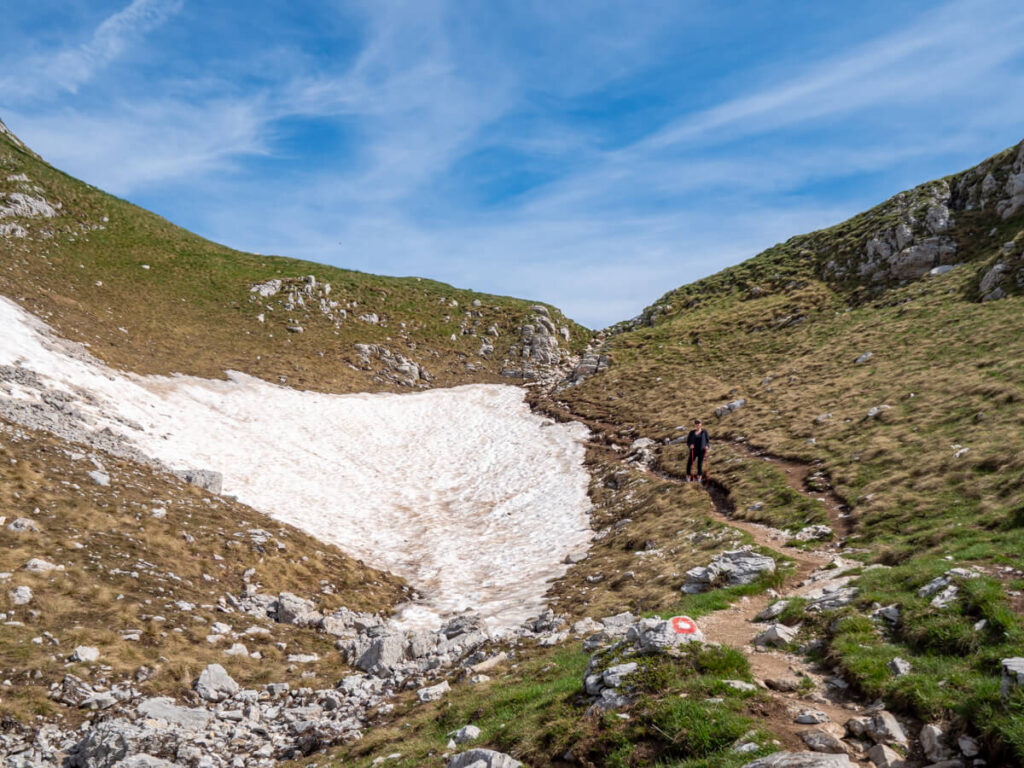
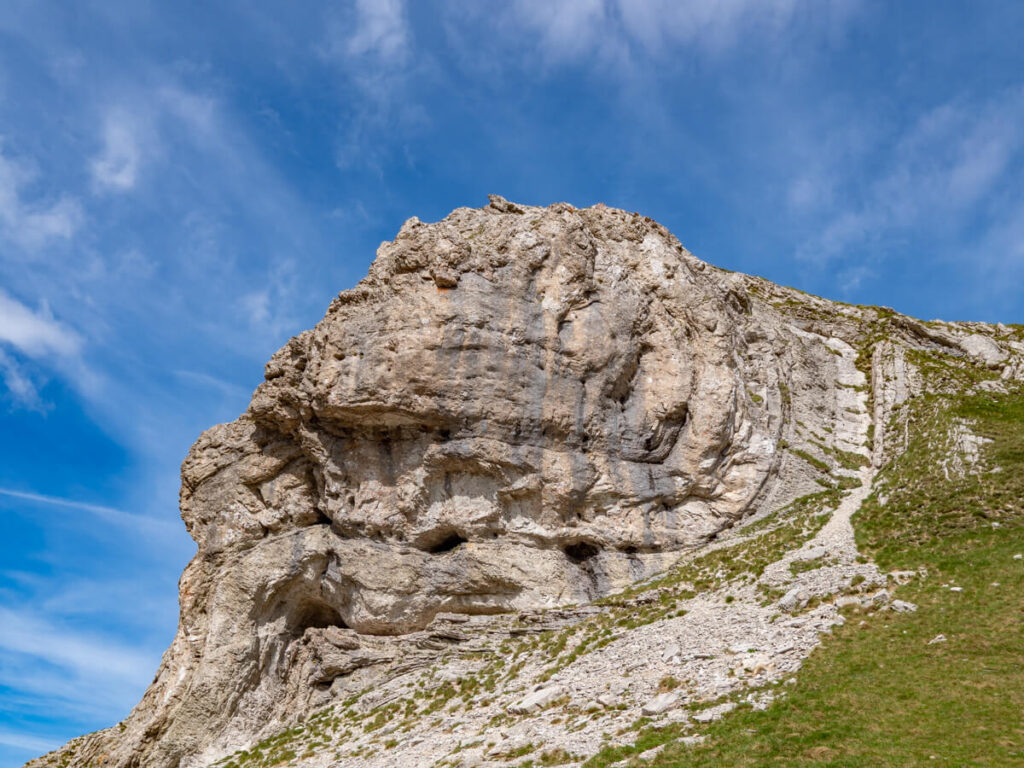
This small valley is dominated by Uvita Greda Peak on the right-hand side. With a peak at 2,199 meters (7,214 ft), it’s home to one of the highest via ferratas in Europe, although a local guide is necessary to attempt it.
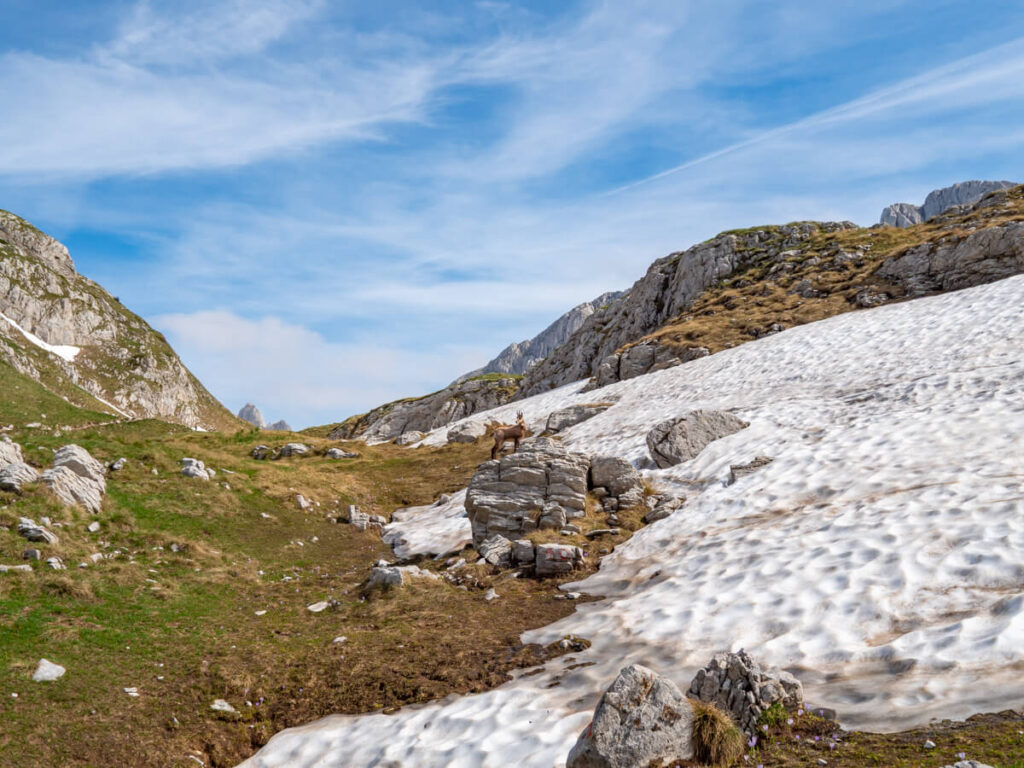
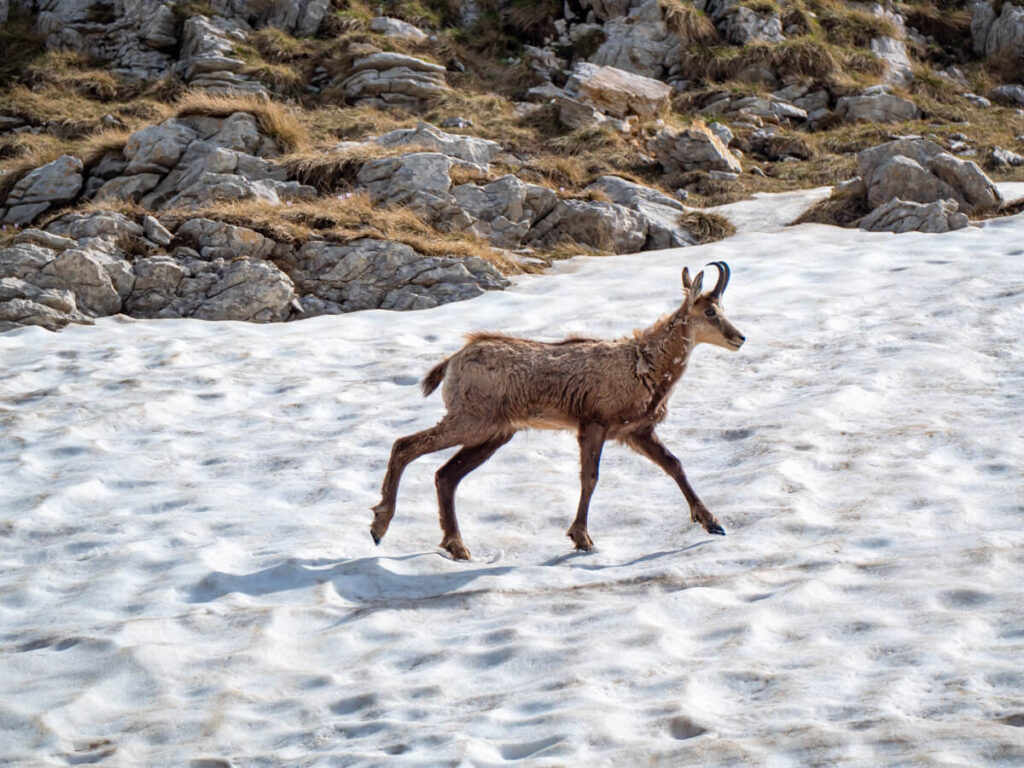
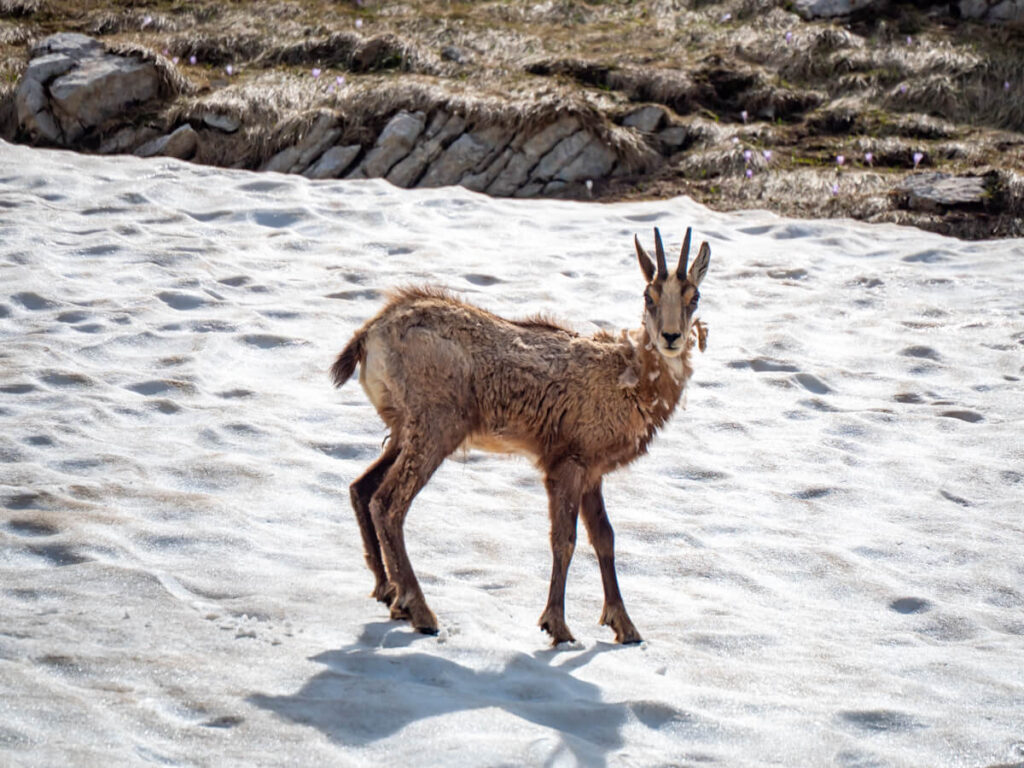
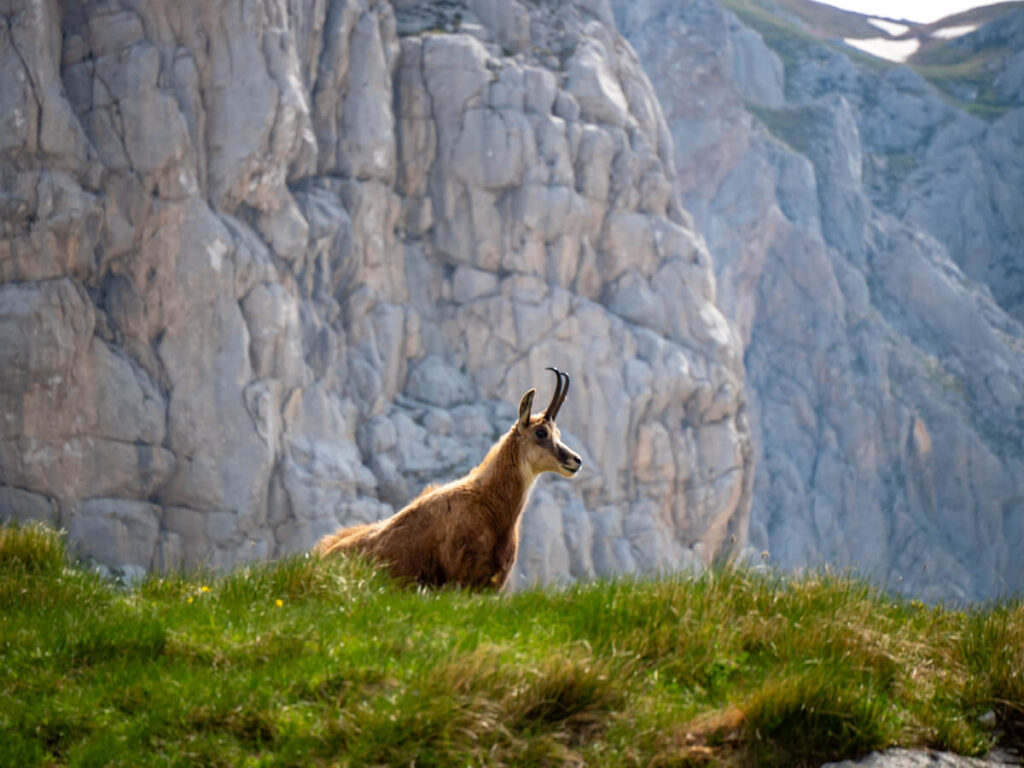
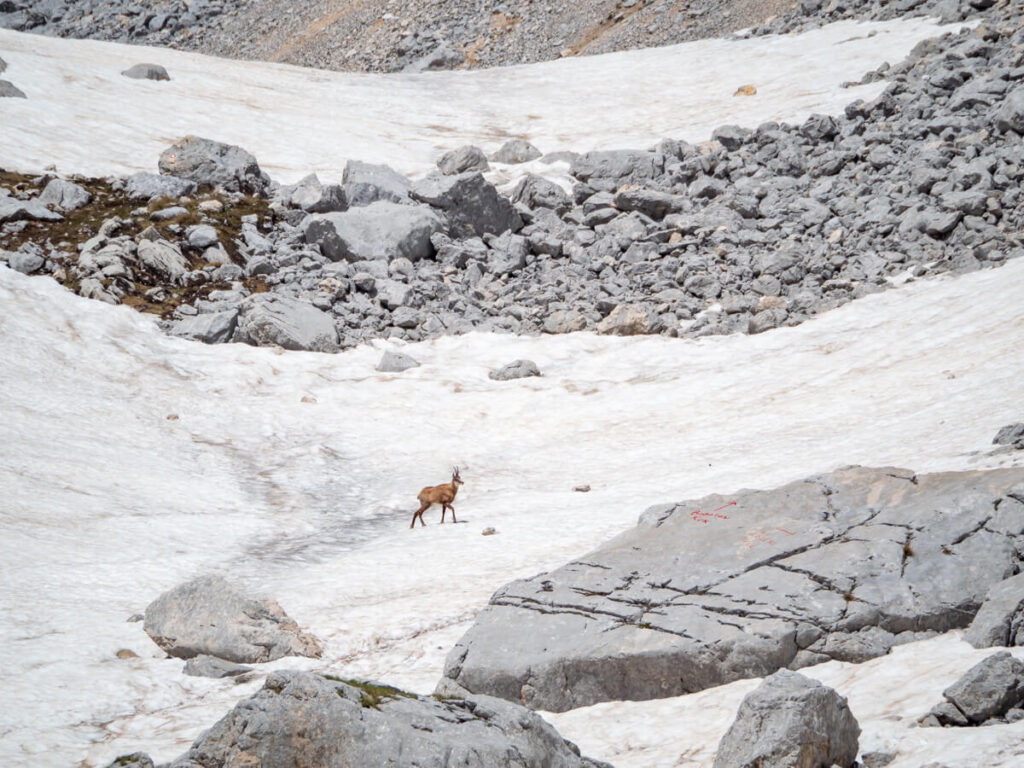
It was also at this point that we were surprised with our first chamois. These agile mountain goat-antelope are well-adapted to steep, rocky terrain. As avid wildlife watchers, this was an exciting moment for us – little did we know, we were going to see many more on this hike.
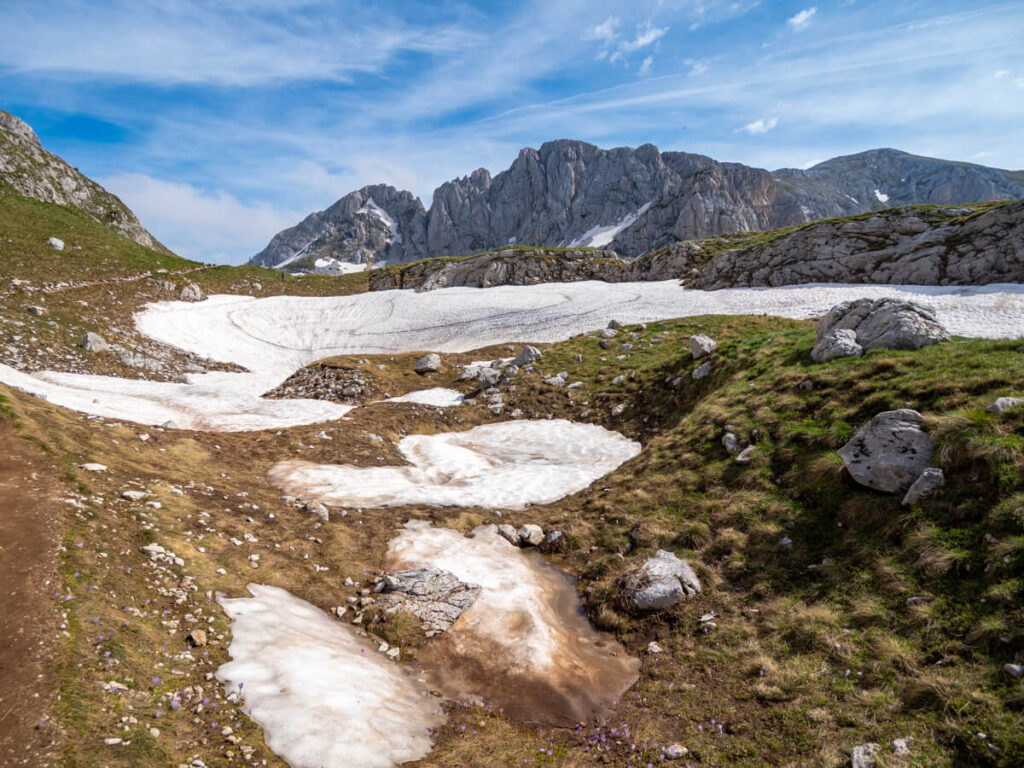
After a short uphill climb, you pop out onto a large grassy plateau. The trail again becomes a pretty gentle uphill dirt path through meadow-like terrain. In Spring, there were colourful wildflowers dotted over the landscape, which was beautiful.
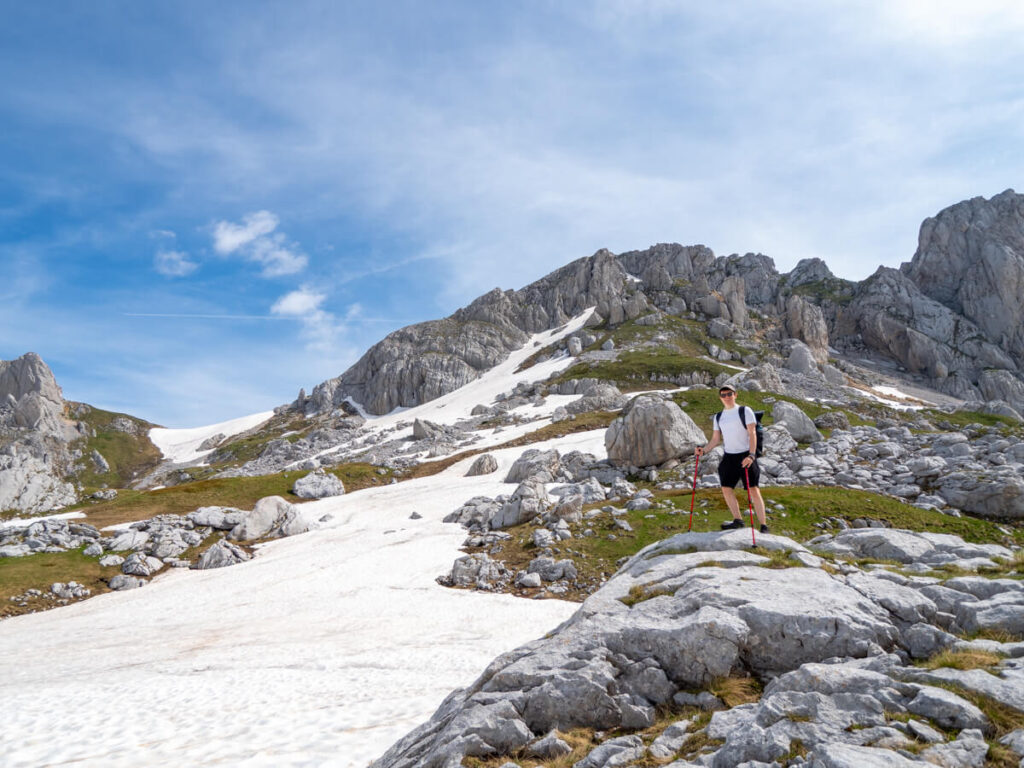
As it was still pretty early in the season, there was still a decent amount of snow, although none of it over the paths for the first mile or so (1.6 km) of the hike.
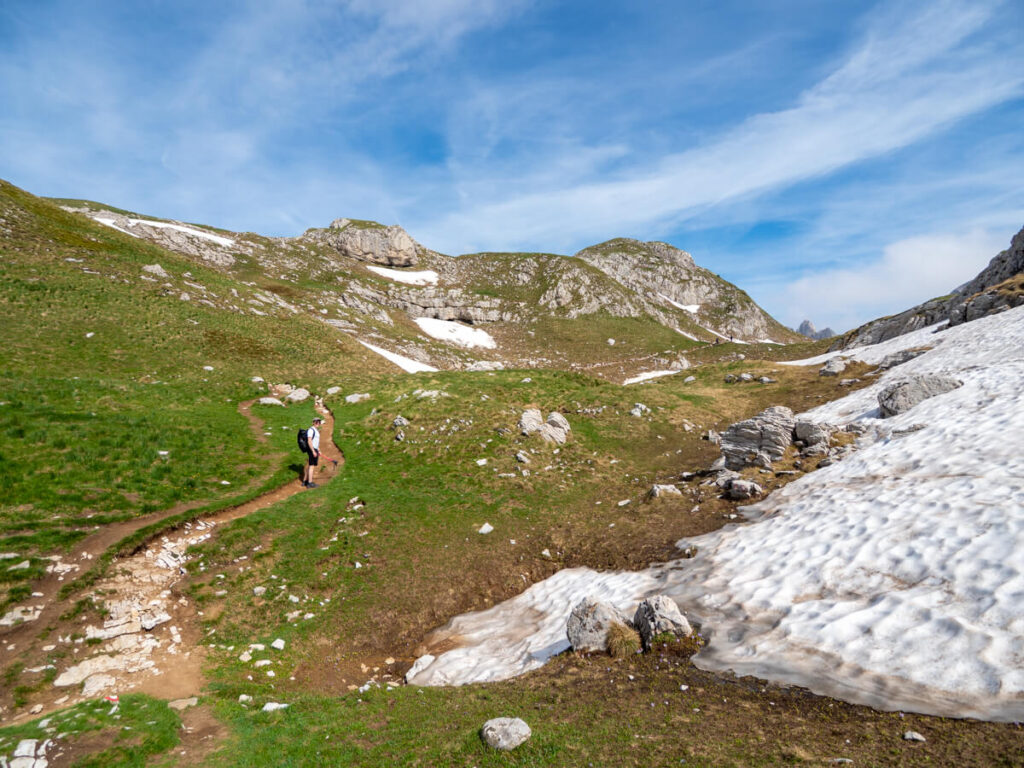
From the top of the hill after the scramble, it’s an easy breezy hour of gentle undulating hills.
Well, we say easy, but in reality, on our visit in June the meadows and valleys we passed through after the 1-mile (1.6 km) mark were still covered in snow.
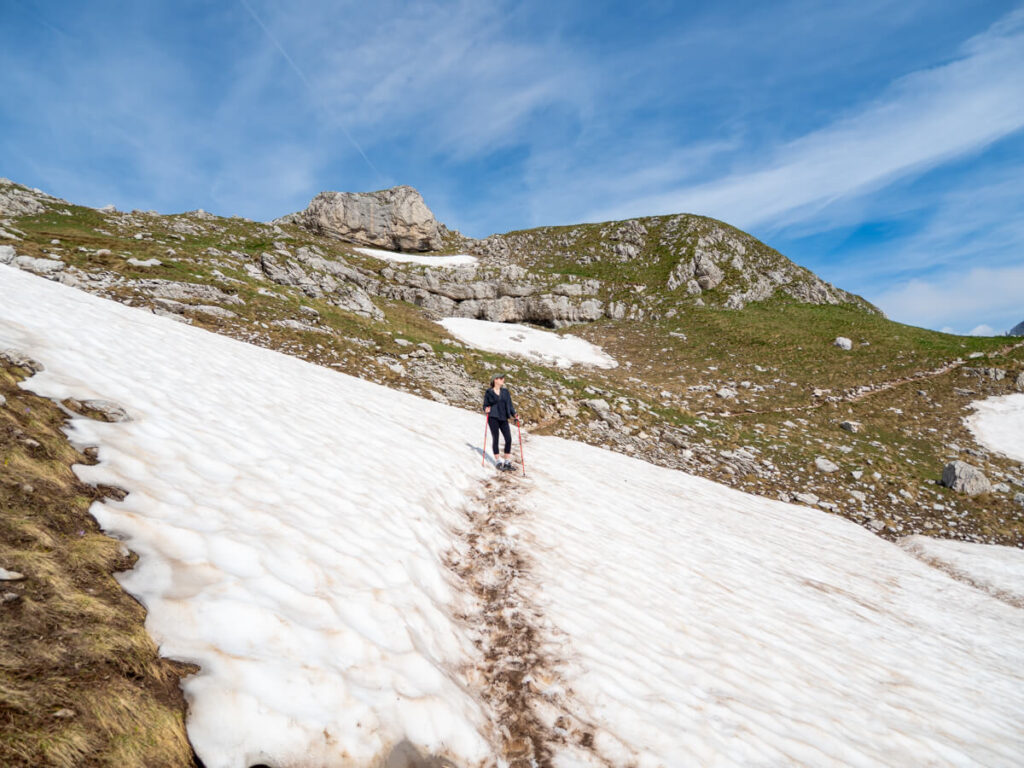
We ended up crossing around 18 snow fields, carefully picking our way across uneven, sometimes slushy and muddy sections, detouring off the trail where the route markers were hidden, and constantly scanning the landscape for the next marker in the distance so we’d know where we were going.
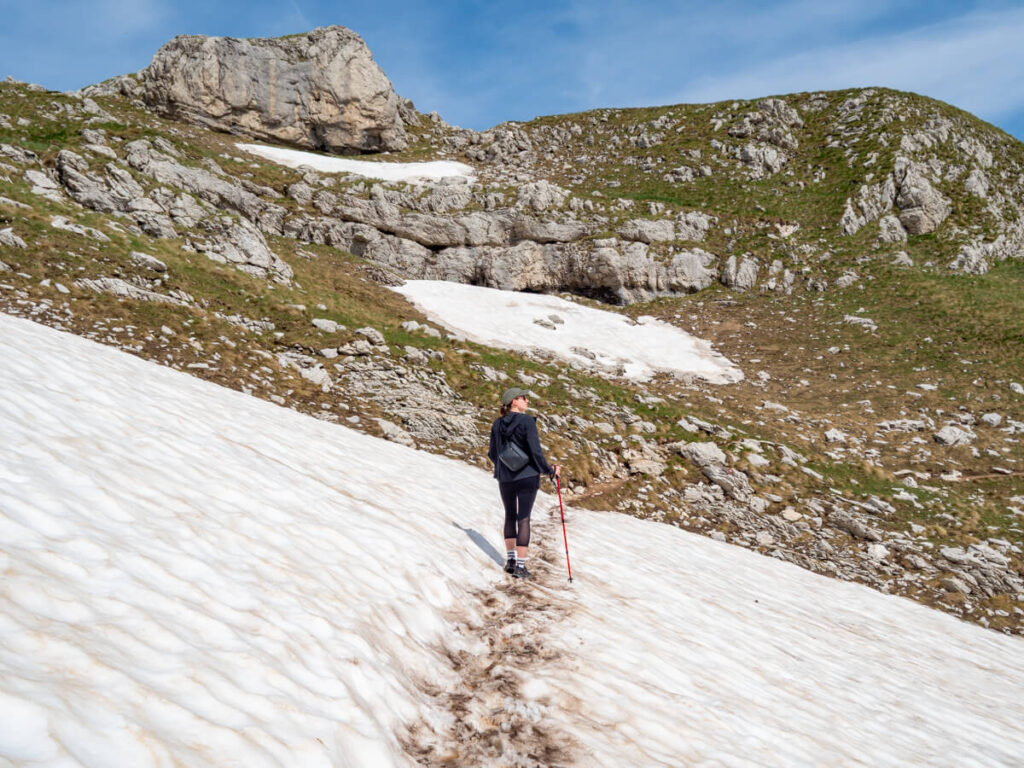
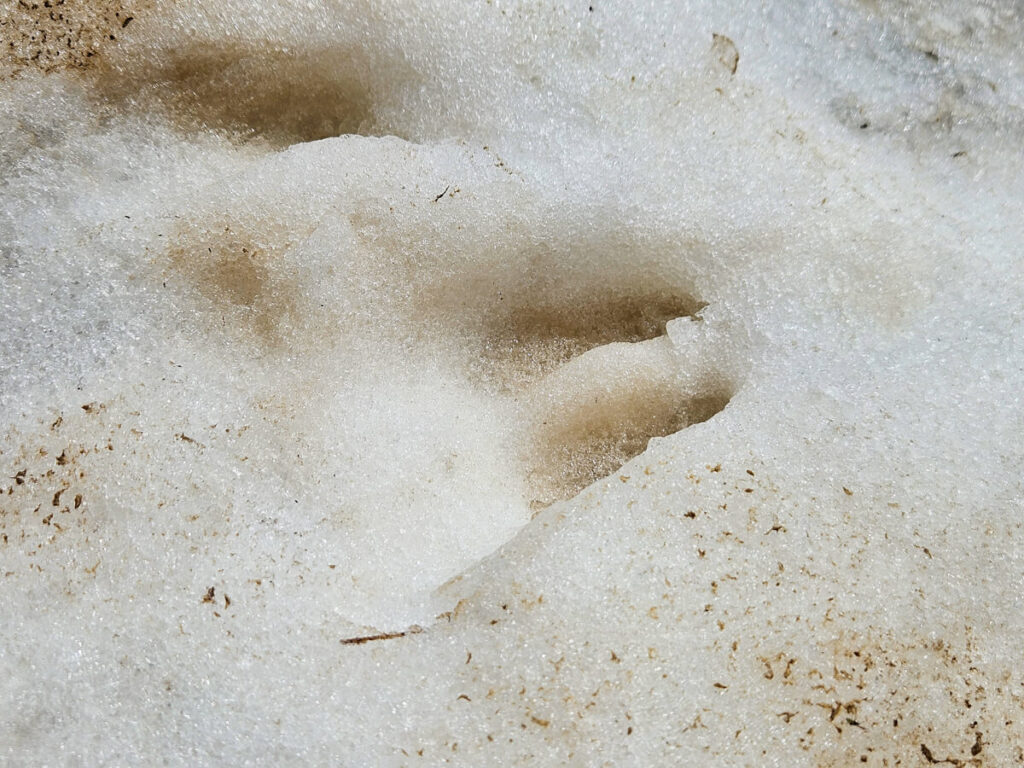
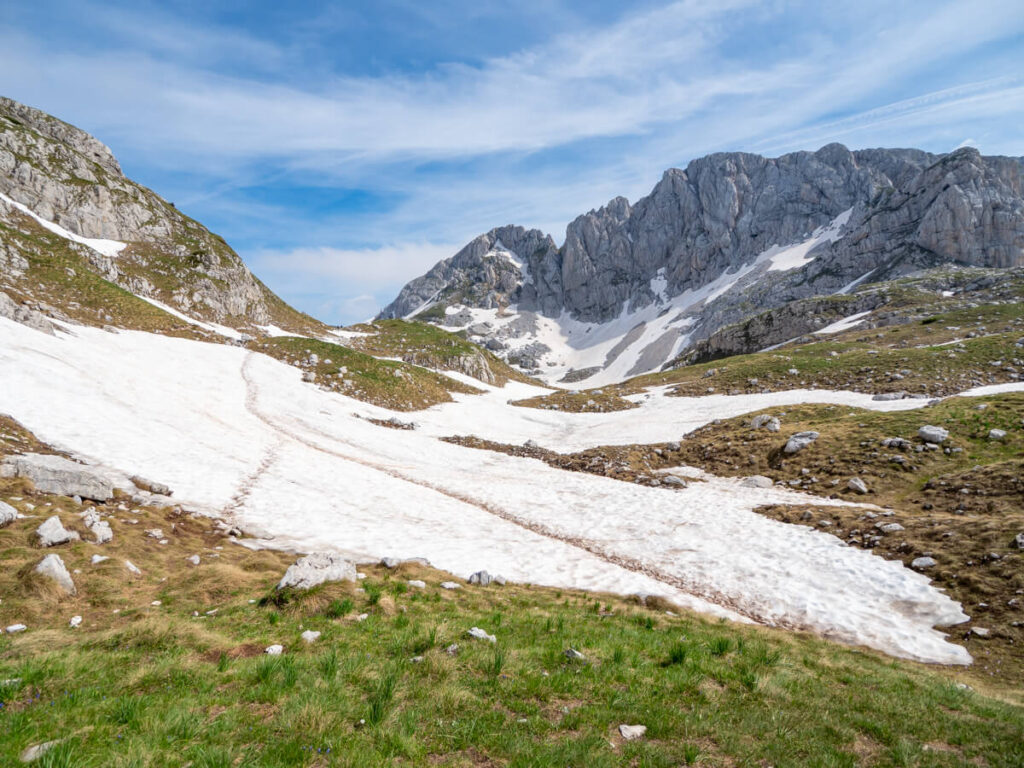

Having made the mistake of getting lost on the Three Peaks hike, we were really vigilant with sticking religiously to the correct path. We were constantly looking out for the spray-painted trail markers, and it’s a good job we did.
It was fairly easy to stay on the path as many of the snowbanks had obvious trails of footprints through them where other hikers had forged the way. However, there were sections where multiple sets of footprints headed in different directions, making it tricky to work out which one followed the official trail, especially as quite a few of the trail markers were completely buried beneath the snow.
Obviously, the terrain would be a lot easier in July to September without the snow.


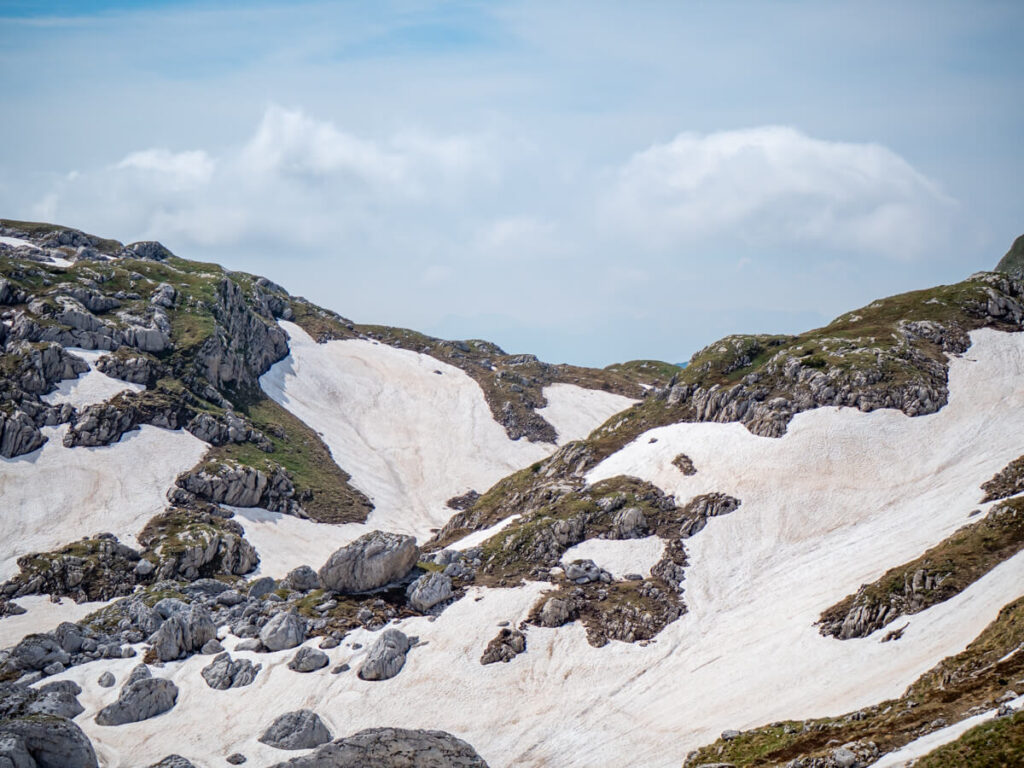
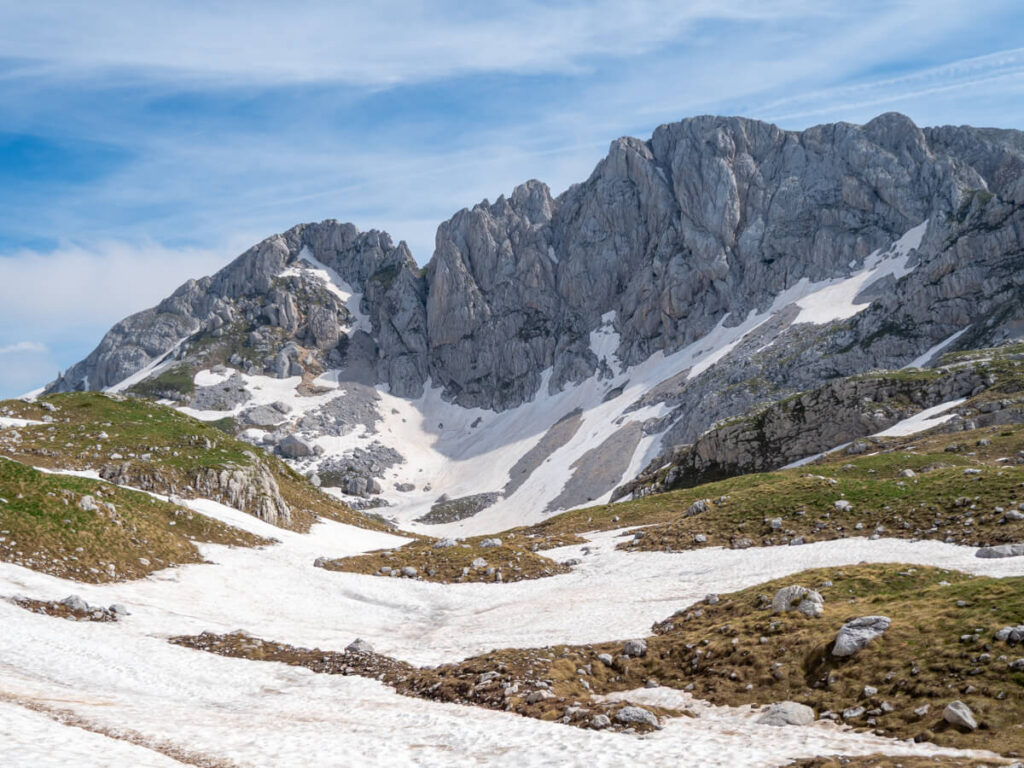
As you continue, you’ll start to get some really scenic views of distant peaks.
We also started to see a few more chamois picking their way across the grassy slopes.

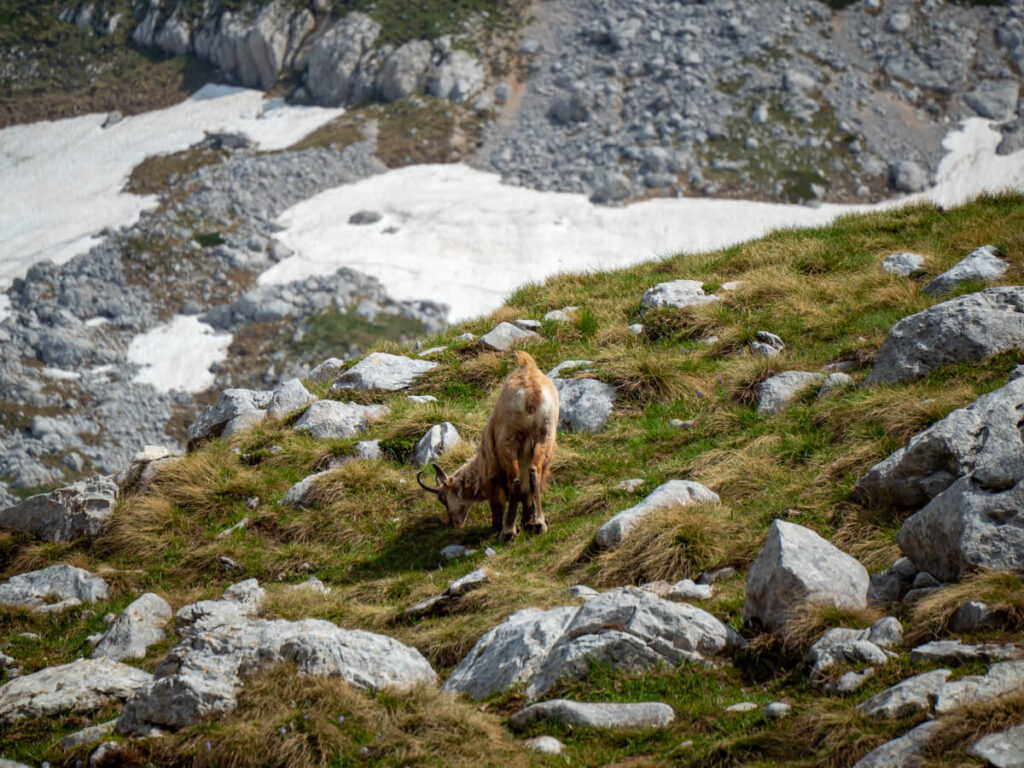
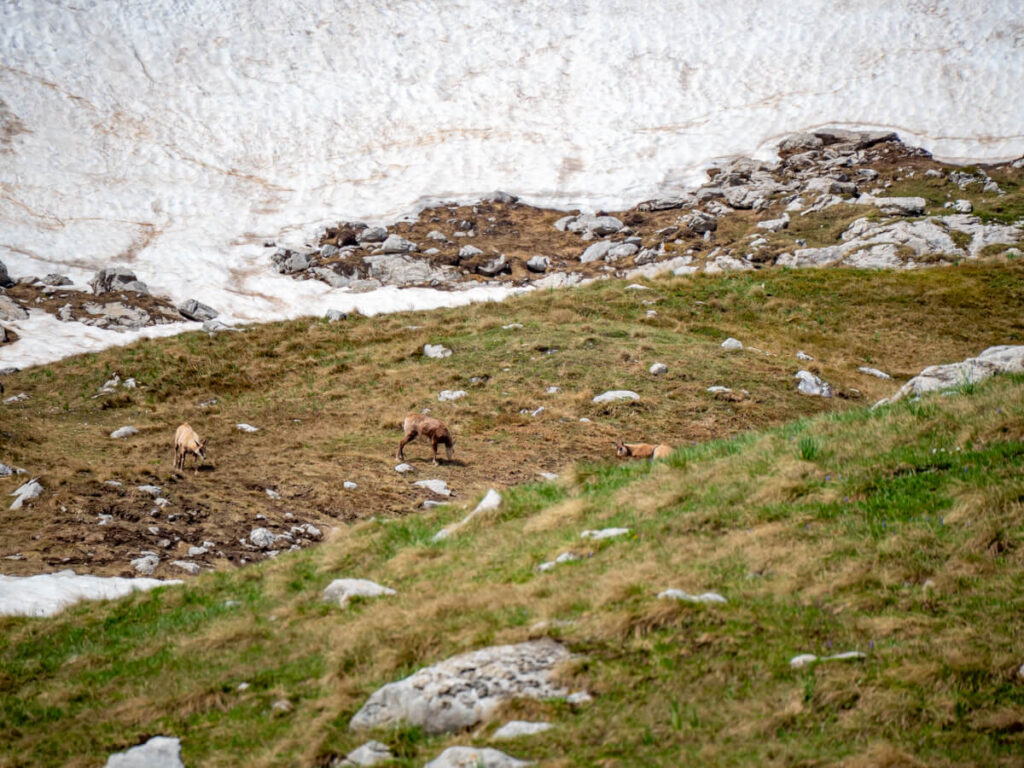
After about an hour of hiking (9:30 AM for us), you’ll start to see the most epic views of the jagged limestone peaks of Zupci in the distance.
This impressive 1,100-metre (3,610 ft) rocky ridge is made up of 14 distinct towers, ranging from 50-150 metres (164-492 ft) high, creating one of the most dramatic sections of the Durmitor massif.

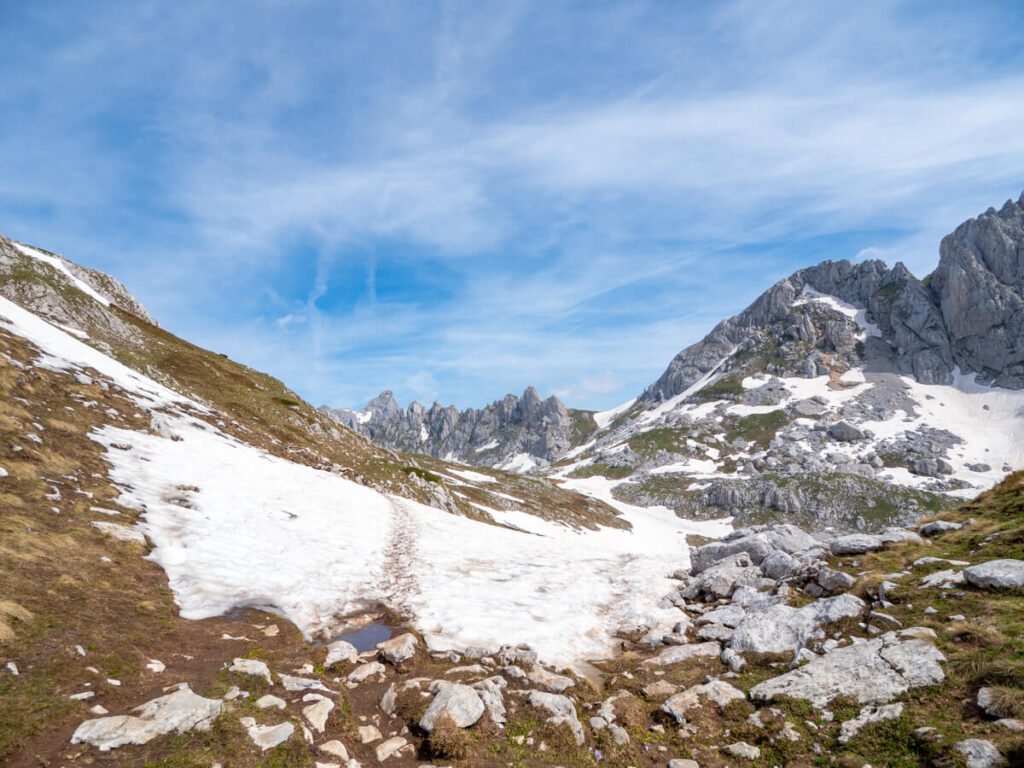


From here, the snow fields got larger, and the trail was harder to stick to.
We slowly made our way over snowbank after snowbank, heading in the direction of Zupci’s dramatic peaks.
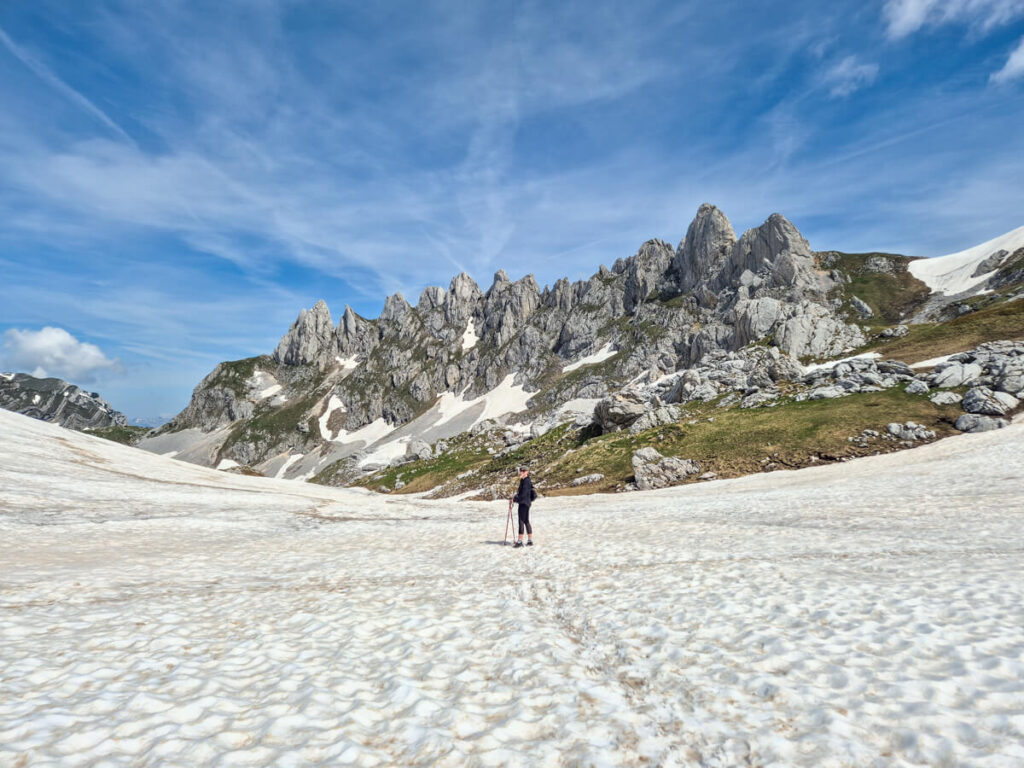
The snowbanks continued to make things more complicated than the trail itself. In places, the snow was deep enough to completely hide the path and the red-and-white trail markers, so we’d follow footprints for a while, praying they were the official route.
We got really good at scanning the distance for any sign of that tiny red and white painted dot that indicated we were still on the right path.
We did, of course, also go prepared with the AllTrails map. We’d keep checking it to see if our location was in the right place, which was very handy.
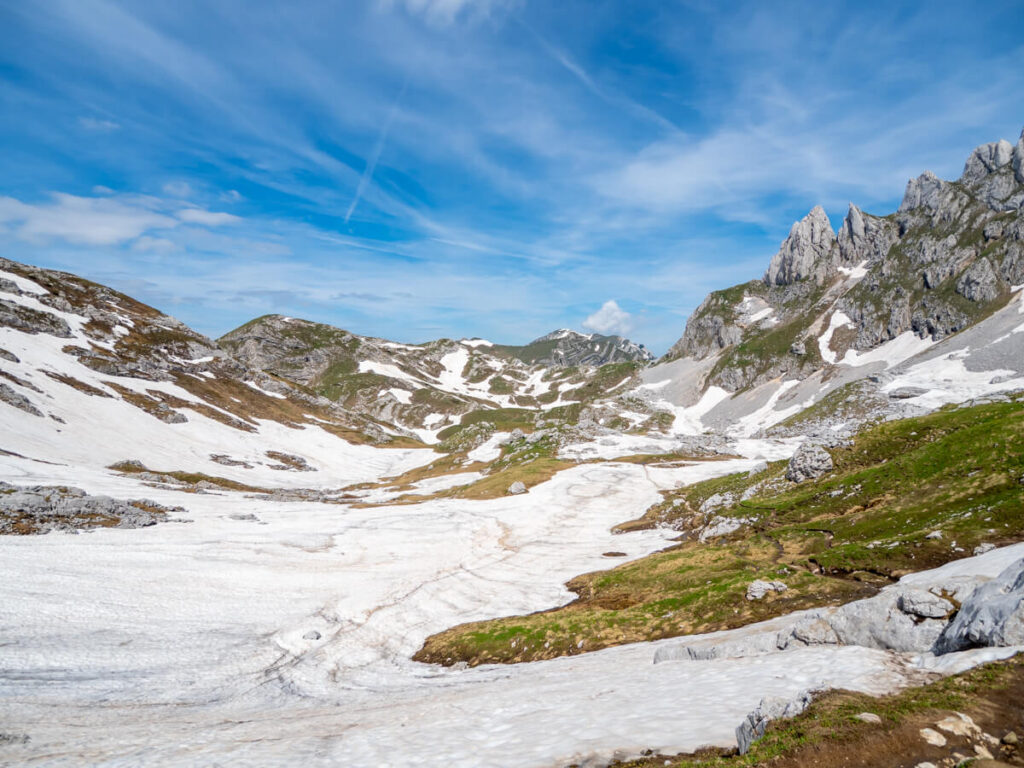


On the whole trail to this point, we’d only come across one other couple, heading the same way as us. But, as it was a little later in the morning by this point, we started crossing paths with hikers who had set off early and were already making their way back.
We asked each in turn what the conditions were like later on, getting advice on the summit. Some hadn’t got that far, while others had attempted it before realising it was simply too dangerous without mountaineering equipment like crampons and ice axes.
This is one of our best pieces of advice: talk to other hikers coming back down the mountain. They have first-hand information about the conditions ahead that you simply can’t get from the weather forecast or trail descriptions, and their experience could make the difference between knowing when to push on and when to turn around.
One particularly useful landmark on the trail is the large boulder marking the junction between the Bobotov Kuk trail and the route towards Izvor, a mountain spring near the Black Lake.
We reached it around 10:15 AM – after just under 2 hours of hiking.
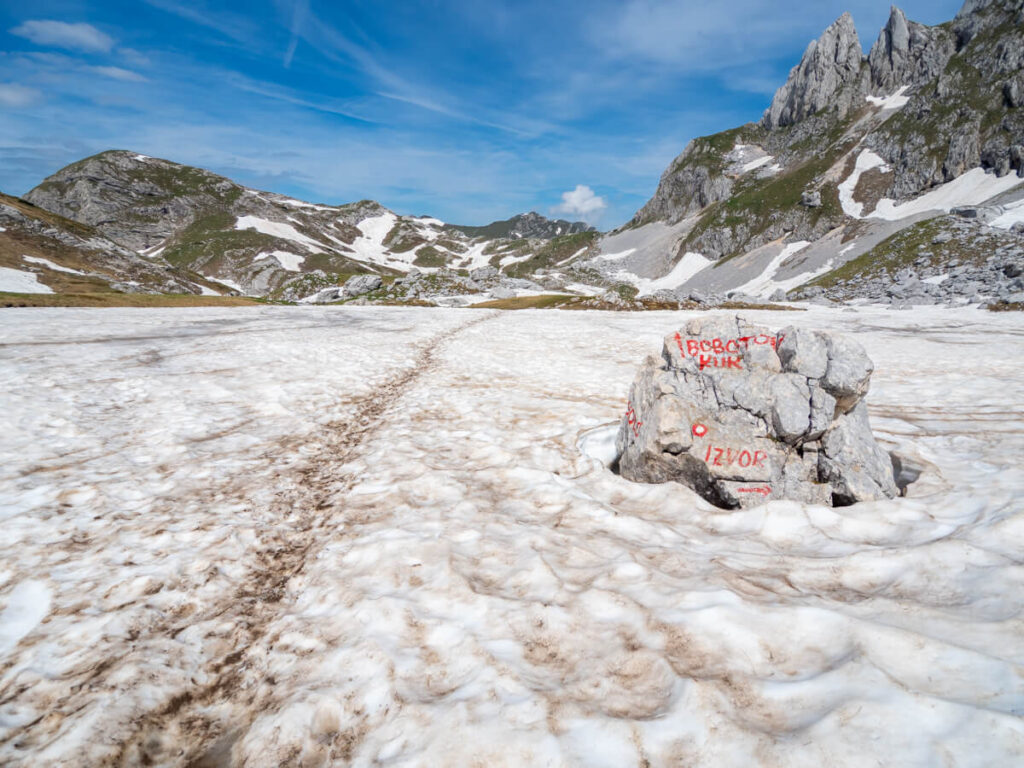
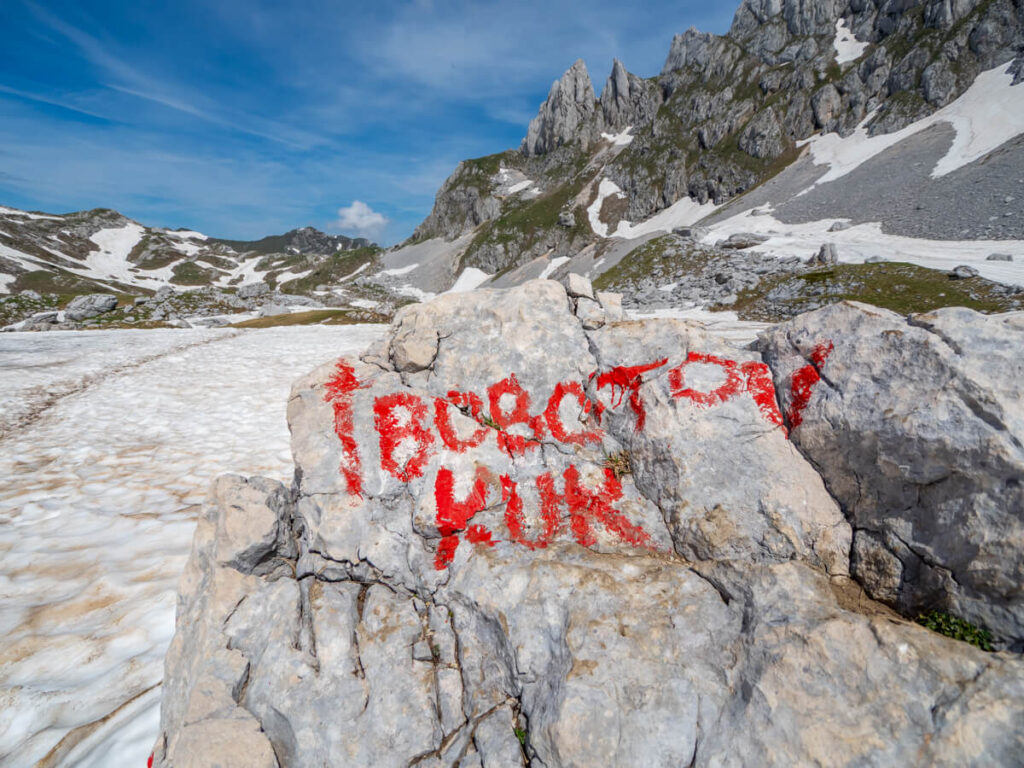

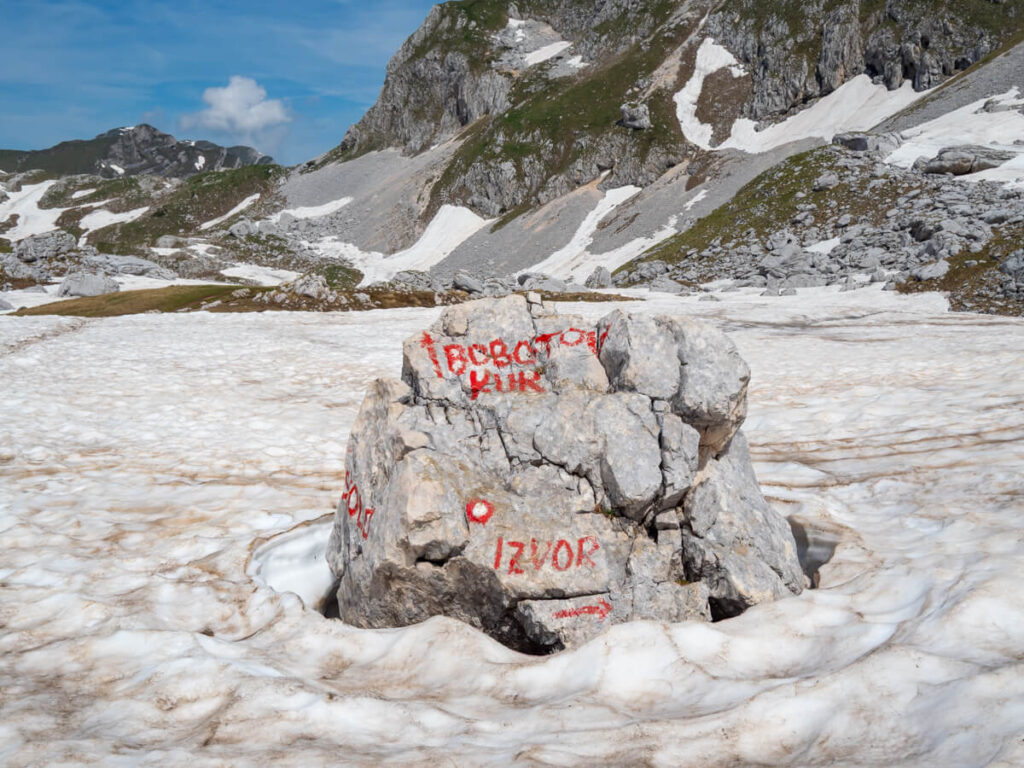
From here, you’re so close to the ridgeline above Zeleni Vir Lake. You’ll turn a corner straight into views of Bobotov Kuk in the distance.
We found there was less snow here, and we were able to make our way around the edge of the couple of snowbanks that did sit in the valley.
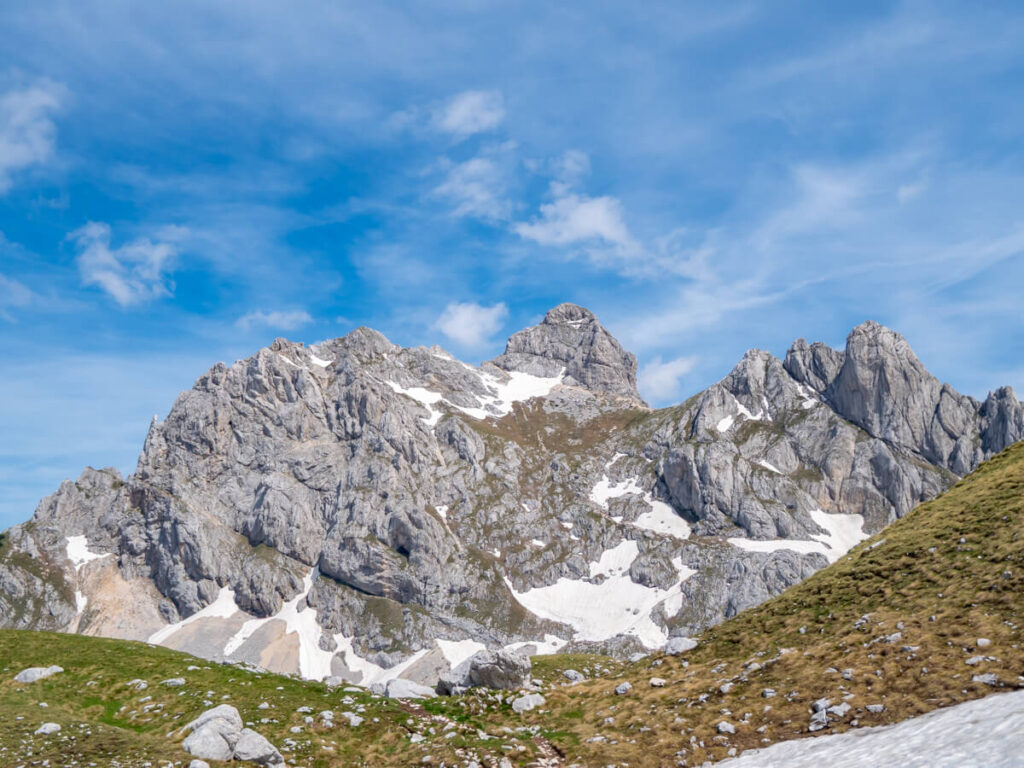

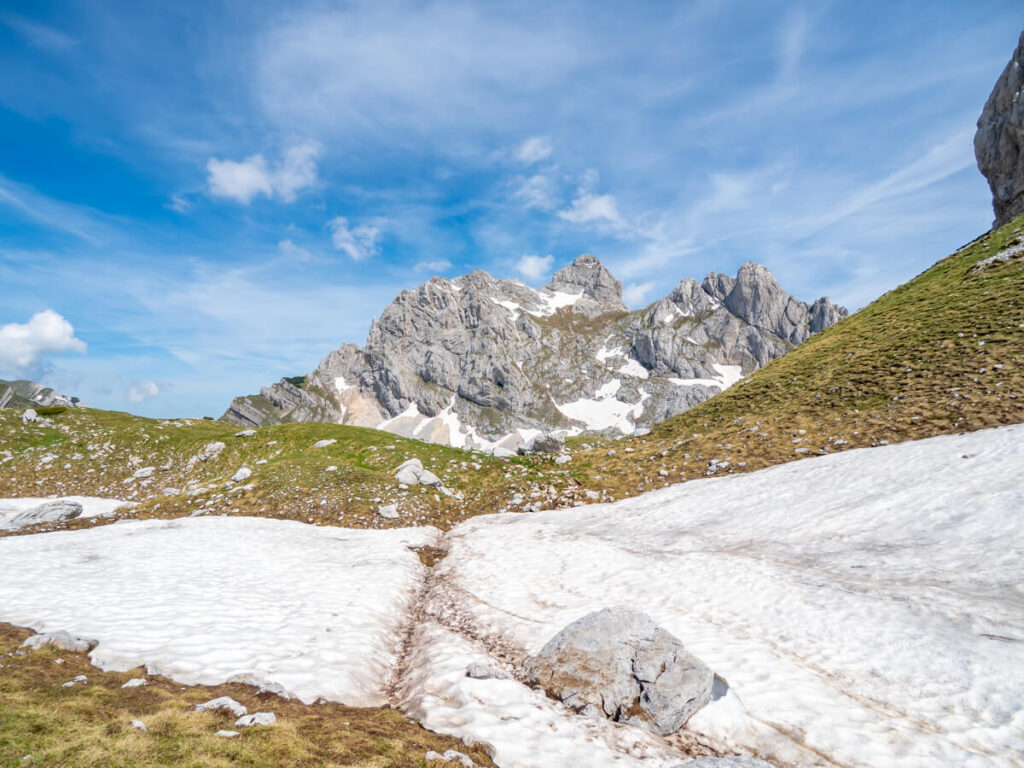
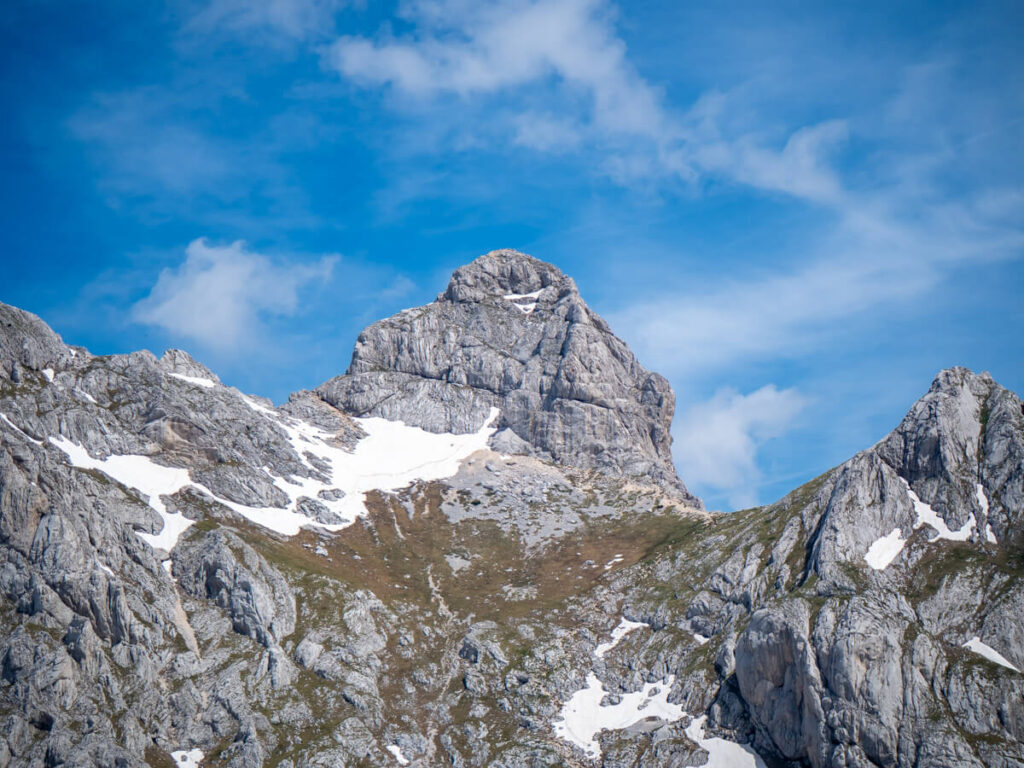
The ridge to Zeleni Vir Lake
At about 1.8 miles (3 km) in (around 2 hours of hiking / 10:30 AM for us), you’ll climb up to a ridge, where you’re met with expansive views.
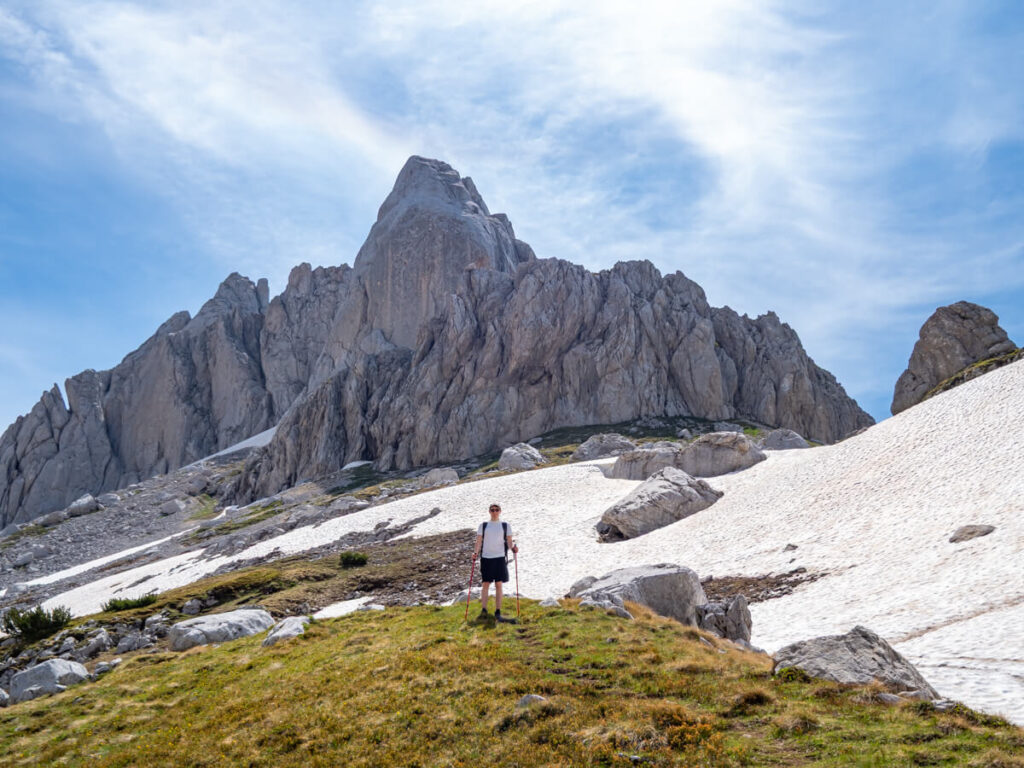
Dead ahead, there’s a crescent of rocky peaks, their grey limestone faces rising sharply above the surrounding valley. Right in the middle, the highest, cube-shaped one is Bobotov Kuk.
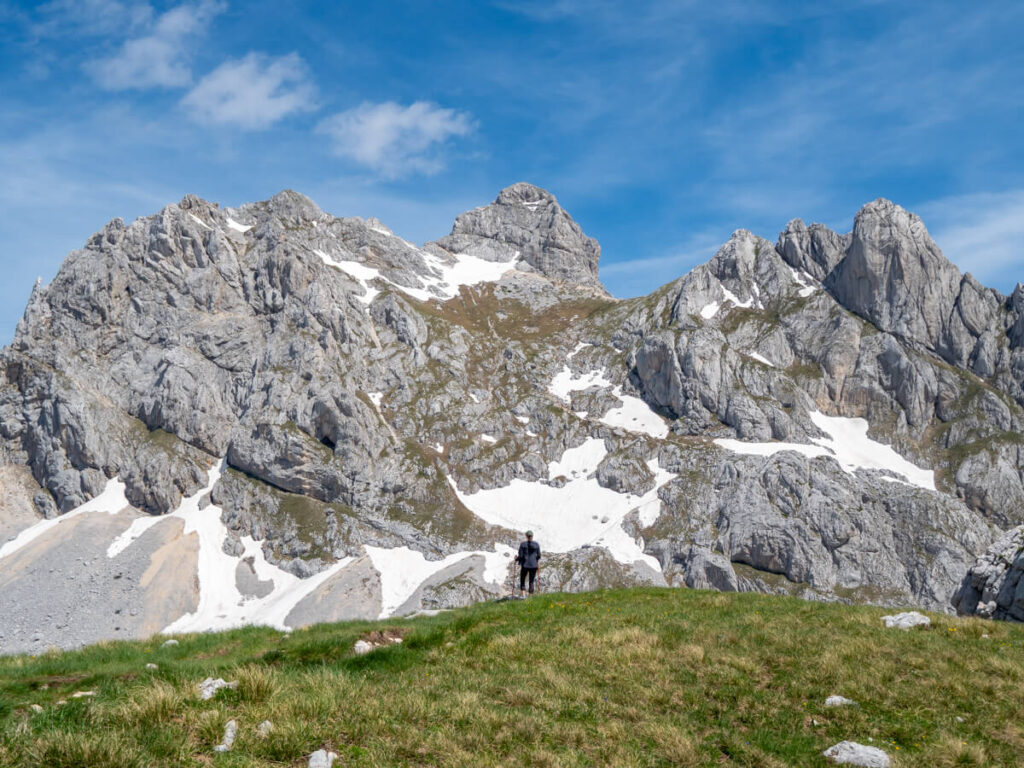
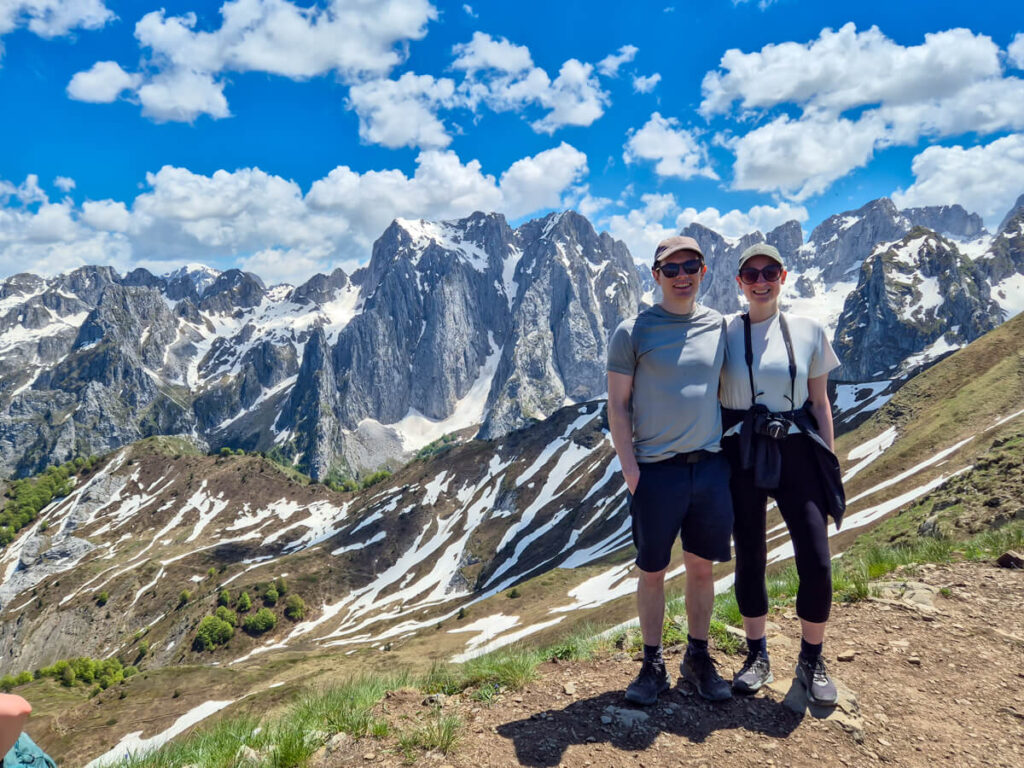
After hours of hiking towards a peak we’d spent months planning our trip around, finally setting eyes on our prize was one of the most elating moments of the entire hike. I’ve never had a moment on a hike before where simply seeing the summit ahead felt quite so emotional.
From wondering whether we were even capable of undertaking the hike to worrying about the weather and conditions to nearly calling the whole thing off, having it sitting there in front of us having Bobotov Kuk sitting there in front of us felt like a huge milestone.
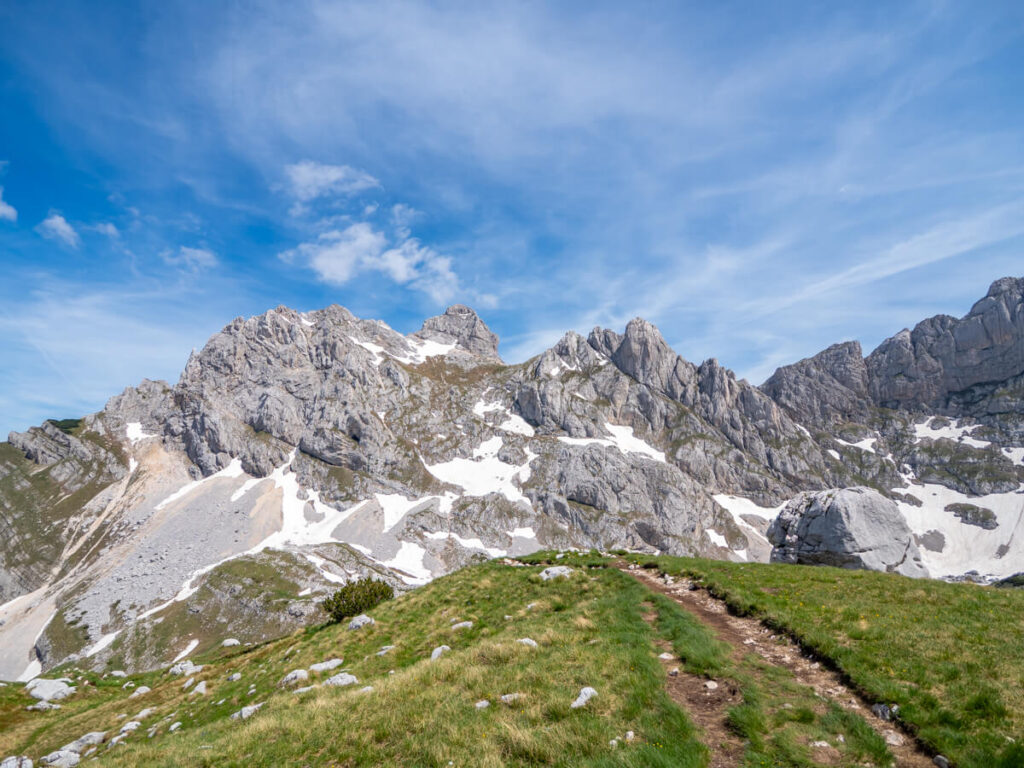
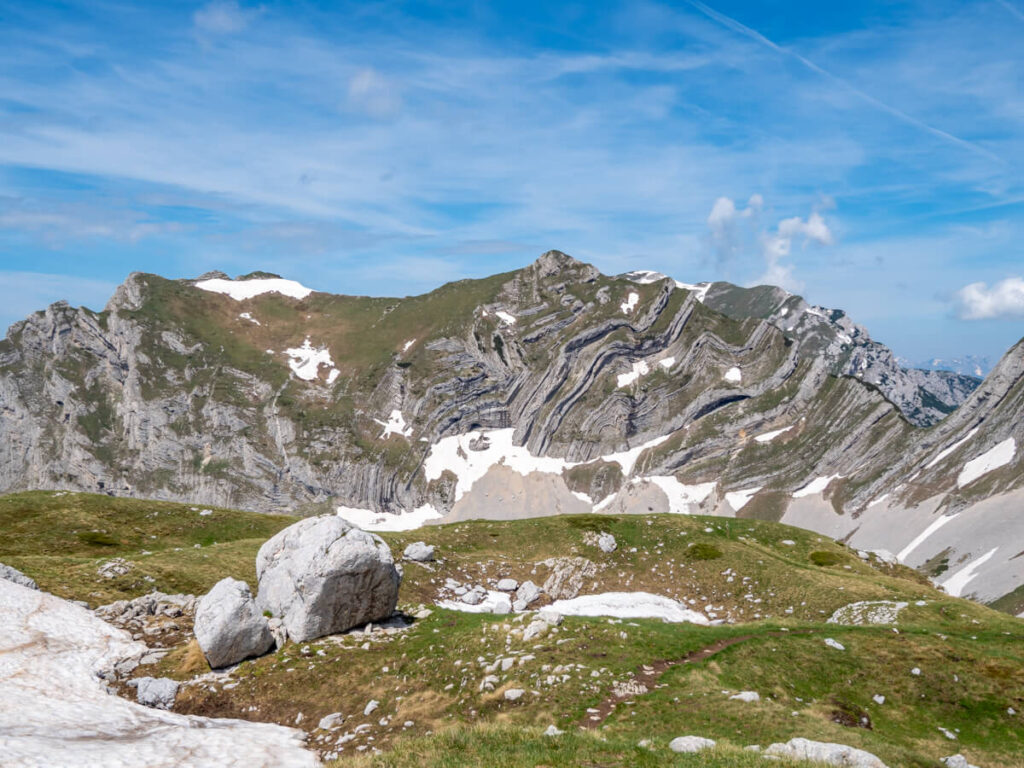
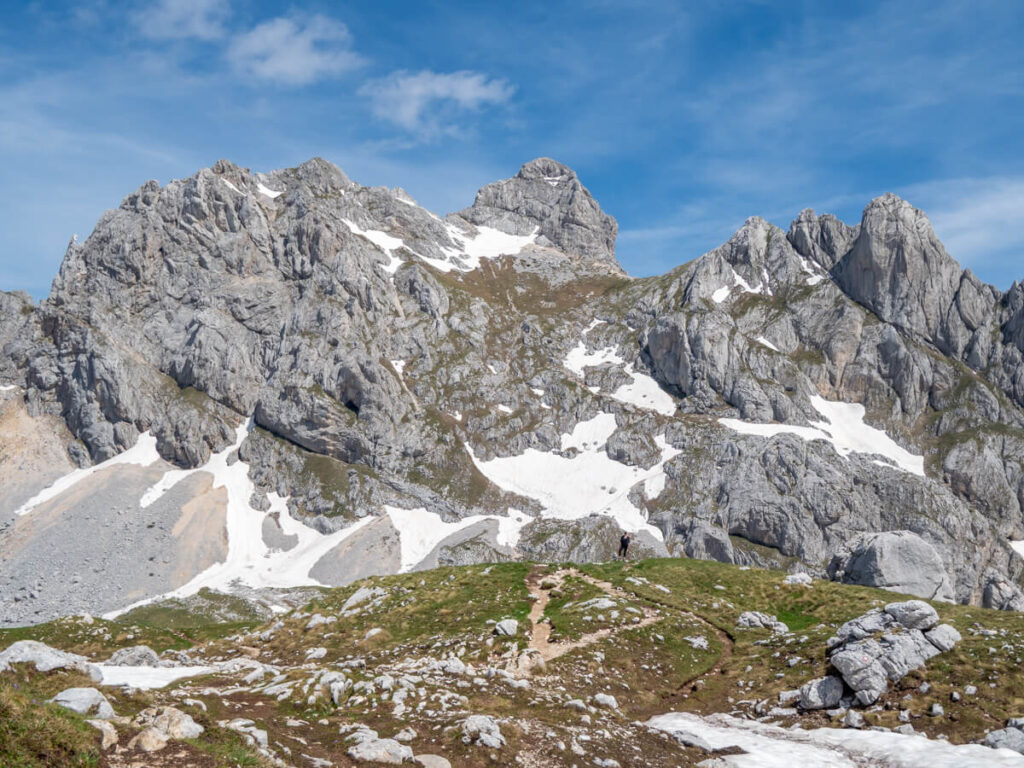
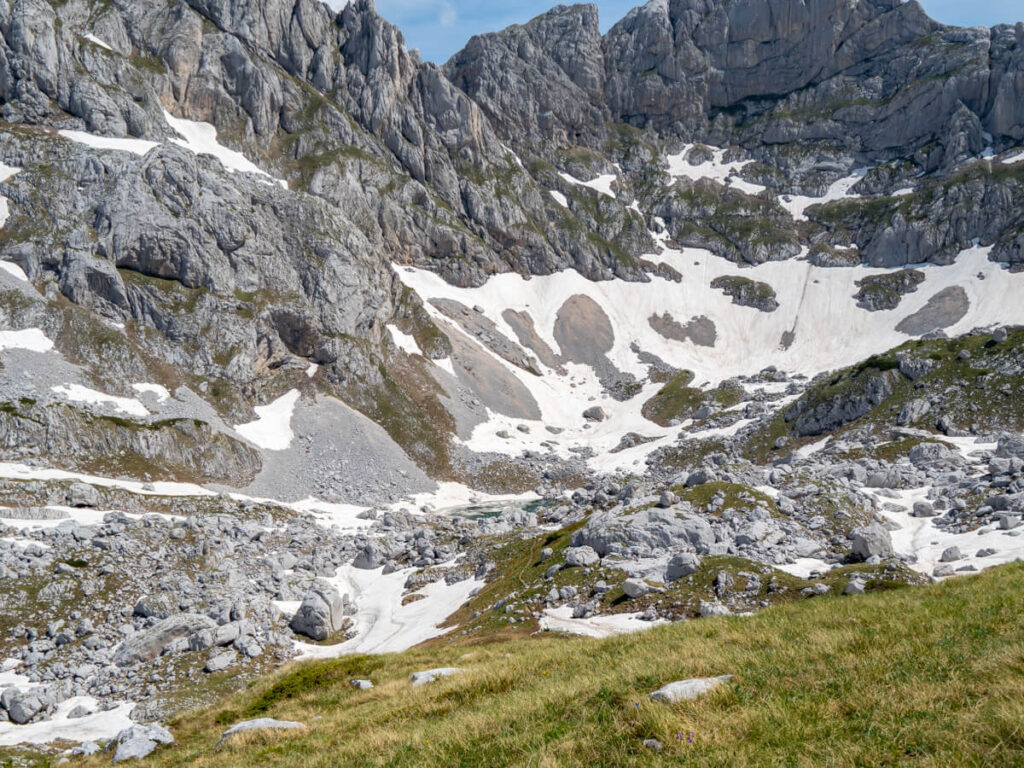
Take some time here to really look around. The views from the ridgeline are impressive in every direction.
On the left-hand side, you’ll get a particularly good view of Šareni Pasovi (also called Štit), a distinctive multi-layered formation with wavy bands of differently coloured rock. These exposed strata are a particularly good illustration of the complex sedimentary geology that makes up much of the Durmitor massif. You may also see Prutaš rising prominently in the distance.
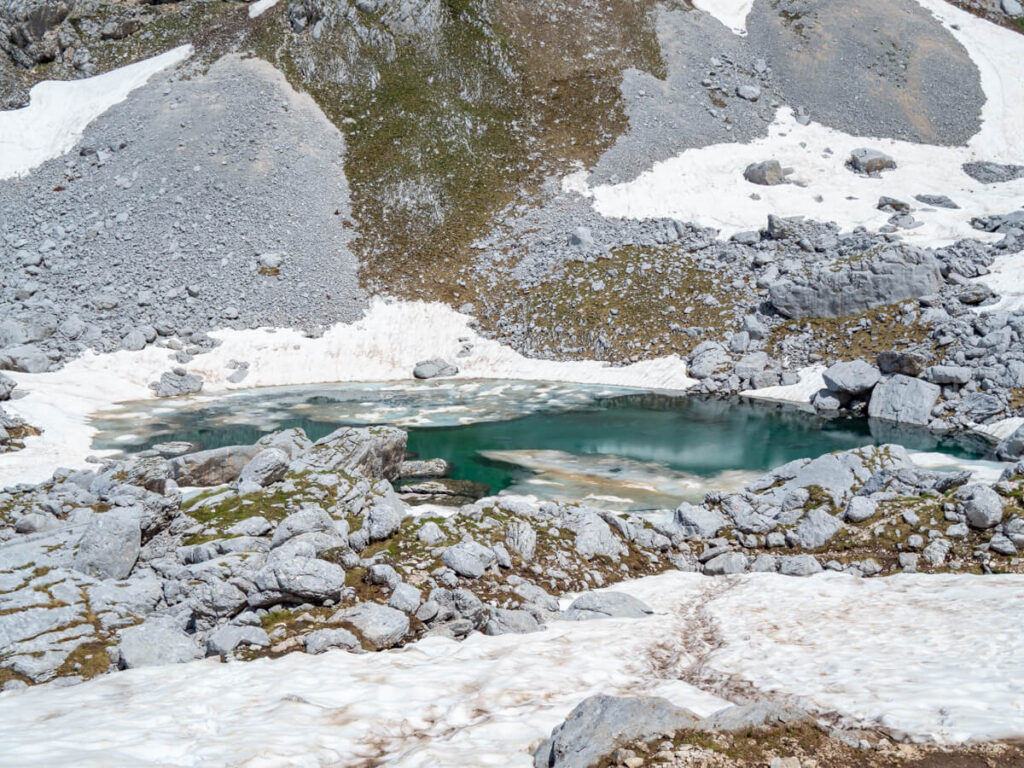
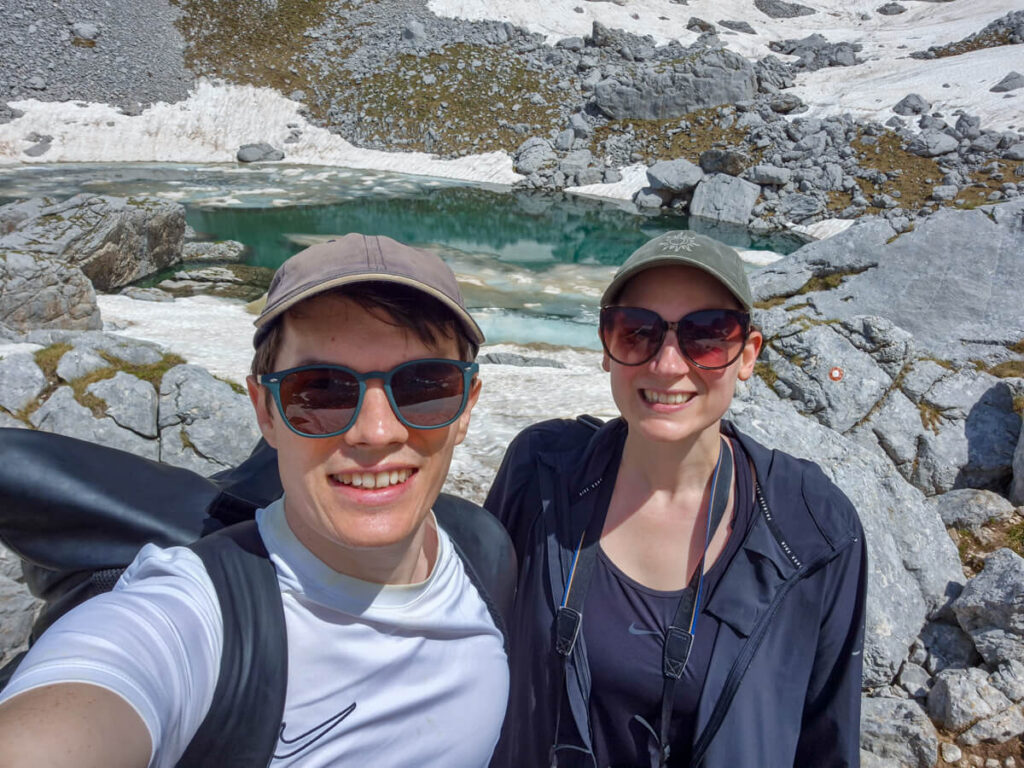
Below the ridge, you’ll see the icy Zeleni Vir glacial lake. If you’re visiting in peak summer, it may be almost completely dried up. This is where you’re going next.
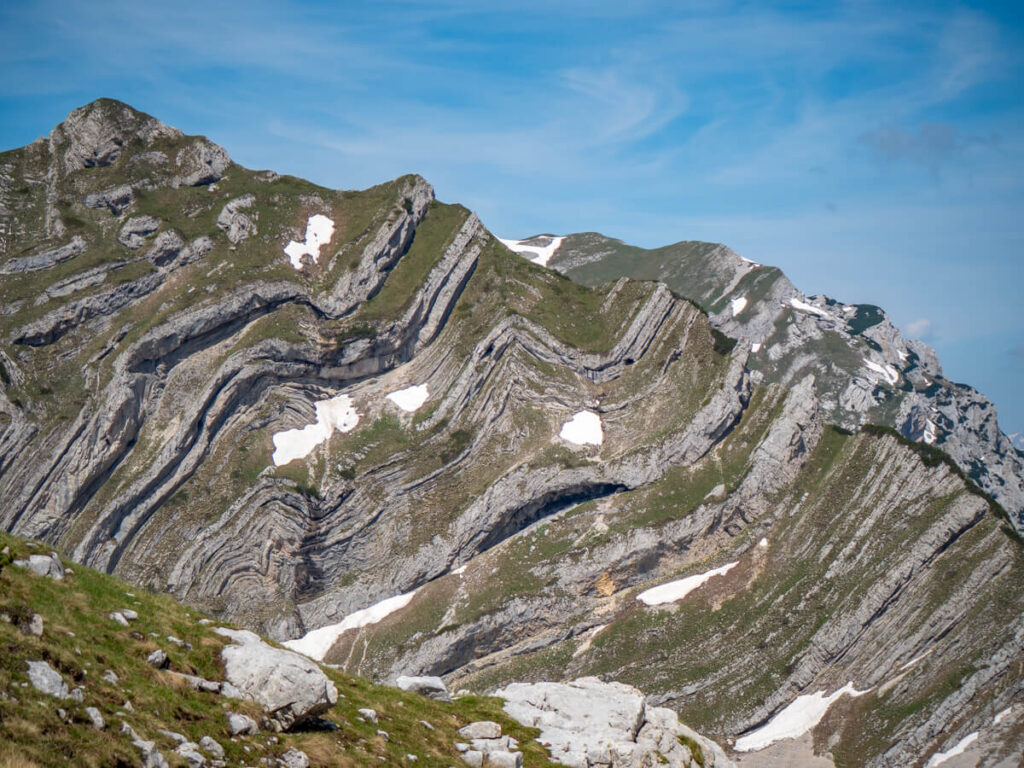
Be sure you’ve identified the right route on your map before heading down – a couple of different trails intersect on the top of the ridge here, including the one from the Dobri Do trailhead.
From the ridgeline, it’s a fairly steep descent to the lake. It’s only around -30% grade, but when it’s covered in snow, it’s very slippery and a lot more challenging.
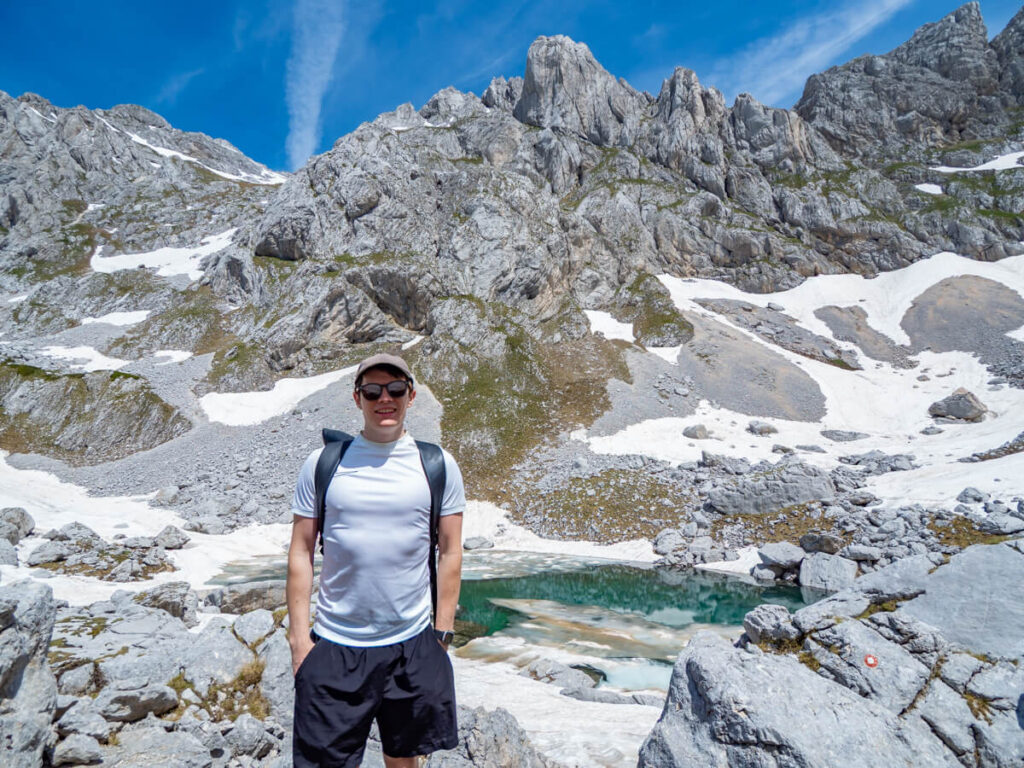
We reached Zeleni Vir Lake at around 11:00 AM, after 2.5 hours of hiking and quite a few stops for photos. We thought it was a pretty scenic place to enjoy our picnic, so we sat here for a while enjoying the views.
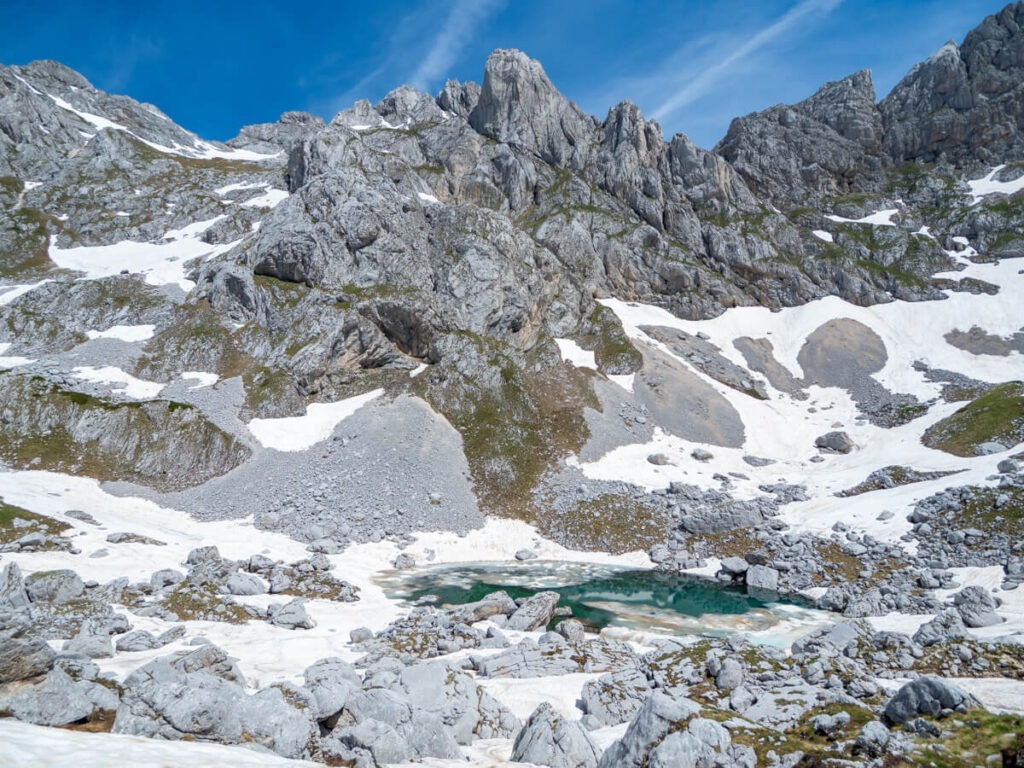
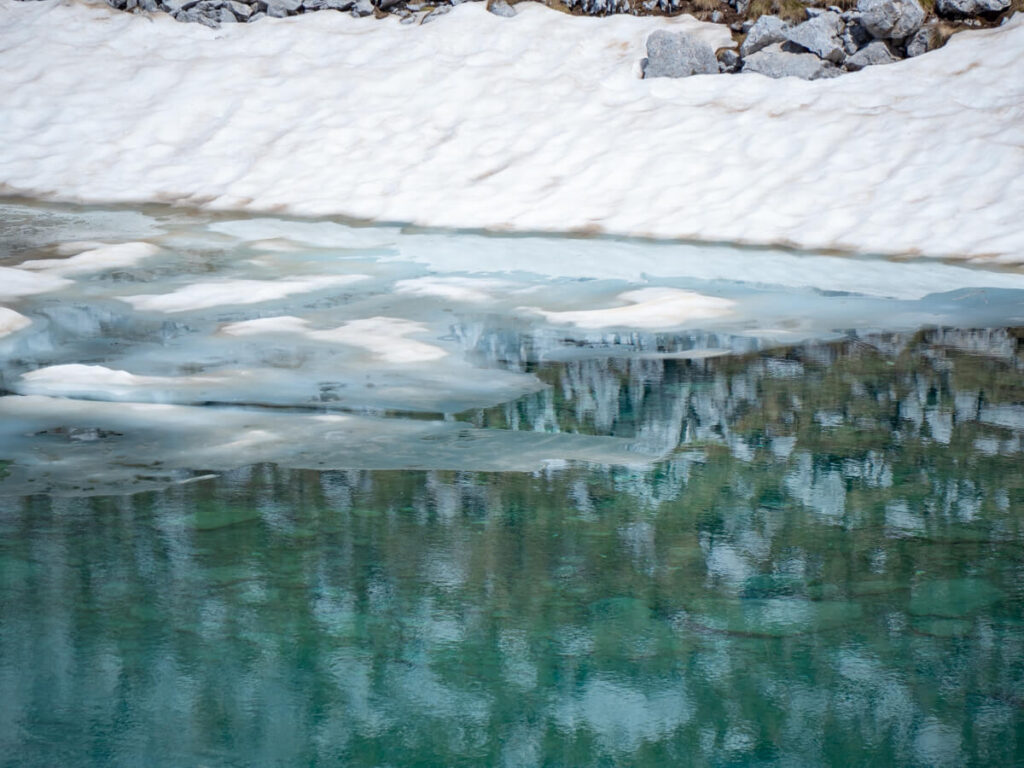
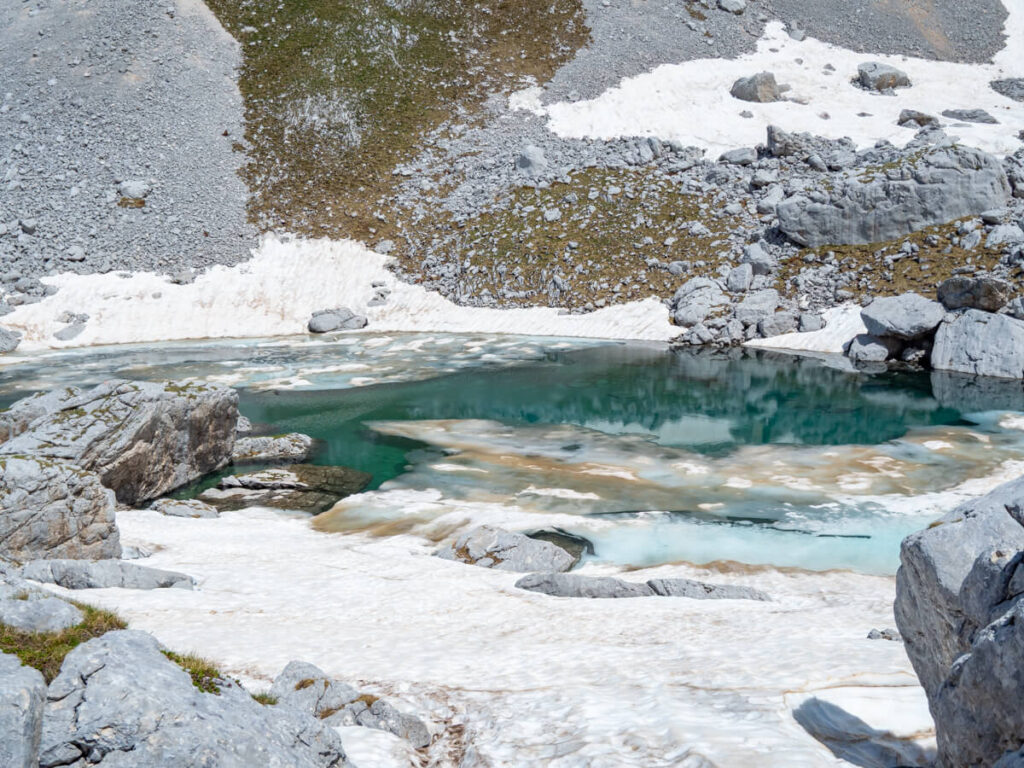

Sitting at 2,028 meters (6,654 ft) above sea level, Zeleni Vir’s name means ‘Green Whirlpool’, referring to the emerald green colour of its water.
As we ate our sandwiches, more hikers began to arrive behind us. A couple of lads even went for a swim in the lake, which I imagine was absolutely freezing.
Zeleni Vir Lake to Velika Previja Pass
From the lake, the only way is up. Sadly for us, the trail from here on out was entirely covered in snow and too dangerous to continue up the series of switchbacks to the peak without proper mountaineering gear, so this is where we had to turn around.
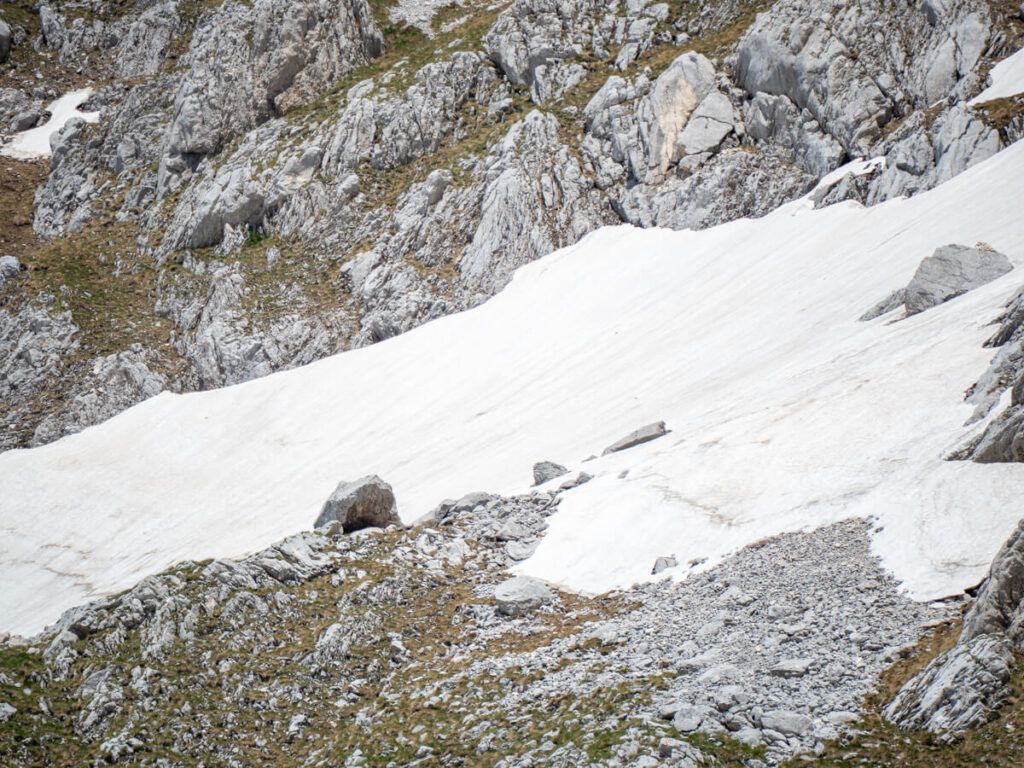
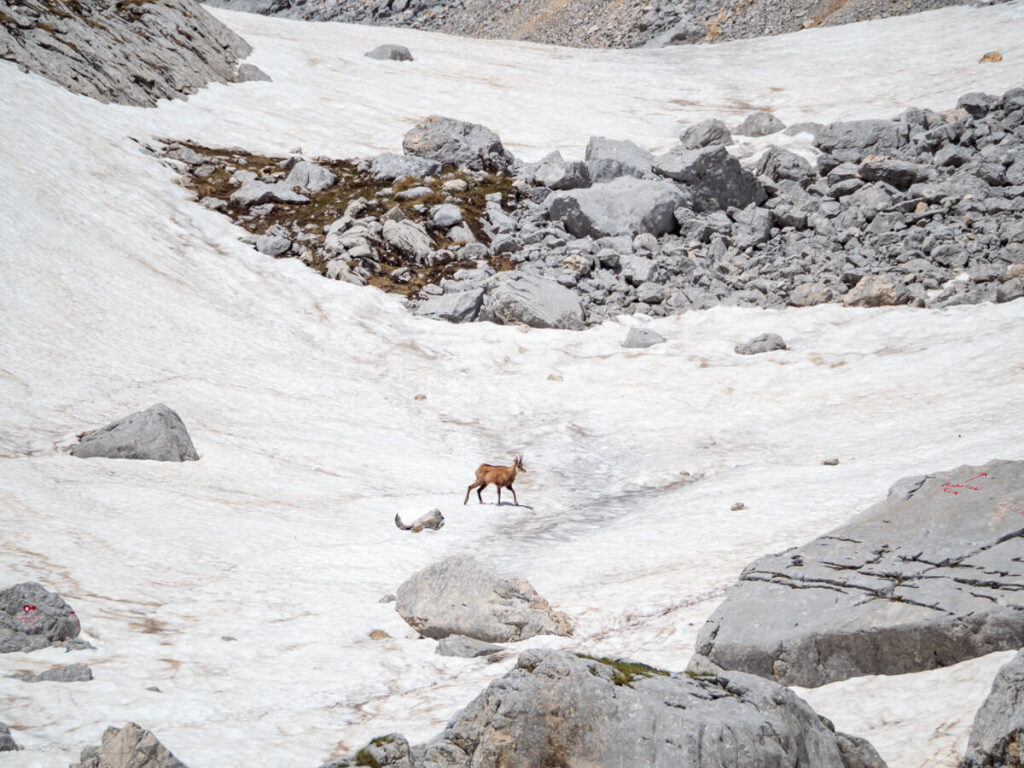
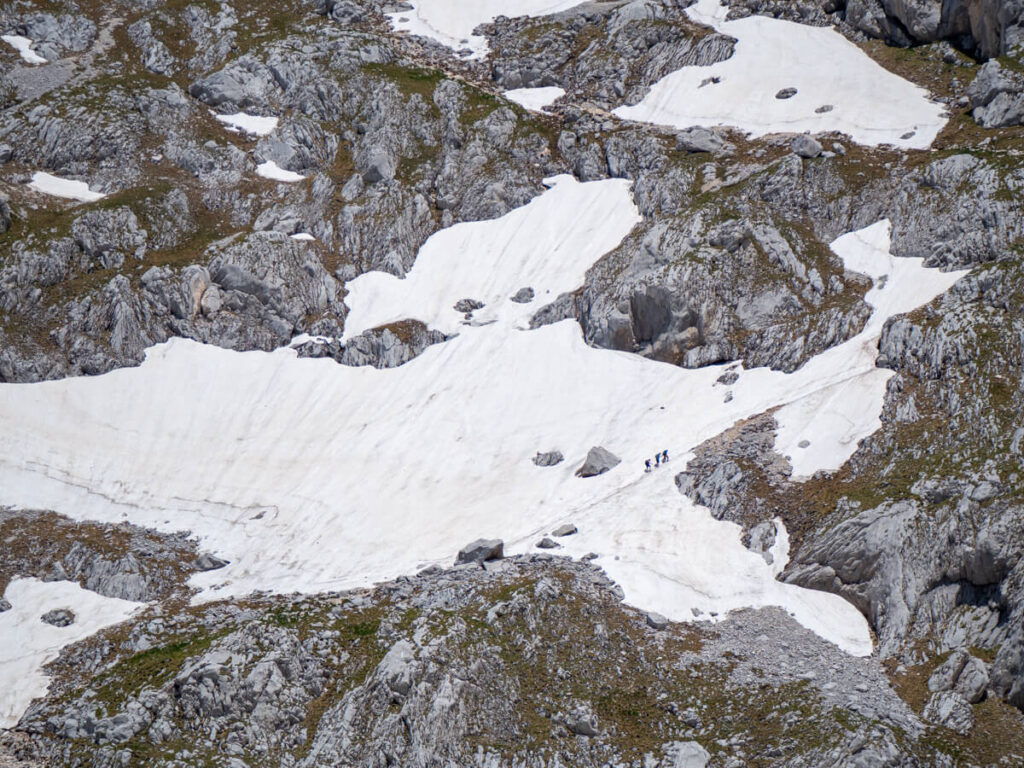
We can, however, give you a pretty good idea of what you’re in for based on the route ahead:
If you’re starting to feel that the terrain is beyond your ability, it’s getting late in the day, or the weather and conditions are changing, we’d strongly urge you to turn around here rather than pushing on.
From the lake, the trail climbs steeply for around 0.5 miles (0.9 km) towards Velika Previja Pass, with loose scree and unstable rock underfoot making this section a slow, physically demanding slog. This part typically takes most hikers around 1-1.5 hours.
Velika Previja is the high mountain pass at around 2,356 metres (7,730 ft) and the intersection with the trail from the Black Lake and Žabljak.
There’s also the potential for rockfall in this area, so you’ll need to stay alert, particularly when other hikers are above you.
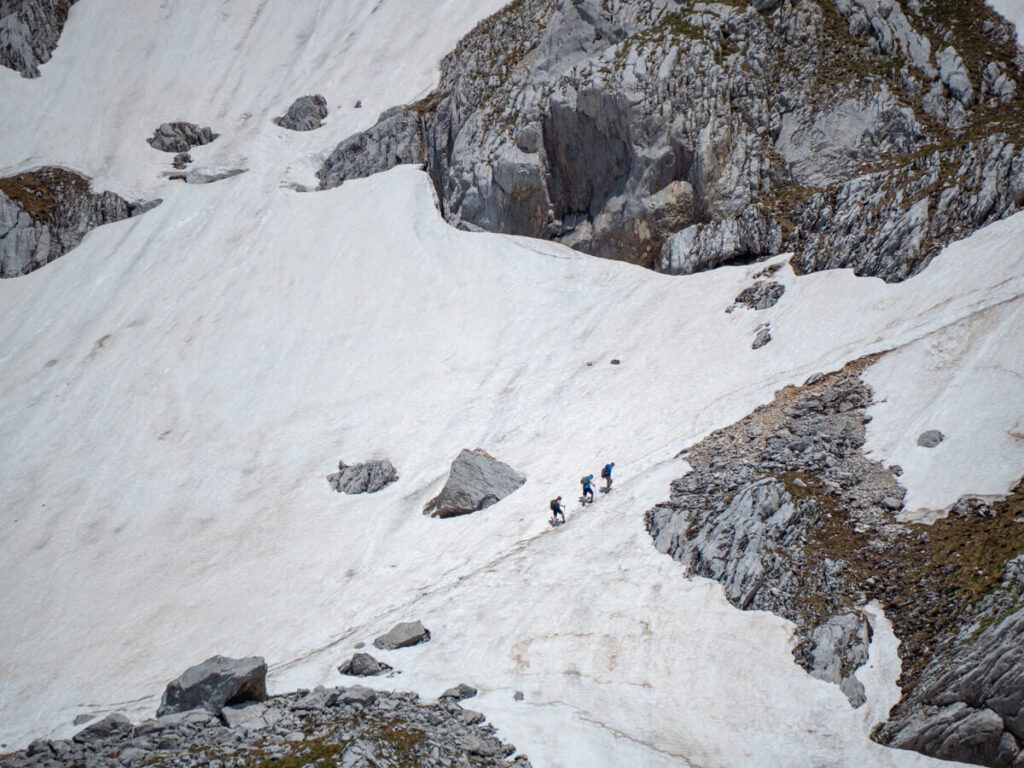
Velika Previja Pass to the summit
As you climb, you’ll also start getting views across to Škrčko Lake, tucked dramatically beneath the surrounding limestone peaks. We’re a little gutted we didn’t make it this far, because the views look amazing, but it wasn’t worth risking our safety for.
After Velika Previja Pass, there’s just 0.3 miles (0.5 km) left to the summit, but don’t let the short distance fool you. This is arguably the most intimidating section of the entire hike.
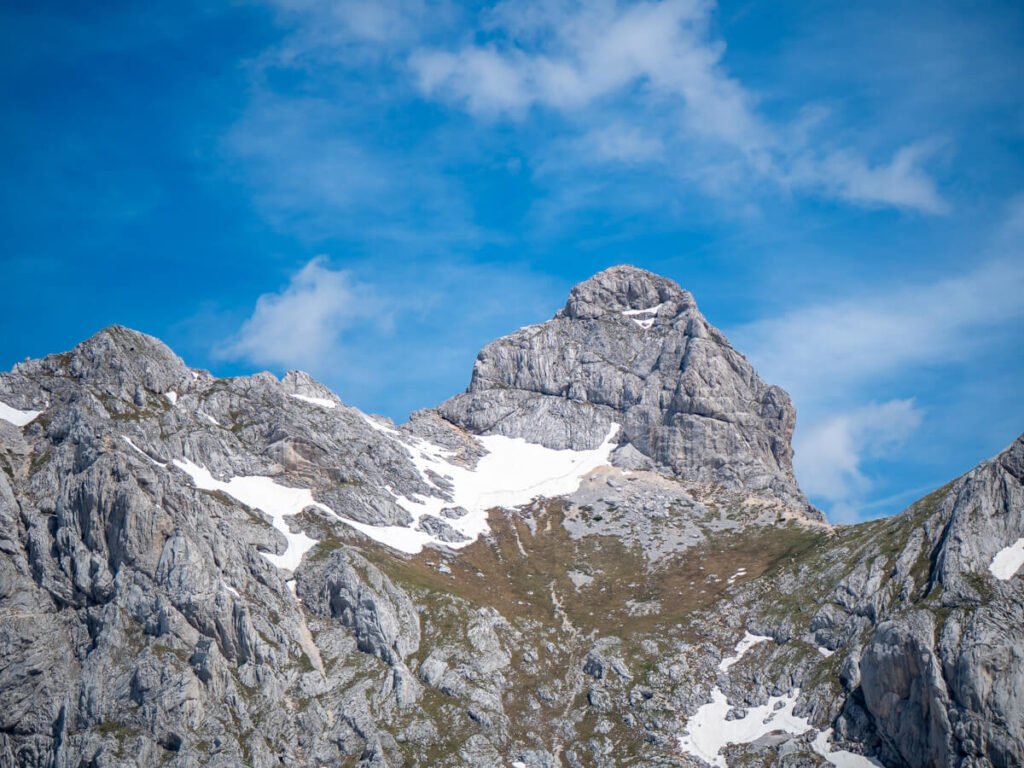
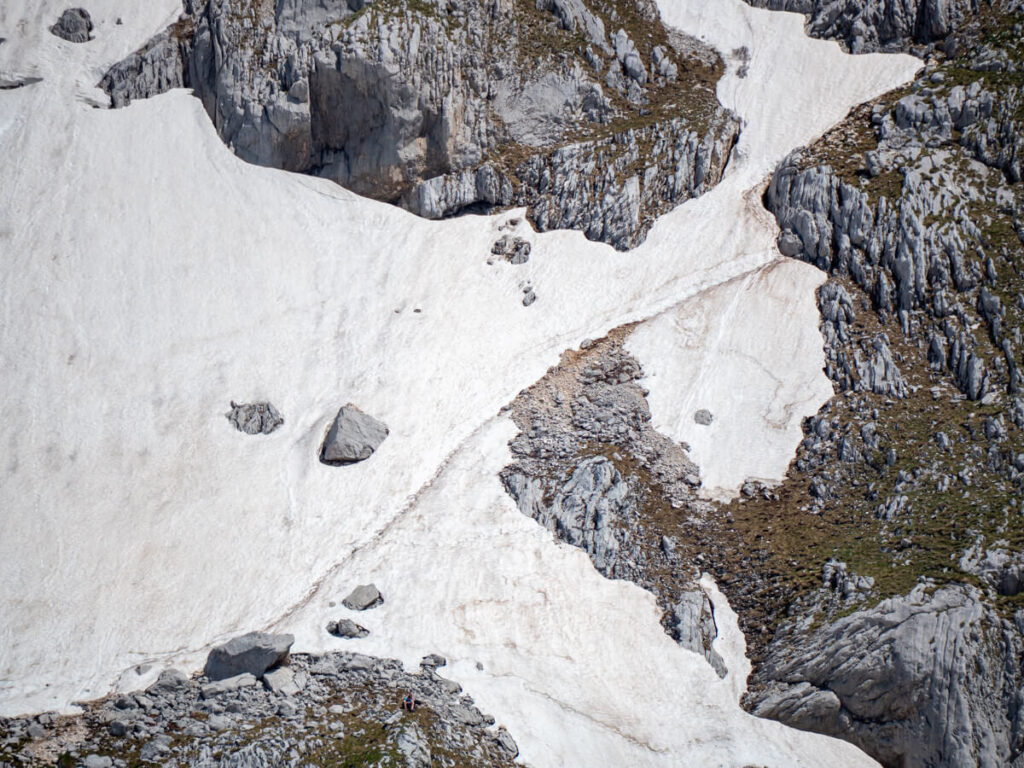
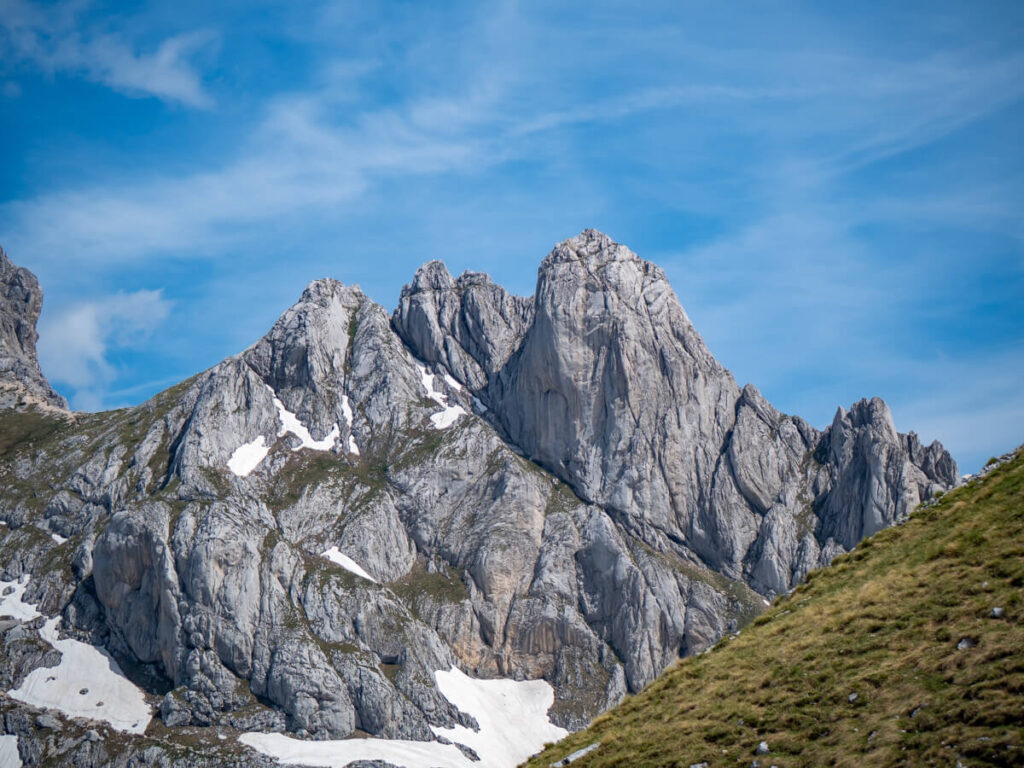
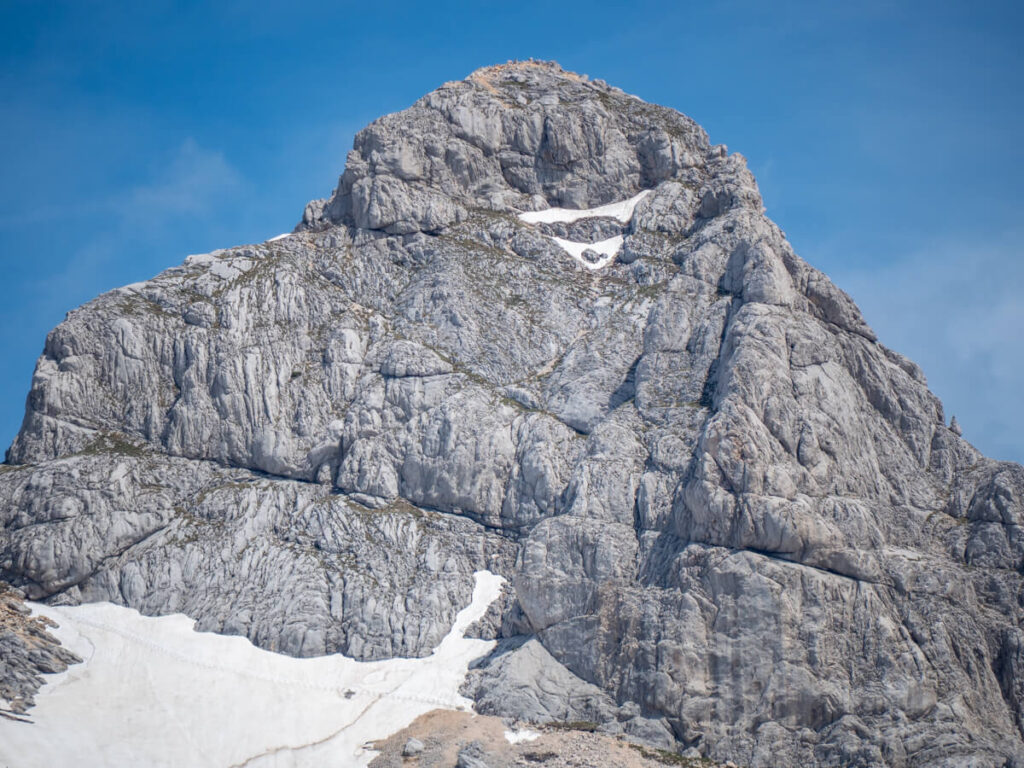
The trail traverses a narrow, exposed ledge, with steel cables fixed to the rock to help hikers negotiate the steepest and most exposed sections. From pictures and videos, it honestly looks terrifying.
This is also where you’ll often encounter queues, as hikers wait for others to negotiate the narrow sections and scrambling terrain safely.
Then it’s time for the final summit push, which involves teetering on a boot-wide narrow ledge with little more than a steel cable and your own grip keeping you from plummeting down the sheer drop below.
This is where any hint of vertigo or fear of heights can become very real, so if you start feeling overwhelmed, don’t be afraid to turn back. The final section is no place to push through panic or lose concentration.
We’ve been told – and from what we’ve seen online – the scrambling is genuinely nail-biting in places, so put your trekking poles away in your backpack and use your hands. Keep three points of contact with the rock whenever possible, move slowly and deliberately, and don’t let go of the cable while you’re negotiating the exposed sections.
After the final scramble over the rocks, you’ll emerge on the summit of Bobotov Kuk – well done! You’ve made it to the top of the highest mountain completely within Montenegro at 2,523 meters (8,278 ft) high.

The summit back to the trailhead
Once you’ve made it to the summit, don’t make the mistake of thinking the hard part is over. The return follows the same exposed terrain back to Velika Previja Pass, meaning you’ll need to carefully reverse the narrow ledges, scrambling sections and steep rocky ground you climbed on the way up.
Having found the descent of the Three Peaks hike almost more challenging than the ascent up the peaks themselves, I reckon this is the part of the Bobotov Kuk hike I’d have struggled with most. Loose scree and steep slopes are harder to negotiate when descending, and your legs will already be tired after several hours of hiking. Take your time, keep your weight controlled and don’t rush simply because you’re heading back towards the trailhead.

The trail will become progressively easier as you retrace your steps towards Zeleni Vir and the lower sections of the route. The hard part for us was getting back up the hill from the lake to the ridge. It was covered in snow and slippery on the way up, but it felt like climbing a mountain covered in ice on the way back up. We just dug our hiking poles in and focused on one step at a time.
Having taken so many photos on the way out, we didn’t stop too much on the way back. The views were no less epic, and we saw a couple more chamois.
Navigating the snowbanks became quite repetitive. In most places, we could remember the route, but there were some others where we had to keep looking for trail markers or checking the map.
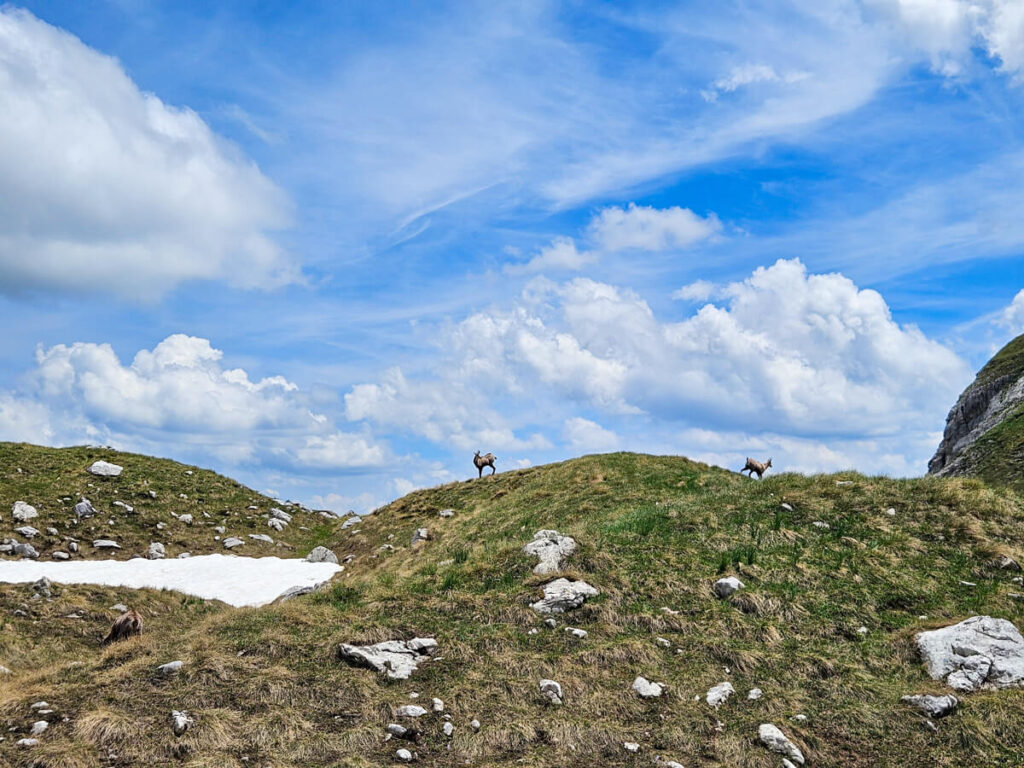
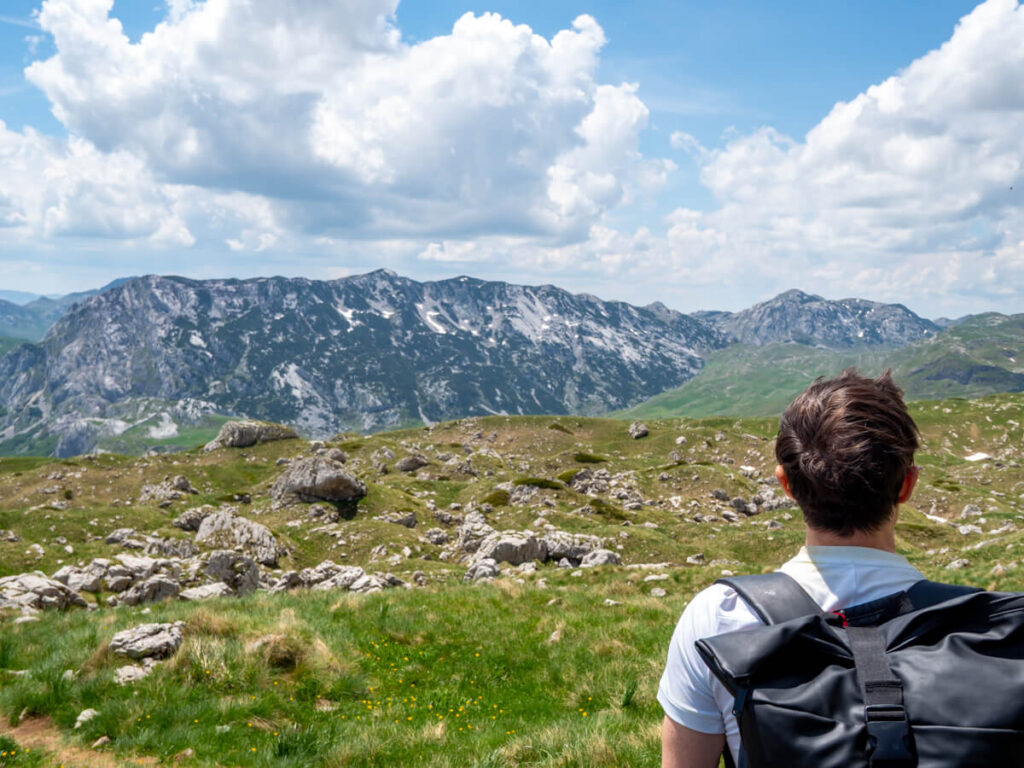

We were quite keen to get back, as we’d heard rumours of thunder rolling in from other hikers we passed. The thought of navigating wet and icy snowbanks or the final scramble in the rain was not appealing.
Sure enough, the clouds were becoming noticeably greyer as we descended, despite thunderstorms not being in the forecast. This is fairly common in the Durmitor mountains, where conditions can change rapidly and afternoon thunderstorms can develop, especially in the hotter summer months, so it’s another good reason to start early and leave yourself plenty of time to get back down.
After a bit of bum shuffling down the scramble, we could finally see the car. But even with the quicker pace and fewer stops, it took us just over 2 hours to get back to the car.
In total, we spent just over 5 hours for the return hike to Zeleni Vir lake and back to Sedlo Pass, with a picnic and lots of photo stops. If we had done the final ascent and summit, we reckon it would have added an extra 4 hours to our day with stops and photos, so a total of 9 hours.
Is Bobotov Kuk worth it?
So was it worth it? Absolutely.
We’re still a little gutted that we didn’t make it far enough to see Škrčko Lake, let alone reach the summit, but we genuinely loved the section of the hike we did complete. The scenery was spectacular, and there’s something pretty special about getting so deep into the Durmitor mountains, even if you don’t make it all the way to the top.
From the trailhead to Zeleni Vir Lake and back, it’s just over 4.5 miles (7.5 km) return. We’d class this portion as moderate, with a very short scramble near the beginning that bumps it briefly up to difficult. Give yourself around 2.5-3 hours one-way to reach it and enjoy the views on the way.
From Zeleni Vir Lake to the summit of Bobotov Kuk, things get considerably harder. We’re honestly not sure how well we’d have handled this section, particularly after such a sustained effort already. I’m an especially clumsy girly at the best of times, and the combination of fatigue, loose rock, steep terrain and exposed scrambling would have been a serious test of my concentration and ability.
The great thing about the Bobotov Kuk trail is that it’s an out-and-back hike, so you’re not committed to the summit from the moment you set off. There are several natural points where you can turn around, and we’d much rather recommend enjoying a shorter section safely than pushing beyond your comfort level just to tick off the summit.
If you’re keen to experience the route but aren’t sure about the more difficult sections, we’d suggest these as realistic stopping points:
Ultimately, we think Bobotov Kuk is worth doing even if you don’t summit. The mountain gives you plenty of spectacular scenery before the final push, and knowing when to turn around is just as much a part of responsible mountain hiking as reaching the top.
When to hike Bobotov Kuk
The best time to hike Bobotov Kuk is between July and September, although conditions can vary considerably from year to year.
In June, the main trail was still covered in snow, and the final portion was too dangerous to summit without proper equipment and mountaineering experience. In July, much of the snow may have melted from the main route, although this can leave muddy, wet conditions behind. We’ve also heard that the higher route from Žabljak and the Black Lake can still be unpassable due to snow well into July.
If you’re determined to complete the full hike, plan your visit between late July and early September. While August is generally the busiest month, it tends to offer the most reliable snow-free trail conditions. September can be a great time to hike too, with fewer people and cooler temperatures, although there’s a greater chance of unsettled weather and early-season snow as the month progresses.
It’s also worth bearing in mind that climate change is extending the period when hiking is possible in the mountains, but it’s also making conditions less predictable. Snowmelt, rainfall and thunderstorms can vary significantly between years, so don’t rely solely on the calendar when deciding whether to attempt Bobotov Kuk. Check the mountain forecast, ask locals for advice, and speak to hikers coming down the trail before committing to the summit.
Where to stay to hike Bobotov Kuk
For hiking Bobotov Kuk, we’d recommend staying in accommodation in Žabljak or the surrounding countryside, ideally somewhere with easy access to the Sedlo Pass if that’s the trail you’re choosing.
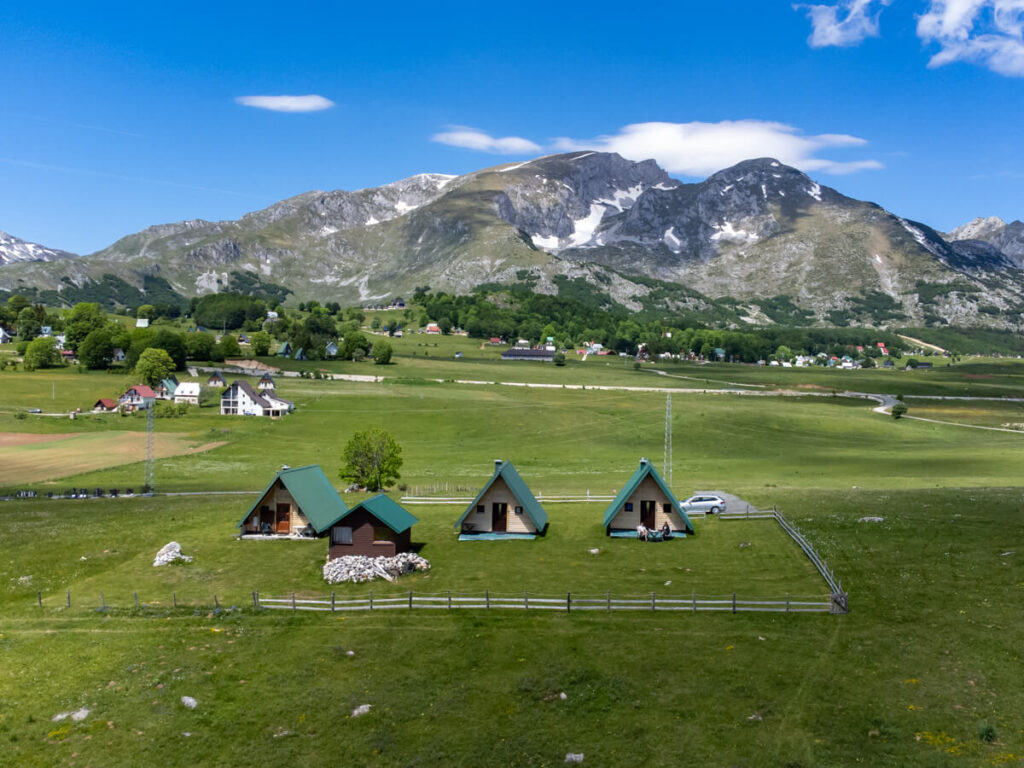
The main trailhead is reached by the P14 mountain road, and staying nearby means you can get an early start without adding a long drive. Etno Selo Smrčevo and Maple Village are popular options right by the park boundary. While we loved our little wooden, peaceful mountain A-frame cottage, which is a 25-minute drive from the trailhead.
If you’re without a car, Žabljak is the easiest option, as you can arrange a taxi to the trailhead. Casa di Pino EcoLodge Hotel and Hotel Soa are both highly rated, with spa facilities that are perfect for unwinding after hiking. If you’re on a budget, staying in Hostel Hikers Den means you can take advantage of their dorm rooms and shuttle to the trailhead, plus it’s communal, so you can find hiking buddies to do the trail with.
There are several campsites in the Sedlo Pass area, including:
There’s also campervan parking available near the Sedlo Pass trailhead.
The Campground at Ivan Do is a good option if you’d like to stay near the Black Lake and are keen to hike the longer route.
Tips for hiking Bobotov Kuk
After hiking Bobotov Kuk ourselves, these are the things we think will make the biggest difference to your experience:
What to pack to hike Bobotov Kuk
It’s best to be prepared for your Bobotov Kuk hike. Don’t forget to pack your:
Bobotov Kuk vs other hikes
Bobotov Kuk is one of the most demanding hikes in Durmitor National Park, but it’s not necessarily the hardest hike you’ll encounter in Montenegro. What makes it stand out is the combination of long distance, significant elevation gain, loose scree, steep scrambling, and exposed sections near the summit.
If you’re trying to decide whether Bobotov Kuk is right for you, comparing it with some of Montenegro’s other popular hikes is useful. The Three Peaks hike in Prokletije National Park is similarly strenuous, but feels more like a long alpine ridge hike, while Bobotov Kuk becomes considerably more technical during its final ascent.
The Ladder of Kotor covers a similar distance and elevation and is much more accessible from the coast, but doesn’t have the same high-mountain feel or scrambling elements.
Within Durmitor National Park, there are plenty of hikes that are considerably easier than Bobotov Kuk. The Black Lake Loop is a gentle option for beginners, while Ćurevac Peak is a short but steep climb to one of the park’s best viewpoints. For something more challenging, Prutaš is probably the most obvious comparison. It’s a demanding high-mountain hike with significant elevation gain and steep sections, but the route is less technical and exposed than the final ascent of Bobotov Kuk. Savin Kuk is another popular alternative, with a steep summit climb and dramatic views, although it’s a shorter and generally less committing hike.
For us, Acatenango Volcano was easier than the Three Peaks (physically, not factoring in the altitude being twice the elevation) and harder than Bobotov Kuk until the lake (not factoring in the summit climb).
The good thing is that Bobotov Kuk doesn’t have to be an all-or-nothing hike. The route is out-and-back, so you can enjoy the spectacular scenery as far as Zeleni Vir or Velika Previja without committing to the exposed summit section.
Bobotov Kuk FAQs
Our main concern is that Durmitor National Park is one of the most popular and accessible mountain areas in Montenegro, particularly from coastal hotspots like Kotor and Budva. As Montenegro becomes increasingly popular, more and more ordinary tourists and amateur hikers are likely to head to Durmitor National Park to attempt Bobotov Kuk. There’s absolutely nothing wrong with being a relatively inexperienced hiker and wanting to take on a challenge. But some visitors may underestimate the route because it appears on lists of the best things to do in Montenegro, without fully understanding the terrain, elevation gain, exposure, weather risks, or level of preparation required. We hope this guide has given you a good idea of what to expect. To finish, here are some frequently asked questions about the Bobotov Kuk hike, answered.
Is hiking Bobotov Kuk safe?
Bobotov Kuk can be hiked safely in suitable conditions by people with the right fitness, experience and preparation, but it isn’t a risk-free mountain hike. The final ascent includes steep scrambling, exposed sections, loose rock and narrow ledges, while snow, ice, rain and thunderstorms can significantly increase the difficulty. People have suffered serious accidents, been rescued, and even died on Bobotov Kuk, so it’s to be taken seriously.
Is Bobotov Kuk hard to climb?
Yes, we’d class the full hike as difficult to very difficult, particularly the final section from Zeleni Vir to the summit. The route combines a long day, 892 metres (2,926 ft) of elevation gain, loose scree, steep scrambling and exposed terrain, so it’s considerably more demanding than a straightforward mountain trail. But the trail from Sedlo Pass to Zeleni Vir is what we’d consider moderate.
Is there a trail to hike to Bobotov Kuk?
Bobotov Kuk is reached by several marked mountain trails, but none are well-maintained or easy walking paths. Trail conditions can vary considerably, and snow can completely obscure the route and trail markers early in the hiking season.
How long does it take to hike Bobotov Kuk?
Allow around 6-9 hours for the full out-and-back Bobotov Kuk hike, depending on your trailhead, fitness, conditions, and how much time you spend stopping for views. We’d recommend starting early rather than relying on the shortest possible completion time.
How far is the Bobotov Kuk hike?
The Bobotov Kuk trail from Sedlo Pass is approximately 6.2 miles (10.2 km), although the exact distance depends on where you park. The trail from Dobri Do is slightly shorter, while the trail from the Black Lake and Žabljak is considerably longer.
Do you need mountaineering experience to hike Bobotov Kuk?
You don’t necessarily need formal mountaineering experience in dry, snow-free summer conditions, but you should be comfortable with steep scrambling, loose rock and exposed terrain. If snow or ice remains on the upper route, the requirements can change considerably, and crampons, an ice axe, and appropriate experience may be necessary.
Can beginners hike Bobotov Kuk?
We wouldn’t recommend treating Bobotov Kuk as a beginner hike. If you’re new to mountain hiking, there are plenty of easier routes in Durmitor National Park, like the Black Lake loop, where you can build up your experience before attempting the summit.
Can you hike Bobotov Kuk without a guide?
Yes, experienced hikers can hike Bobotov Kuk independently in suitable conditions, and the route is marked. However, a guide can be particularly valuable if you’re unfamiliar with high-mountain terrain, are hiking early or late in the season, or conditions are changing.
What is the best month to hike Bobotov Kuk?
For the best chance of a snow-free route, we’d aim to hike Bobotov Kuk from late July through August and into early September. Snow can linger well into summer at higher elevations, while September brings cooler temperatures and fewer people but a greater possibility of unsettled weather.
Can you turn around before reaching the summit of Bobotov Kuk?
Absolutely, and we’d strongly encourage you to do turn around before reaching the summit of Bobotov Kuk if conditions or your own confidence aren’t right. The hike is out-and-back, with several natural turnaround points, and Zeleni Vir in particular makes a fantastic destination without committing to the difficult final ascent.
Read next:
An Ultimate Guide to Visiting Durmitor National Park
Where to Stay for Durmitor National Park: Cool Cabins + Top Hotels
15 Best Things to Do in Durmitor National Park + Our Itinerary
Driving the Durmitor Ring Road Route Guide
12 Best Hikes in Durmitor National Park From Easy to Expert
A Complete Guide to Hiking Ćurevac Peak
A Comprehensive Guide to Visiting the Black Lake
